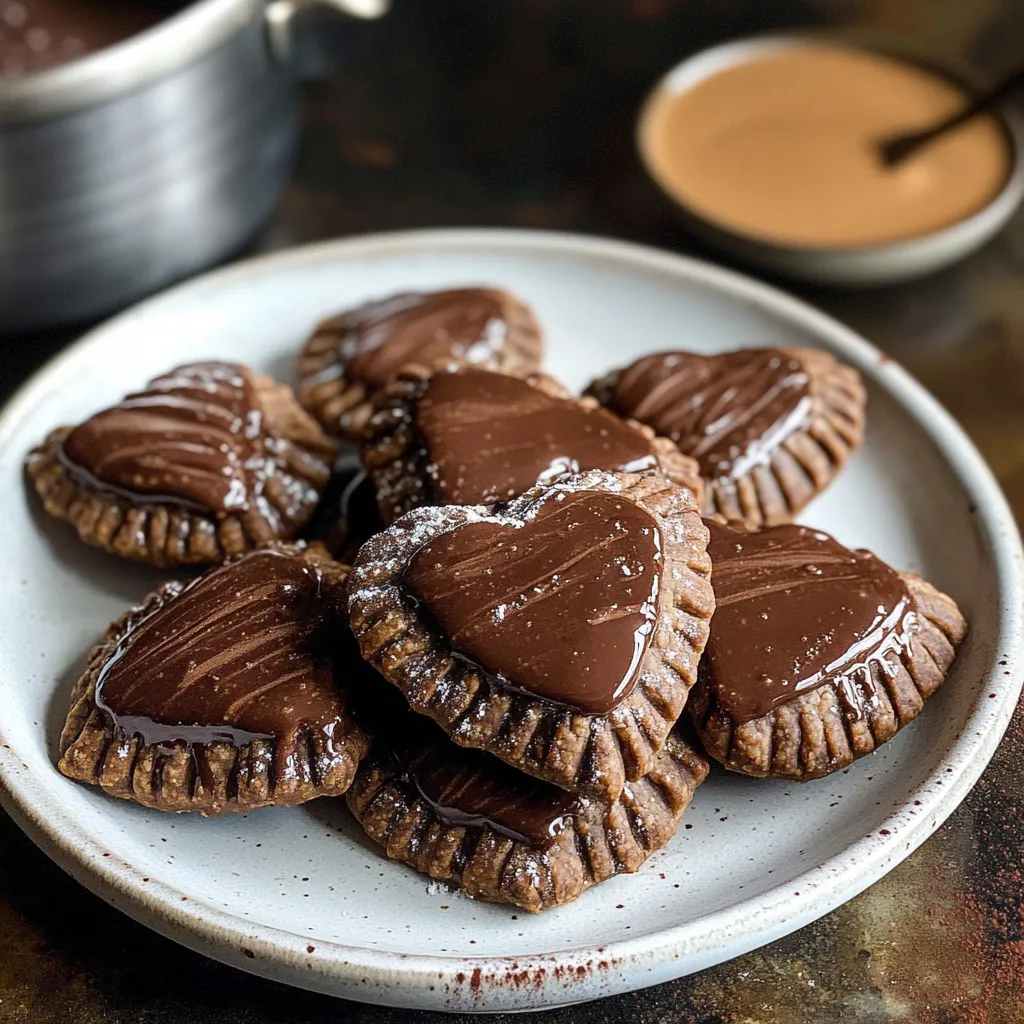
These chocolate heart hand pies are a treat for any chocolate fan. A flaky cocoa crust is made in a food processor, shaped into hearts, and filled with a creamy ganache. Once baked, the crust is crisp, and the filling stays gooey. Finish with a chocolate drizzle for extra fun. Although the process takes a little while, you can do most parts ahead of time. Great for planning a surprise or sharing with loved ones. The combo of crisp shell and rich middle is simply irresistible!
These Choco Hand Pies mix flaky chocolate dough with smooth ganache inside, making delightful little pockets of chocolate heaven. Every heart-shaped treat gives you three kinds of chocolate in one bite - a soft cocoa-flavored shell, velvety chocolate ganache inside, and chocolate drizzled on the outside. Think of them as fancy, homemade versions of those chocolate snacks you loved as a kid.
I whipped these up for friends last weekend, and nothing beats seeing everyone crack into those warm, chocolate-filled treats. My top trick? Making sure everything stays nice and cold throughout.
Key Ingredients and Smart Buying Tips
Butter: Needs to be super cold and cut into small cubes. I stick mine in the freezer for 15 minutes first
Cocoa Powder: Both Dutch-process and regular work fine. Dutch gives a darker look
Real Chocolate: Go for good quality bars instead of chips for the smoothest filling
Chilled Milk or Cream: The colder it is, the flakier your crust will turn out
Peanut Butter (if you want): Makes the ganache even more amazing
After years of making pastries, I've learned that watching your temperatures makes all the difference with these tasty little pies.
Step-by-Step Cooking Guide
1. Making Your Crust
Everything must be ice-cold for flaky results. Mix your dry stuff with cold butter until it looks like rough crumbs. Slowly add cold milk until it barely sticks together. Don't mix too much – you want to see butter bits. Split the dough, wrap it up, and chill for at least 2 hours.
2. Flattening and Cutting
Roll out your cold dough on a lightly floured counter (or use cocoa powder instead of flour). Cut heart shapes with a 3-inch cutter. Keep them in the fridge between steps so they stay cold.
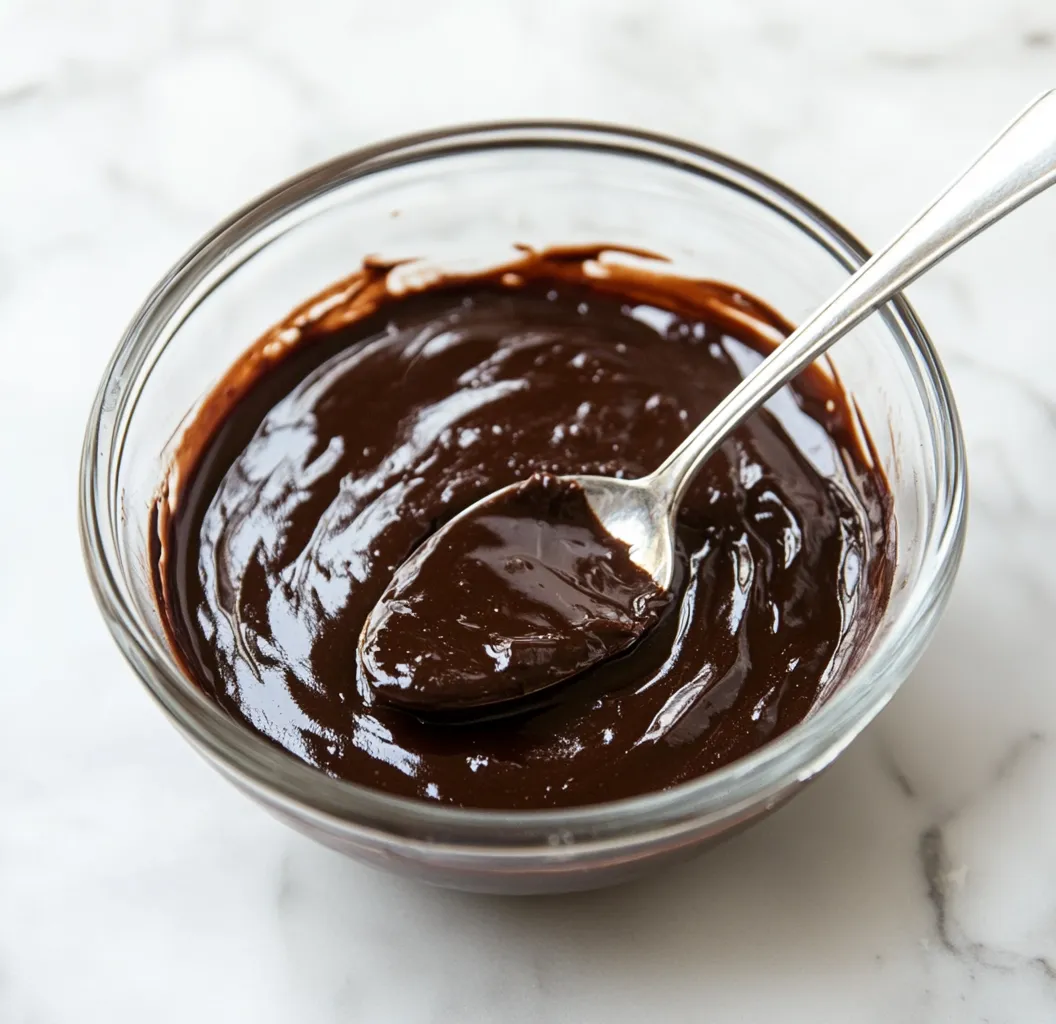
3. Whipping Up Ganache
Warm your cream until tiny bubbles form at the edges, then pour it over chopped chocolate. Let it sit for a minute without touching it, then stir slowly. Add peanut butter now if you're using it. Wait for it to cool and thicken but still be spreadable.
4. Putting Them Together
Brush beaten egg around the edges of half your hearts. Drop a spoonful of ganache in the middle, but don't go overboard. Top with another heart and press edges together with a fork.
5. Finishing Touches and Baking
Brush the tops with egg wash and sprinkle with sugar if you want. Bake at 400°F for 15-18 minutes, but watch them closely. They should just barely set around the edges.
Pin itEasy Chocolate Hand Pies Recipe | cookscoop.com
Managing Your Temperatures
Getting that perfect flaky crust means keeping everything cold during prep. If your kitchen's hot, work with small batches and keep the rest in the fridge.
Pin itChocolate Hand Pies Recipe | cookscoop.com
Planning Ahead
You can make the dough up to 5 days early. The complete unbaked pies can even be frozen for up to 3 months.
Keeping Them Fresh
Store your finished hand pies at room temp for 2 days or in the fridge for about a week. A quick warm-up before eating brings back that gooey center.
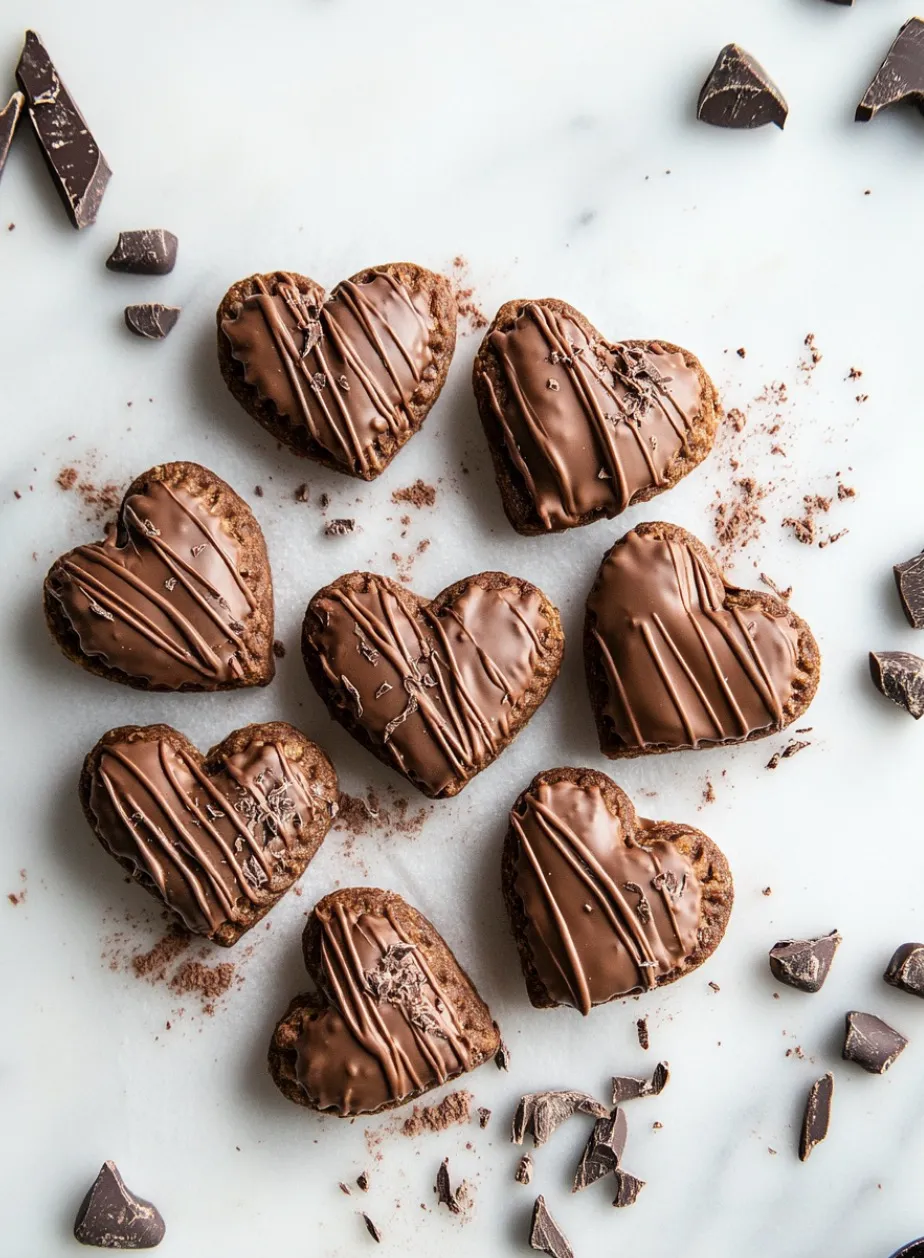
Changing Their Look
Hearts are classic, but you can cut these pies into any shape you want. Try circles for a simple look, stars for holiday parties, or leaves for fall get-togethers. Jazz up the chocolate drizzle with colored sprinkles, shiny edible glitter, or even gold dust for fancy events. For a cool swirled pattern, mix white chocolate into the dark drizzle before it hardens.
Tasty Twists
The all-chocolate combo is awesome, but you can get creative too. Try adding a bit of cinnamon or coffee powder to the crust for extra flavor. Mix orange zest, mint, or even a splash of bourbon into the ganache for grown-up taste. Some folks love putting a tiny bit of sea salt on top right before baking to make the chocolate taste even better.
Wrapping Them Up
These hand pies make wonderful gifts when packed nicely. Put them in small boxes with parchment paper, or wrap each one in clear wrap with a ribbon. For special times, stack them on a pretty stand, turning each one differently for a cool look. Add a note telling people how to warm them up so they get that perfect melty center.
Pro Chef Tricks
Use a flat scraper to move your cut hearts without messing them up
Cool the shaped pies before baking for extra flakiness
If your ganache gets too thick, warm it gently in a bowl over hot water
These chocolate hand pies aren't just another sweet treat - they're little bundles of happiness combining homey pastry with fancy chocolate filling. Whether you make them for Valentine's Day or just because you want something nice, they'll make anyone who gets one smile. The mix of that flaky chocolate crust with rich filling inside creates something really special that's worth the extra work of keeping everything nice and cold.
Frequently Asked Questions
→ Can I prep these pies early?
Absolutely! The dough keeps in the fridge for up to 5 days, or freeze it for 3 months. Ready pies can stay chilled for 2 days before baking.
→ Why avoid chocolate chips for the ganache?
Chocolate bars (not chips) melt smoother and taste better. Brands like Baker's or Ghirardelli work great.
→ Is peanut butter an option here?
Yes! Add a dollop of peanut butter to the ganache or drizzle it on top for a unique twist.
→ How should these be stored?
Keep them at room temp for 2 days, in the fridge for 1 week, or freeze for up to 3 months.
→ Why do cold ingredients matter?
Using super cold butter and milk creates the flakiest crust, so don't skip this step!
Chocolate Hand Pies
Heart-shaped chocolate pastries packed with a smooth ganache filling. A delightful handheld chocolate treat for any special day!
132 tablespoons coarse sugar for sprinkling (optional)
141 egg mixed with 1 tablespoon milk (for brushing)
Instructions
Step 01
In a food processor, mix the flour, coca powder, sugar, salt, and butter until crumbly. Gradually pour in cold milk as it mixes until it forms a dough. Split into two portions, wrap up, and chill for 2 hours.
Step 02
Flatten dough on a floured counter and cut out 3-inch heart shapes. Put the hearts in the fridge while you work on the filling.
Step 03
Heat cream until warm and pour it over the chopped chocolate. Stir until silky smooth and mix in peanut butter if you'd like. Let it sit for 15 minutes to firm up a bit.
Step 04
Brush egg mixture onto the edges of half the hearts. Drop a bit of filling in the center, place another heart on top, and press edges with a fork to seal. Brush tops with egg wash and sprinkle with coarse sugar if you like.
Step 05
Bake at 400°F for 15 to 18 minutes until edges are set. Pull them out and cool down for 10 minutes.
Step 06
Melt chocolate with a touch of oil for drizzling. Stir in peanut butter if you'd like, then drizzle it over the cooled pies.
Notes
Keep ingredients cold to get the flakiest pastry.
Chocolate bars melt better than chocolate chips for this.
You can prepare the dough and store it for up to 5 days.
Tools You'll Need
A food processor (or use a pastry cutter)
Rolling pin for flattening dough
Heart-shaped cutter (3 inches)
Baking trays
Pastry brush
Small pot for melting
Allergy Information
Please check ingredients for potential allergens and consult a health professional if in doubt.
Includes dairy (cream, butter)
Contains flour (wheat)
Uses eggs
Optional peanut butter could add nuts
Nutrition Facts (Per Serving)
It is important to consider this information as approximate and not to use it as definitive health advice.

 Pin it
 Pin it
 Pin it
 Pin it