
 Pin it
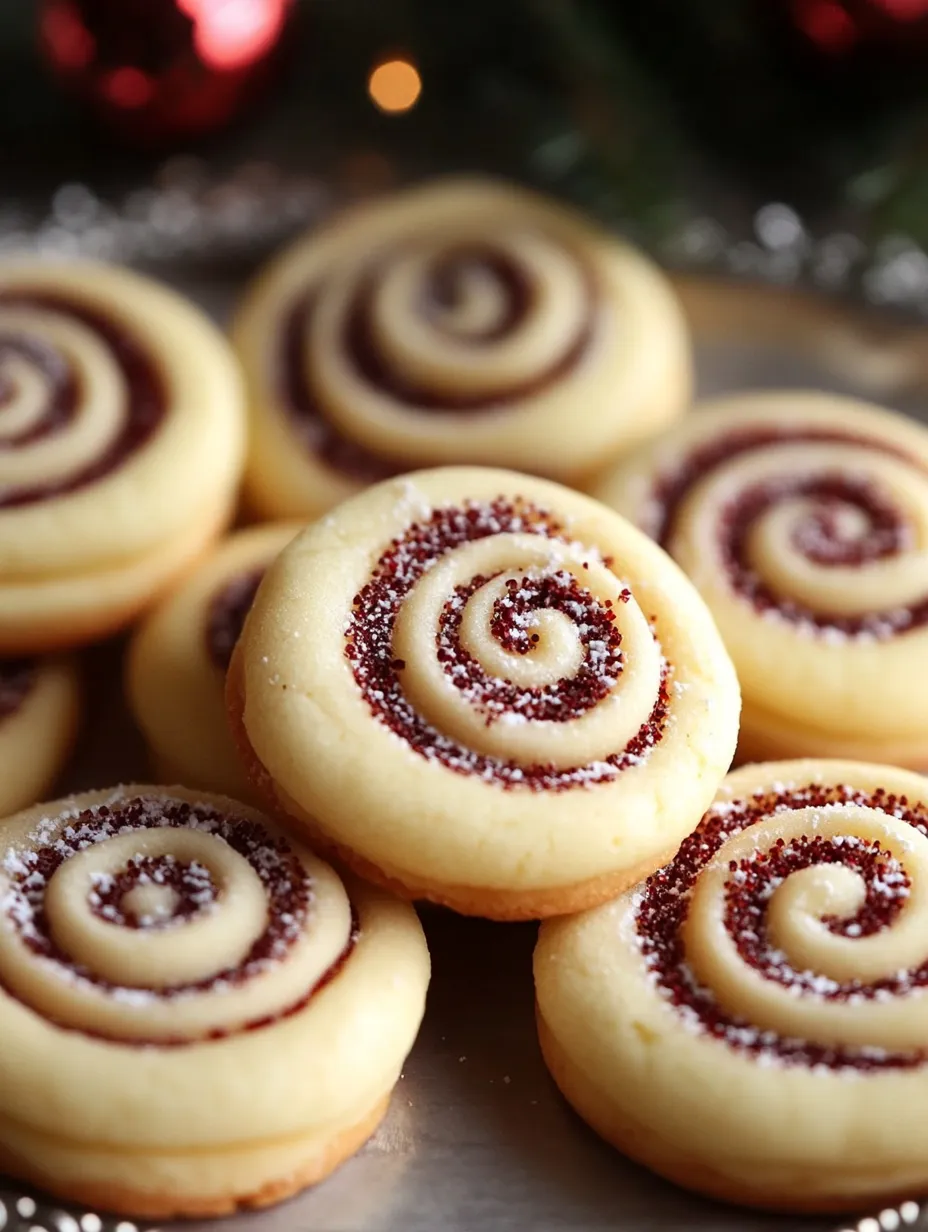
These magical Christmas Butter Swirl Cookies have turned into my greatest achievement during holiday baking time. What began as a basic test has grown into my go-to holiday sweet, mixing the buttery goodness of classic cookies with amazing swirls of vanilla and chocolate. Every batch shares a tale of waiting, exactness, and the simple fun of making something that looks as good as it tastes.
What Makes This So Special
During last Christmas, I devoted a whole weekend to getting these swirls just right with my grandma. She showed me that the trick isn't just about what goes in, but the care and time you spend on each cookie. Now, whenever I bake them, I remember her hands showing mine how to make that gentle swirling move.
Key Components
- European-style butter: Its extra fat makes for an amazingly soft texture
- Quality powdered sugar: Gives that melt-away feeling without any graininess
- Fresh egg yolks: Brings richness and holds everything together nicely
- Real vanilla extract: Worth spending more on - you'll taste the difference
- Dutch-process cocoa powder: Gives richer chocolate taste and better color
- All-purpose flour: Has just the right amount of protein for perfect texture
 Pin it
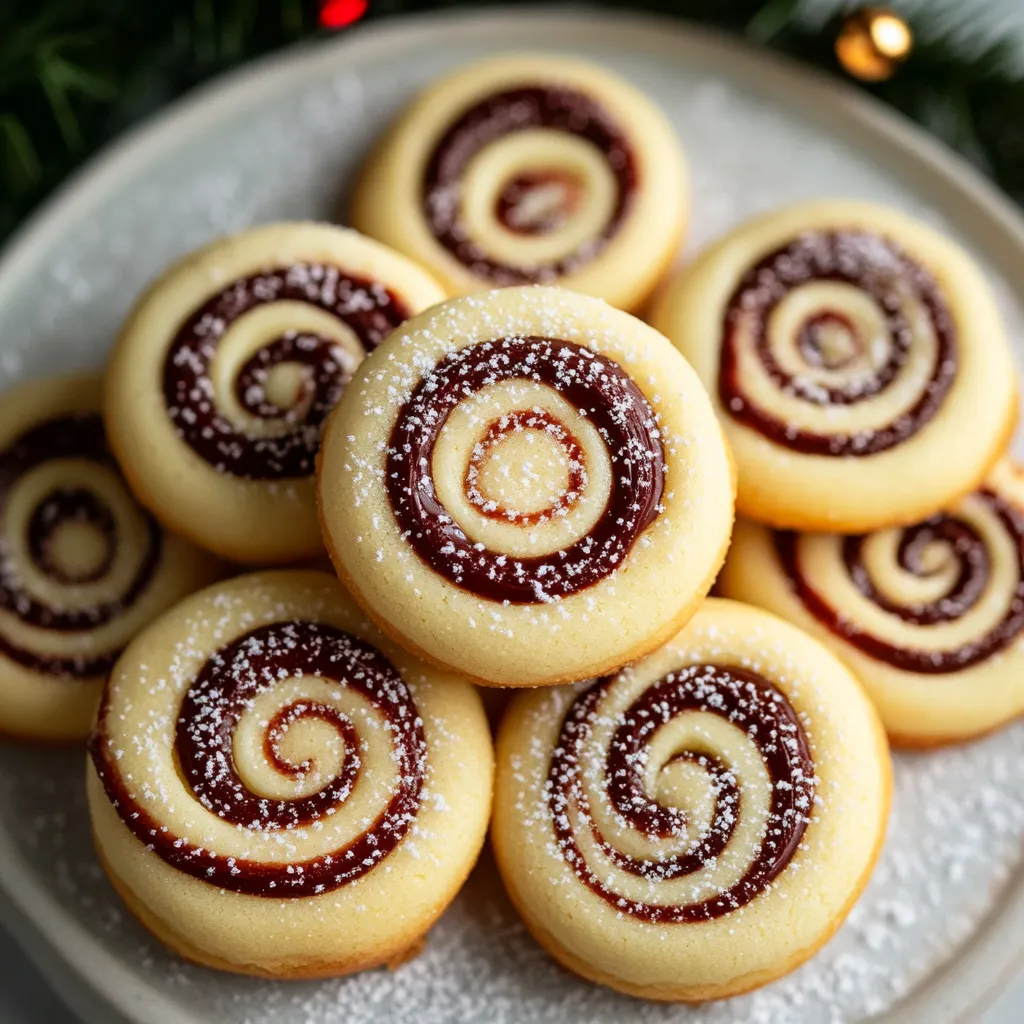
Step-by-Step Guide
- Get Your Butter Ready (30 minutes before you start):
- Take butter from the fridge and cut it into small chunks. Let it sit out until it's slightly soft. Check by poking it - your finger should make a small dent.
- Mix Your Base Dough (15 minutes):
- Beat butter and powdered sugar until it's fluffy and light, for about 5 minutes. Add egg yolks one by one, mixing well after each. Scrape the bowl sides often to mix everything evenly.
- Split Into Two Flavors (10 minutes):
- Use a kitchen scale to split the dough exactly in half. Mix vanilla into one batch until it's all blended. Sift cocoa into the other batch so you don't get lumps.
- Form Your Cookies (20-25 minutes):
- Take same-sized bits from each dough type. Roll each piece into a ball. Push them together softly. Roll the combined ball to make the swirl pattern.
- Cool and Bake (15 minutes hands-on):
- Put shaped cookies on baking sheets lined with parchment. Cool in the fridge at least 30 minutes. Bake at 350°F until the edges just start turning golden. Let them sit on the sheet for 2 minutes before moving them.
 Pin it
Important Tips
In my childhood, my mom always told me that butter cookies really show how good a baker is. Now, as I teach my kids to make these swirled treats, I get what she meant. The care needed for temperature control and gentle handling gives us a chance to practice being patient and paying attention to small details.
Mastering Temperature
Learning how temperature affects these cookies has changed my baking game. Butter needs to be just right - too cold and the dough won't mix well, too warm and the swirls will blend too much. I've learned to plan ahead by setting stuff out an hour before so everything's the perfect temperature.
Creating Beautiful Swirls
After making tons of batches, I've found that those perfect spirals come more from feel than following rules. Each cookie becomes its own little work of art as you carefully roll the doughs together. I love seeing my daughter's excited face when she makes her own swirl patterns, with each one looking different.
Family Christmas Customs
These cookies have become more than just a sweet treat for our family - they're now a big part of how we celebrate Christmas. Every December, we all crowd into the kitchen, turn on holiday tunes, and spend the afternoon making these pretty cookies. The whole house smells like butter and chocolate, letting us know the holidays have started.
Keeping Them Fresh
Through lots of tries, I've figured out how to keep these cookies tasting great. Putting them in containers that seal tight with parchment paper between layers keeps their texture nice and stops the swirls from sticking to each other. They'll stay good for about a week, though we usually eat them all way before then!
Wrapping Them As Gifts
These swirl cookies make awesome presents when packed nicely. I enjoy arranging them in old-fashioned tins with colorful tissue paper, or making special cookie boxes with see-through tops to show off their pretty patterns. Adding a hand-written note with storage tips gives that personal touch people love.
Playing With Colors
While vanilla and chocolate always work great together, I've tried lots of different color combos for various events. Pink and white for Valentine's Day, soft colors for Easter, or orange and black for Halloween - you can do so many things. Just remember to use gel food coloring so your dough stays the right consistency.
Fixing Common Problems
Even good bakers run into issues sometimes. If your cookies spread out too much, your dough probably needs more time in the fridge. Uneven swirls usually happen when your dough balls aren't the same size. I always keep a kitchen scale nearby to make sure each piece weighs exactly the same.
Fancy Serving Ideas
Setting these cookies out on a plate is an art all its own. I build small pyramids to add height, or lay them out in a spiral for a cool look. Adding some fresh pine sprigs or shiny decorations makes holiday displays look even more festive.
Getting Ahead Of Schedule
During busy holiday times, I've learned to work smarter by planning ahead. You can make and shape the dough up to three days early and keep it in the fridge, or freeze it for up to a month. There's nothing better than having ready-to-bake cookies on hand when friends drop by unexpectedly.
Adjusting For Weather
Living in different places has taught me to tweak this recipe based on the climate. In humid areas, the dough might need extra cooling time. During winter, I let the shaped cookies warm up a bit before baking so they don't crack. Learning to feel when your dough is just right is super important.
Adjusting For Dietary Needs
Over time, I've come up with changes to fit different food needs. Using plant butter and egg replacer works for a vegan version, while almond flour can work for a gluten-free option. The trick is keeping the right balance of fat to flour for that special texture.
Smart Baking Tricks
- Check your oven's real temperature with a separate thermometer
- Turn baking sheets around halfway through for even browning
- Tap cooled cookies to hear a slight hollow sound
- Keep extra powdered sugar handy to fix dough that's too wet
Pro-Level Methods
For folks who want to take their butter swirl cookies to the next level, I've worked out some fancy variations. Making three-color swirls takes careful temperature handling but looks amazing. I've also tried putting tiny designs inside the swirls - little hearts for Valentine's Day or stars for Christmas create fun surprises when you bite into them.
Finding Your Rhythm
The flow of making these cookies becomes almost calming once you get the timing down. I've found that setting a loose schedule - 30 minutes for mixing dough, 15 minutes for splitting and coloring, 20 minutes for shaping, plus cooling breaks - helps keep the relaxed pace you need for great results.
The Science Behind It All
Getting to know the science of these cookies has really improved how mine turn out. The fine texture of powdered sugar makes cookies more tender than regular sugar would, while the right amount of protein in the flour gives structure without making them tough. Even how the butter forms crystals plays a big part in getting those perfect swirls.
Why Exact Measurements Matter
A digital scale has become my most valuable tool for these cookies. Weighing ingredients ensures they turn out the same every time, especially when dividing the dough. I weigh each piece before combining them for swirling - this attention to small details is what turns good cookies into great ones.
Ideas For Every Season
Each time of year brings new ways to get creative. Spring makes me think of light pastel swirls with a bit of lemon zest. Summer calls for bright, bold colors with tropical tastes. Fall brings warm spices and deep, rich colors. Winter, of course, is when the classic chocolate and vanilla swirls really shine.
All About Texture
The ideal butter swirl cookie should have a delicate bite that's firm enough to hold together but soft enough to melt as you eat it. Getting this balance comes from knowing how ingredients work together. Too much moisture makes them cakey, while too little leaves them crumbly.
 Pin it
Taking Skills Further
I've realized that the swirling technique I learned from these cookies works great with other baked goods too. The same ideas can work for quick breads, pound cakes, and even homemade ice cream. It's become a foundation for getting creative in my kitchen.
Making Them Your Own
Each baker develops their own style with these cookies. Some like bold, dramatic swirls, while others go for subtle, delicate patterns. I tell everyone to find what works for them - there's no single "correct" way to create these beautiful treats.
Last Thoughts From My Kitchen
Always bake one test cookie before doing a whole batch. Keep notes about changes you make and how they turn out. Trust your gut about how the dough feels. Remember that even imperfect swirls taste amazing. Making these butter swirl cookies has become more than just baking - it's a journey of always learning and finding joy. Whether you're baking them for a big event or just to make someone smile, each batch has the chance to be both beautiful and tasty. As you get better at these techniques, you'll join a long line of bakers who know that the most important thing you add is the care you put into every step.
Frequently Asked Questions
- → Is it okay to freeze them?
- Yep, they freeze great for up to 3 months. Keep them sealed tight, then thaw when you're ready to eat.
- → Why chill the dough beforehand?
- Chilling keeps the swirls neat and stops the cookies from spreading out too much in the oven.
- → Can I make the dough earlier?
- Sure, you can keep it in the fridge for 2 days. Bring it to room temperature a few minutes before shaping.
- → How’s the best way to store these?
- Put them in an airtight container, and they'll stay yummy for up to a week at room temperature.
- → What causes the cookies to spread too much?
- Check if your butter got too soft, and be sure to chill the dough. Those steps keep the swirls clean and cookies shaped right.