 Pin it
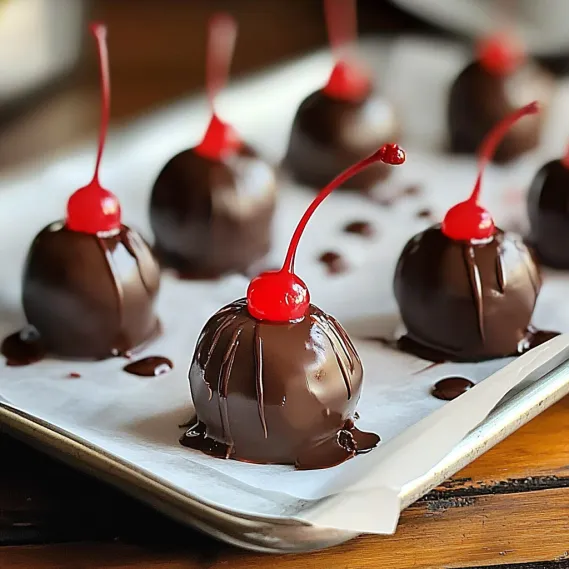
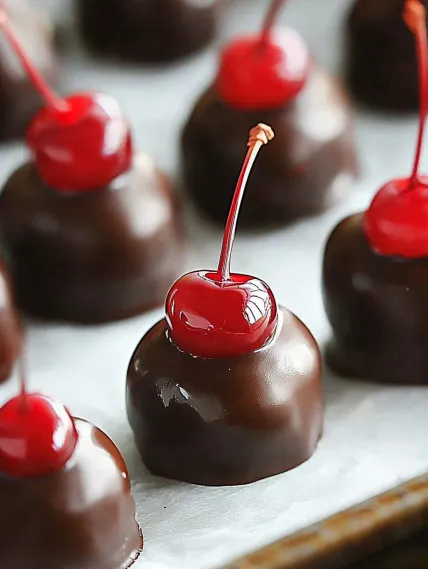
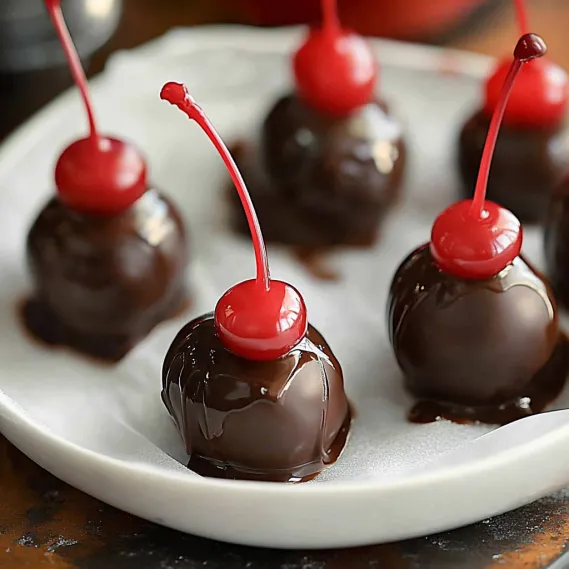
That first bite of a homemade Amish Chocolate Covered Cherry brings pure delight - the smooth chocolate outer layer breaks open to reveal sweet fondant, followed by that wonderful burst when you reach the cherry and its cordial liquid center. It's a mix of textures and tastes that you won't be able to resist.
For Christmas last year, I put these in cute little boxes for my kid's teachers. At the next school meeting, her math teacher pulled me aside and told me she'd kept them hidden from everyone at home so she wouldn't have to share them. What made them so good? Taking time to dry the cherries properly and letting the finished candies sit long enough for that amazing liquid center to form naturally.
Key Ingredients and Smart Selection Advice
- Maraschino Cherries: Go for juicy, firm ones with nice color. I like using cherries that still have their stems for that classic look, but ones without stems work fine too.
- Powdered Sugar: Make sure it's fresh without any clumps. Its super-fine texture helps create the smooth fondant that will eventually turn into that yummy liquid center.
- Butter: Pick salted butter that's soft at room temp for easy mixing. That bit of salt helps balance out all the sweetness.
- Chocolate: Get good quality semisweet or dark chocolate for the best melt and flavor. Don't use chocolate chips as they have additives that make dipping harder.
- Cherry Juice: Saved from your jar of maraschino cherries, this adds flavor and helps with the cool change from solid to liquid centers.
I've learned that your choice of maraschino cherries really affects how these taste. That bright red color and tangy-sweet flavor comes from using real maraschino cherries instead of plain black tea with food coloring, which some recipe books suggest you can use instead.
Simple Step-by-Step Cooking Guide
- Step 1: Get Your Cherries Ready
- Drain the maraschino cherries but save ¼ cup of the juice for later. Pat the cherries completely dry with paper towels, then lay them out on fresh paper towels to air dry for at least half an hour. This drying part is super important - it helps the fondant stick properly and stops the chocolate from getting weird when you dip.
- Step 2: Mix Up Your Magic Fondant
- In a big bowl, mix 3 cups of sifted powdered sugar with 3 tablespoons of soft salted butter and the cherry juice you saved. Beat everything with an electric mixer until you get a soft, stretchy dough. If it seems too sticky, add up to 1 more cup of powdered sugar until it holds its shape when you mold it.
- Step 3: Wrap Those Cherries Right
- Cool the fondant in the fridge for 20 minutes to firm it up a bit. Take about a tablespoon of fondant, roll it into a ball, then flatten it into a disc. Put a dried cherry in the middle and carefully wrap the fondant around it, covering the whole cherry except for the stem if yours have stems. Put these wrapped cherries back in the fridge for 20 minutes to get firm before the next step.
- Step 4: Add the Chocolate Coating
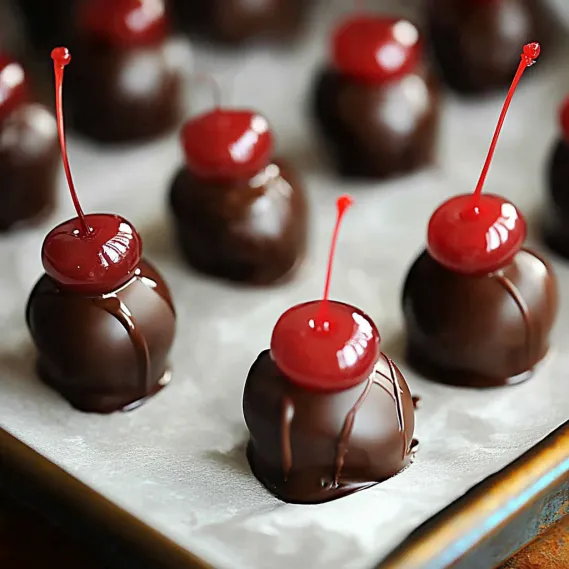
- Melt 12 ounces of good chocolate in a microwave-safe bowl. Heat it at half power in 30-second bursts, stirring well between each until it's smooth. Working with just a few cherries at a time (keep the rest in the fridge), dip each fondant-covered cherry into the chocolate using a fork, making sure they're completely covered. Put them back in the fridge for 20 minutes to set the chocolate.
- Step 5: Let the Magic Happen
- Let the dipped cherries finish setting at room temperature on parchment paper until the chocolate is totally firm, about 1-2 hours. Store them in one layer in an airtight container at room temperature for 3-6 days. This is when the cool part happens - the fondant slowly turns into liquid to create that perfect cordial center.
 Pin it
When I first tried making this recipe, I thought the wrapping part would be hard. After a few lopsided tries, I figured out that simple folds work just as well as perfect ones - they'll taste amazing either way. Now my kids help with the folding, and they've come up with their own special ways that have become part of what our family does together.
Achieving Incredible Texture Balance
What makes these cookies special is how they mix different textures - crunchy bottoms with soft, tasty fillings. I've found that managing moisture is the key to getting this right. You need to really squeeze the salted cabbage to get extra water out or your filling will end up mushy. The cornstarch doesn't just hold the filling together - it also soaks up any leftover moisture. And the way you cook them - frying, then steaming, then frying again - gives you that awesome crispy bottom while making sure the filling cooks all the way through.
 Pin it
Clever Prep-Ahead Tricks for Parties
What I love most about this recipe is how you can make it ahead of time. When I'm hosting, I often do this in stages: shape and freeze the balls up to a month before, bread them the day before (keeping them covered in the fridge), and then just bake them when company arrives. The smell of these cooking makes the whole house smell amazing and gets everyone excited to eat. For bigger gatherings, I make twice as much, keeping the second batch warm in a low-temp oven until we need them.
Creative Ways to Use Extra Treats
If you somehow end up with leftover cookies (which hardly ever happens at my house!), you can turn them into completely different meals. Try crumbling them into scrambled eggs for a French-style breakfast mix, or cut them up and toss them in a simple green salad with some spicy dressing for a light lunch. My favorite way to reuse them is to put halved cookies on top of a bowl of creamy grits, making a hearty breakfast that carries the flavors into the next day.
 Pin it
Smart Tricks for Better Results
- Let the balls cool for 5 minutes after they come out of the oven before you eat them - this helps the inside set up for the perfect bite
- Want to kick up the flavor? Add a teaspoon of smoked paprika to your panko mix
- Can't find cookies in your area? You can buy them online from real deal places like Bourgeois Meat Market or The Best Stop
- Set out several dipping options - spicy remoulade and cool ranch along with the Louisiana dipping sauce
- For a fancy party look, arrange the balls on a plate with bits of chopped parsley, purple cabbage, and yellow bell pepper scattered around to show the traditional green, purple, and gold colors
Frequently Asked Questions
- → Why is it important to dry cherries completely first?
- If the cherries aren't dry, the fondant might slip off or get too wet, making it hard to work with. Moist cherries can also make the chocolate clump or refuse to stick. Use a towel to gently but thoroughly dry them for better results.
- → What’s the shelf life of these treats?
- Keep them sealed in an airtight container at room temperature for up to 1-2 weeks. Over time, the fondant absorbs moisture to form a gooey center—just like the store-bought kind. Make them 3-5 days ahead if you want a more liquid center.
- → Can I replace semi-sweet chocolate with other types?
- Absolutely! Try dark, milk, or even white chocolate depending on your taste. Just stick to high-quality chocolate bars or melting wafers because chocolate chips might give you a grainy coating.
- → What do I do if the fondant is too sticky?
- Add powdered sugar bit by bit until it’s less sticky and easier to handle. Keep a little sugar on your hands to avoid sticking as you work. If it’s still too soft, refrigerate it for 10-15 minutes to make it firmer.
- → Can I make these without keeping the cherry stems?
- Of course! Stems make dipping easier, but you can use a fork to coat stemless cherries in chocolate. After dipping, place them on parchment paper and touch up gaps with a toothpick if needed.
- → Why isn’t my chocolate hardening properly?
- If the chocolate isn’t firming up, it could be too warm where you’re working, or the chocolate wasn’t prepared for coating. Let them chill in the fridge for 15-20 minutes to solidify the chocolate. If you want extra shine and snap, try chocolate tempering.
