 Pin it
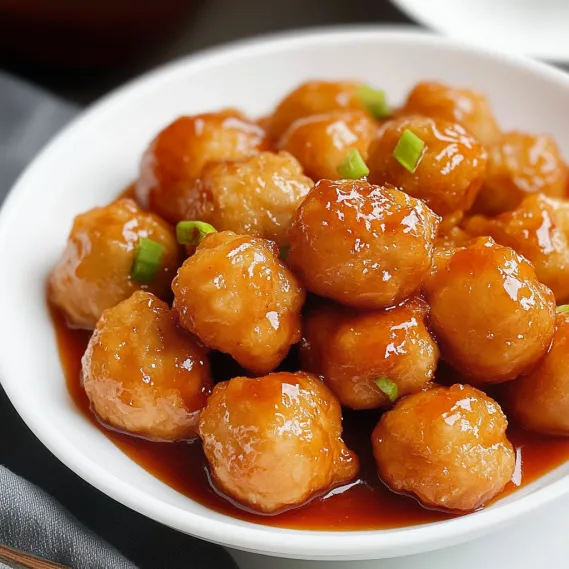
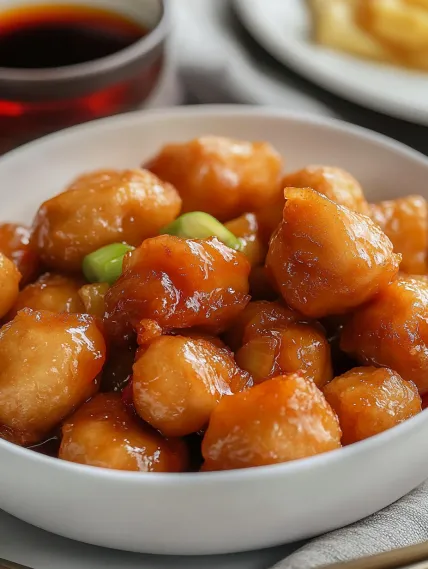
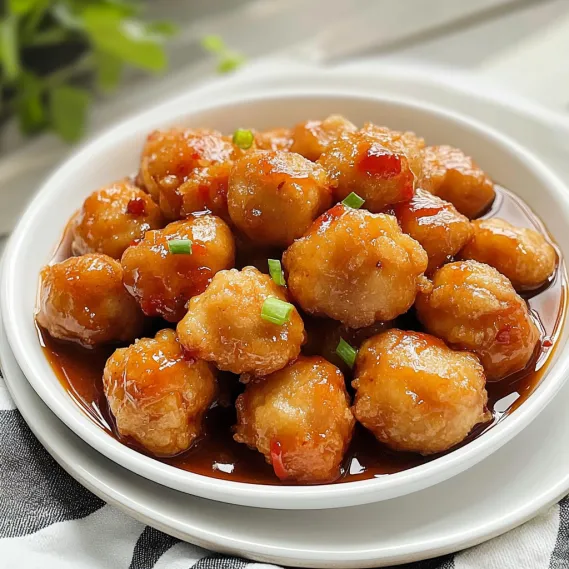
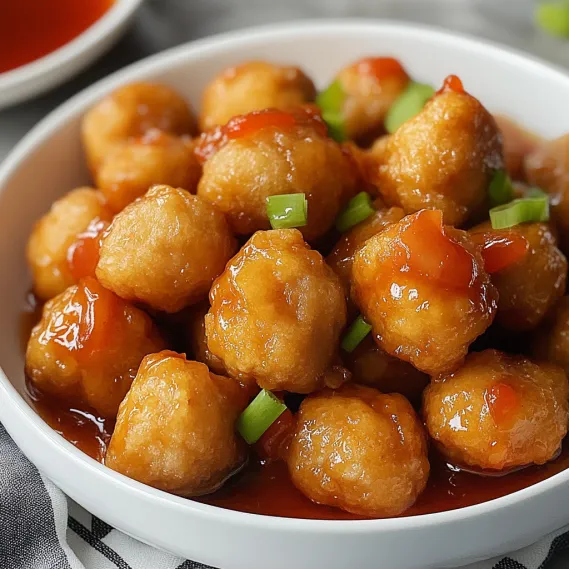
These Chinese chicken balls hit all the right notes with their incredibly crunchy coating wrapped around juicy, soft chicken chunks, complemented by a homemade zingy and sweet dipping sauce. Using the two-stage frying method gives you that genuine takeout-style crispiness that won't go soft in minutes but stays crunchy for hours. This much-loved favorite turns basic ingredients into addictive morsels that won't last long at any party. The best part? Making them yourself means you pick the ingredients and enjoy them piping hot straight from your kitchen.
I started trying to make these chicken balls after I moved too far from my go-to Chinese spot. After many disappointing tries with heavy, damp batter, I finally learned the real tricks from the dad of a friend who'd run a Chinese restaurant for years. The first successful batch had my family amazed at how genuine they tasted – crunchy outside, soft chicken inside, plus that spot-on sweet-sour sauce for dipping.
Key Ingredients and Smart Selection Advice
- Chicken Breast: Pick boneless, skinless breast for its clean taste and smooth texture. Dice into 1-inch chunks for the ideal bite-sized pieces.
- Plain Flour: The main batter component that gives structure and crunch. Grab all-purpose flour for best outcome.
- Corn Starch: Adds that signature lightness and helps get the perfect golden hue. Regular flour won't work the same way.
- Baking Soda: This magic addition makes the coating puff up and get fluffy. Just a small amount changes everything.
- Ketchup & Vinegar: These create the foundation of your sweet-sour sauce, giving both sweetness and tanginess.
I've found that how moist your chicken is makes a big difference in your final chicken balls. If your chicken pieces seem very wet or floppy, try mixing in a tablespoon of dry breadcrumbs with them to help them stick together better while you shape and freeze them.
Step-By-Step Cooking Guide
- Step 1: Mix Up Your Chicken Marinade
- Chop 500g chicken breast into 1-inch pieces and put in a mixing bowl. Toss in 1 teaspoon salt, ½ teaspoon white pepper, 1 teaspoon sesame oil, 1 teaspoon sugar, ¼ teaspoon baking soda, 1 teaspoon garlic paste, and 1 tablespoon cornstarch. Mix everything with your fingers until all pieces are covered, then stick in the fridge for 30-60 minutes.
- Step 2: Whip Up The Airy Batter
- Grab a big bowl and mix 1 cup plain flour, ½ cup cornstarch, ½ teaspoon salt, and ½ teaspoon baking soda. Slowly pour in 1 cup cold water while stirring until you get a batter that's not too thick or thin but coats a spoon nicely. Let it sit for 5 minutes while your oil heats up.
- Step 3: Get The Two-Fry Method Right
- Heat oil to 340-350°F in a deep pot or wok. Roll marinated chicken in cornstarch, dunk in batter, then carefully drop into hot oil. Cook small groups for 3 minutes till pale gold, take out and drain. Once all pieces have had their first fry, turn up the heat slightly and fry them again for 1-2 minutes until deep gold and super crispy.
- Step 4: Cook Up Your Tangy-Sweet Sauce
- In a small pot, mix ¼ cup ketchup, 2 tablespoons tomato puree, ¼ cup sugar, 1 tablespoon white vinegar, and ¼ cup water. Cook on low for 2-3 minutes until it thickens a bit. Take it off the heat and stir in 1 tablespoon cornstarch mixed with 2 tablespoons water until smooth.
- Step 5: Serve Them Up Hot
- Put your crispy chicken balls on a plate lined with paper towels to soak up extra oil. Serve them right away with sweet-sour sauce on the side for dipping, or toss them in the sauce to coat them completely.
 Pin it
When I first tried this recipe, the double-frying part scared me. After a few wonky attempts, I figured out that simple folds work just fine - they taste amazing no matter what. Now my kids help fold them, making their own special shapes that have become a family tradition we all look forward to.
Achieving Amazing Texture Every Time
What makes these chicken balls special is how they balance different textures - crunchy on the bottom and tender on top. I've learned that managing moisture is crucial at each step. Start by squeezing all the water from your salted cabbage so your filling won't get soggy. Then, the cornstarch works double-duty by binding everything while soaking up any leftover moisture. Finally, the cooking method - fry, then steam, then fry again - gives you that famous crispy bottom while making sure the filling cooks perfectly throughout.
 Pin it
Tasty Time-Saving Party Prep
What I really love about this recipe is how you can make it ahead for parties. When I'm hosting, I often work in stages: shape and freeze the balls up to a month early, coat them the day before and keep them covered in the fridge, then just bake them right before guests show up. The smell of these cooking fills the whole house with an amazing aroma that gets everyone hungry. For bigger gatherings, I make two batches, keeping the second one warm in a low-temp oven until needed.
Creative Ways To Use Leftovers
If you somehow have chicken balls left over (which hardly ever happens at my place!), they can turn into completely different meals. Break them up into morning eggs for a Chinese-style breakfast hash, or cut them up to top a simple green salad with spicy dressing for a quick lunch. My favorite trick is to cut leftover chicken balls in half and put them on top of creamy grits for a tasty breakfast that carries the flavors into tomorrow.
 Pin it
Smart Cooking Shortcuts
- Let the balls cool down for 5 minutes after cooking before you eat them – this helps the inside set up for the best bite
- For extra flavor kick, mix a teaspoon of smoked paprika into your panko mixture
- If you can't find chicken thighs nearby, try ordering online from places like Bourgeois Meat Market or The Best Stop
- Put out several dipping options – spicy remoulade and cool ranch alongside the sweet and sour sauce
- For a pretty presentation, arrange the balls on a plate with sprinkles of chopped parsley, purple cabbage, and yellow bell pepper to show the traditional green, purple, and gold colors
Frequently Asked Questions
- → Can I make the chicken ahead of time?
- Of course! Do the initial fry earlier, store in the fridge, then fry again for 2-3 minutes just before serving. It's a handy party prep hack!
- → Can I cook these without deep-frying?
- Instead of deep-frying, shallow fry until lightly browned, then finish cooking in an oven or air fryer. The crunch might differ a bit but they'll still taste great.
- → Why fry the bites twice?
- The first fry cooks the chicken and sets the coating, while the second creates that ultra-crispy outer layer that stays crunchy longer.
- → Can I tweak the sauce to my liking?
- Definitely! Add more sugar for sweetness, extra vinegar for zing, or mix in chili flakes for a spicy kick.
- → What pairs well with these chicken bites?
- They're delicious on their own or as part of a spread with fried rice, noodles, or veggie stir-fry. You can also add them to party platters with dumplings or spring rolls.
- → How long can I store the sauce?
- Keep it in an airtight container in the fridge for up to a week. It's versatile and great for dipping spring rolls, fries, or wontons.
