 Pin it
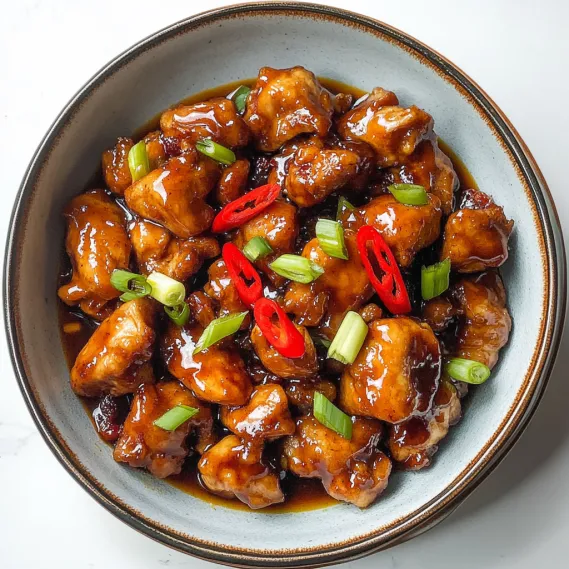
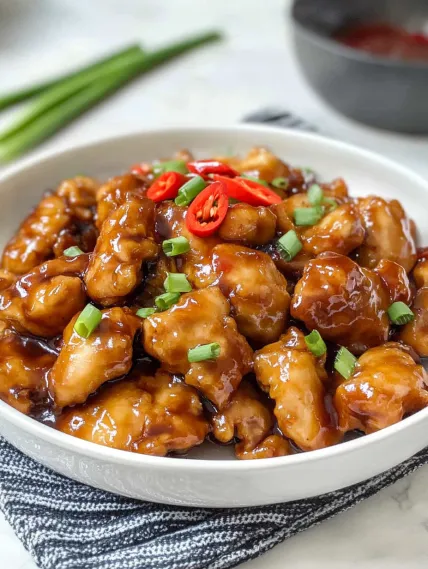
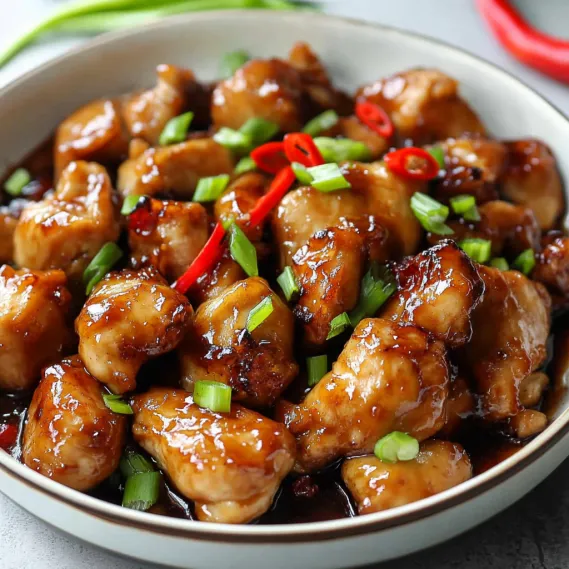
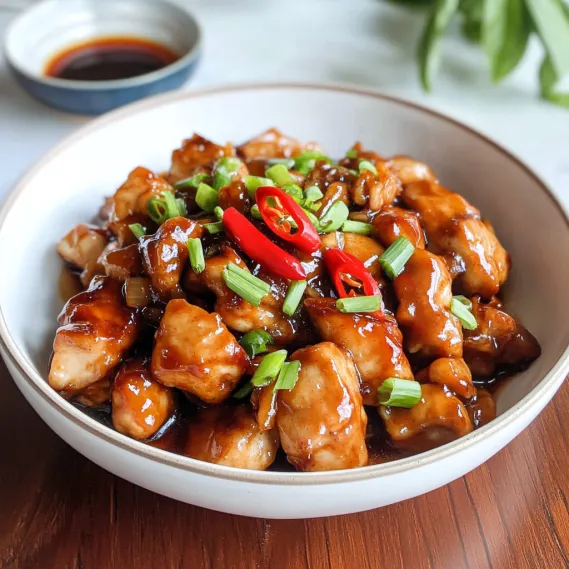
Irresistibly crispy chicken chunks coated in a rich, sweet-savory glaze - this Mongolian Chicken brings restaurant-worthy taste straight from your own kitchen. Juicy pieces of chicken get an amazing crunchy exterior before they're bathed in a mouthwatering sauce with zingy ginger, punchy garlic, and just enough spice. You can whip it up in only 25 minutes, making this tempting dish your new favorite way to satisfy Chinese food hankerings at home.
I stumbled on this dish after relocating far from my beloved Chinese eatery where I'd always order their famous specialty. Through trial and error, I came up with this version that honestly tastes even better than what I remembered. Now my family asks for it every week, and whenever I serve it to guests, they beg me for the instructions.
Key Ingredients and Smart Shopping Advice
- Chicken Thighs: Go with boneless, skinless ones as they're more tender than breast meat. Cut them the same size so they cook evenly.
- Cornstarch: Gives you a crunchier result than flour would. You can use flour if that's all you've got though.
- Hoisin Sauce: This makes the distinctive sweet-savory foundation. Try to pick brands with minimal additives.
- Fresh Ginger: Can't skip this for genuine flavor. Keep it in your freezer and grate while it's still frozen for easy handling.
- Red Chili: Controls how spicy your dish turns out. Take out the seeds if you want it milder.
I've noticed that keeping a tiny bit of dampness on the chicken before dusting it with cornstarch makes the perfect coating. This little trick makes sure the cornstarch sticks properly and creates that amazing crunch we all want from restaurant dishes.
Step-by-Step Cooking Guide
- Step 1: Mix Your Thickener
- Grab a small bowl and blend 1 tablespoon cornstarch with ½ cup cold water, mixing until it's smooth with zero lumps. This mixture will make your sauce thick enough to cling nicely to your chicken bits when you add it later on.
- Step 2: Get Your Chicken Ready
- Slice 1½ pounds of boneless skinless chicken thighs into chunks about 1½ inches big, trying to keep them roughly the same size for even cooking. Toss these pieces in a big bowl with ⅓ cup cornstarch until each chunk has a thin, even layer of coating.
- Step 3: Cook the Chicken
- Heat up ¼ cup neutral oil in a large, heavy pan over medium-high heat until it's hot but not smoking. Work with small batches so the pan isn't crowded, and fry the coated chicken for 5-7 minutes. Turn them now and then until they're golden and crunchy all over, with an inside temp of 165°F.
- Step 4: Cook Your Flavor Base
- Drain off most of the oil, leaving about 2 tablespoons in the pan. Put it back on medium heat and throw in 2 tablespoons minced fresh ginger, 3 cloves minced garlic, and 1 sliced red chili (use more or less depending on how spicy you like it). Stir for about 10 seconds just until they smell good but don't brown.
- Step 5: Whip Up Your Amazing Sauce
- Into your fragrant mix, pour 3 tablespoons hoisin sauce, 2 tablespoons soy sauce, 2 tablespoons brown sugar, and 1 teaspoon sesame oil, stirring to mix it all up. Give your cornstarch mixture another quick stir and add it to the pan, then let everything bubble for 1-2 minutes until it gets glossy and thick enough to coat the back of a spoon.
- Step 6: Put It All Together
- Mix in your crispy chicken, making sure each piece gets totally covered in that sticky, flavorful sauce. Gently toss everything together, then take it off the heat and sprinkle with fresh green onions and toasted sesame seeds before serving right away.
 Pin it
The first time I tried making this, I learned you can't crowd the pan when frying chicken. When pieces touch each other, they end up steaming instead of frying, giving you soggy coating. These days I take my time and cook in batches, making sure each piece has enough space to get that perfect crunch that stands up to the sauce.
Mouthwatering Flavor Harmony
This dish shows off what makes great Chinese cooking so special - complex flavors working together. The sauce mixes sweetness from hoisin and brown sugar with savory soy sauce, zesty ginger, and hot chili. The garlic adds richness while sesame oil brings a nutty finish. Every ingredient plays a key part in how the final dish tastes.
 Pin it
Quick Swaps for Different Diets
You can easily change this dish to fit various dietary needs. For gluten-free eating, use tamari instead of soy sauce and find a gluten-free hoisin brand. Make it vegetarian by using extra-firm tofu or seitan instead of chicken. Want something lighter? Air-fry your coated chicken rather than pan-frying. The tasty sauce works great with any protein you choose.
Great Sides for a Complete Dinner
Round out your homemade Chinese feast with perfect accompaniments. Plain white rice soaks up all that wonderful sauce. Add some color with grilled pineapple slices, roasted veggies, or a fresh cucumber-mango mix. For a true restaurant-style experience, include some egg rolls, crab rangoons, or a simple cucumber side to balance the rich main dish.
Prep Ahead and Storage Ideas
Make dinner easier by doing some prep work early. Cut and coat your chicken up to 8 hours ahead, keeping it covered in the fridge. You can mix all sauce ingredients and store them separately. Any leftovers will stay tasty for up to 4 days in the refrigerator. When reheating, do it gently to keep the chicken's texture intact.
How to Get Super Crispy Chicken
- Follow these easy tricks for restaurant-quality crunchiness
- Dry your chicken thoroughly before adding the coating for best results
- Cook just a little bit at a time to keep the oil temperature high
- After frying, put chicken on a wire rack instead of paper towels so steam doesn't make it soft
- Check your sauce flavor before adding chicken and adjust if needed
After my first try ended with coating that just fell off the chicken, I learned how important proper prep is. Now I even put the chicken pieces uncovered in the fridge for an hour if I have time. This extra step gets rid of surface moisture and gives you the crunchiest possible coating that stays put under the sauce.
 Pin it
Pro Kitchen Tricks
- Store unused ginger in the freezer for easy grating straight into your cooking
- Keep some marinade separate before adding raw chicken for a safe basting sauce
- Combine chicken with pineapple chunks on skewers for tasty Hawaiian-style kebabs
- Start on high heat for a nice sear, then lower to medium to finish cooking through
- Add a spoonful of cornstarch when simmering sauce for an extra-thick, glossy finish
- Sprinkle with toasted sesame seeds before serving for better looks and crunch
I've been tweaking versions of this dish for more than ten years, always trying to make it better. The biggest improvement came when I started using the broiler to finish cooking the salmon, giving it that perfect mix of crispy outside and juicy, tender inside.
Frequently Asked Questions
- → Can I swap chicken breast for thighs?
- Absolutely, using chicken breast works too. However, since it's leaner, it can dry out faster. Cut slightly larger chunks (around 2 inches) and lower the cooking time by 1-2 minutes. Watch closely to avoid overcooking.
- → What tweaks make it less sweet?
- If you prefer less sweetness, reduce the brown sugar to about 1 tablespoon. Add an extra teaspoon of soy sauce to maintain balance. Remember, hoisin sauce is naturally sweet, so the dish will still keep some sweetness.
- → Can this meal be prepped earlier?
- This is best when fresh, but some steps can be prepped ahead. Coat and dice the chicken, then refrigerate it (covered) for up to 4 hours. Mix the sauce components and set aside. Fry the chicken and finish the sauce when you're ready to eat. Leftovers can last 2-3 days in the fridge but won't stay as crispy.
- → What pairs well with Mongolian Chicken?
- Serve it over steamed white or brown rice to soak up the sauce. For a low-carb side, use cauliflower rice. Steamed veggies like broccoli or bok choy add a nice touch. To recreate a takeout-style dinner, add spring rolls or a cucumber salad.
- → Is there a way to make it gluten-free?
- Yes, swap regular soy sauce for tamari or a gluten-free variety. Look out for gluten-free hoisin sauce, which you can often find in health stores, or make your own. Confirm your cornstarch is gluten-free—most are naturally safe. These swaps keep the dish flavorful and gluten-free.
