 Pin it
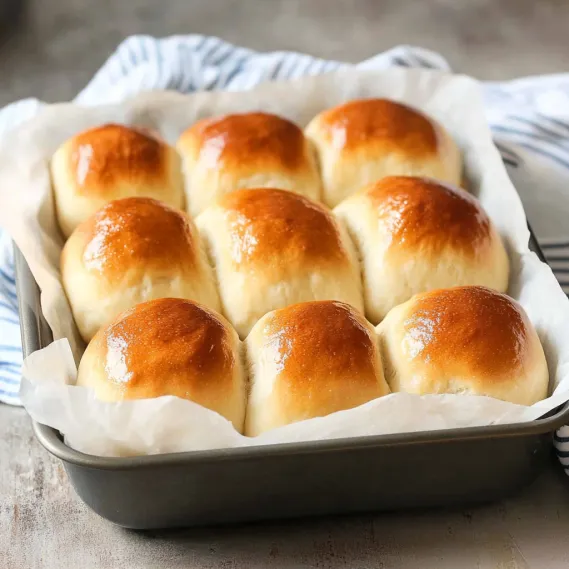
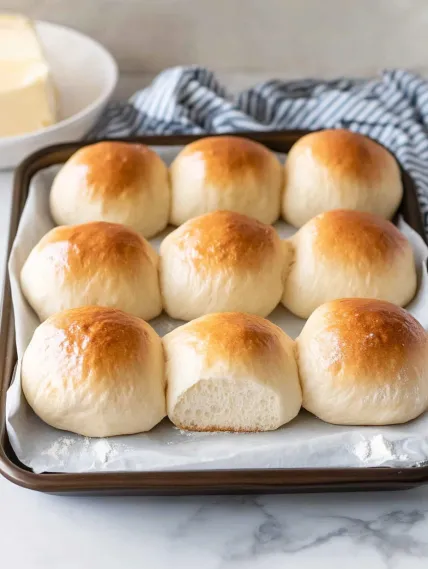
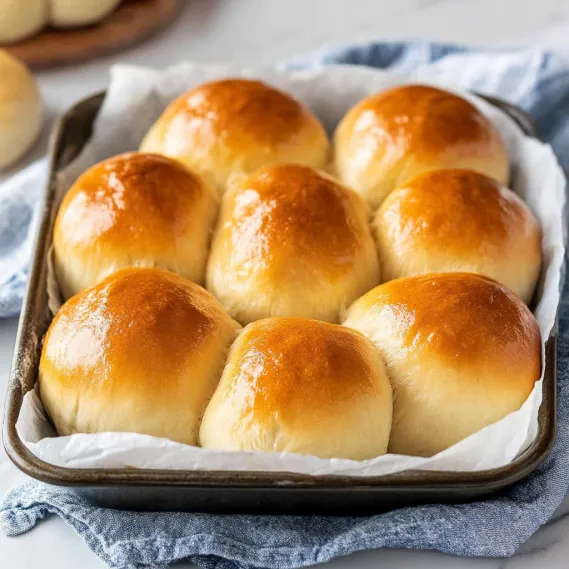
These pillowy stir-and-wait dinner rolls will make you forget all about complicated bread recipes. Just dump everything in one bowl, mix it up, and let time handle the rest—no kneading, no fancy equipment, just a bit of waiting. They turn out amber-topped, airy on the inside, with that just-right balance of sweetness and saltiness that keeps you reaching for more. Serve them hot with a pat of butter for dinner or use them for next-day lunch sandwiches—they're a total game-changer for anyone wanting homemade bread without the hassle.
I whipped these up for our weekend family dinner, and they disappeared before anything else. My hubby, who normally only cares about crusty artisan bread, couldn't stop talking about how soft they were. Now I make them regularly—sometimes just to fill the house with that amazing fresh bread smell.
Perfect Ingredients Breakdown
- Bread Flour: Creates ultimate fluffiness—regular flour works too, but bread flour gives the airiest texture. Get a new bag since older flour can taste stale.
- Dry Yeast: Your rising superstar—check that it bubbles properly when activated. I grab instant yeast from my grocery store and it works every time.
- Milk: Slightly warm whole milk adds softness—you can use lower fat versions but they won't be quite as tender. It should feel comfortably warm, never hot.
- Butter: Melted then cooled down, it's what makes them irresistible. Go with unsalted so you can control the final flavor.
- Eggs: Use them at room temperature for smooth mixing and better rising—cold ones can slow everything down.
The butter really makes these special—without it, they just don't taste as good. I skipped it once and totally regretted it. My kids can actually smell the difference and come running to the kitchen when that buttery aroma fills the air.
Simple Mixing Instructions
- Step 1: Get the Yeast Going
- Combine 1 tablespoon dry yeast with 2 teaspoons of your sugar (take it from the ¼ cup you'll use total) and ½ cup warm water in a small bowl. Wait 5 minutes until it's bubbly—if nothing happens, your yeast is dead and you'll need fresh.
- Step 2: Combine Everything
- Dump 4 cups bread flour, the remaining sugar from your ¼ cup, and 1 ½ teaspoons kosher salt in a large bowl. Create a hole in the middle, then pour in 1 cup warm milk, 3 ½ tablespoons melted butter, 2 beaten eggs, and your bubbly yeast mixture. Stir with a wooden spoon until you get a thick, sticky mixture—it'll be like thick cake batter, not runny.
- Step 3: Let It Grow
- Cover your bowl with a wet kitchen towel and put it somewhere warm (above 77°F is ideal) for 1 ½ to 2 hours until it's almost tripled and looks bubbly. My secret spot? I run the clothes dryer for a minute empty, then stick the bowl inside—works perfectly!
- Step 4: Form Your Rolls
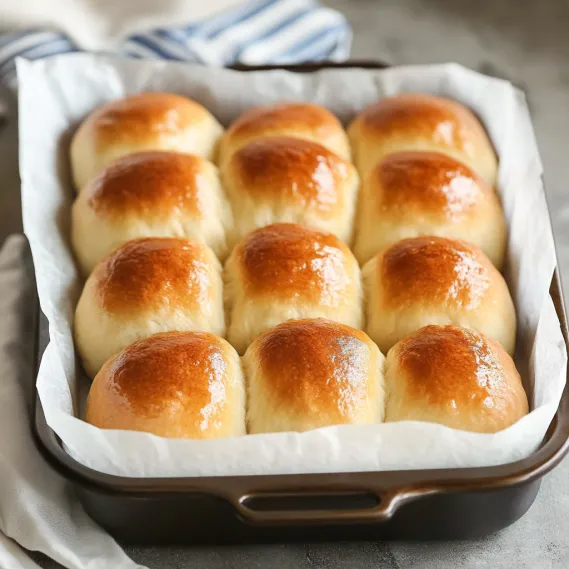
- Put parchment paper in a 9x13-inch baking dish with extra hanging over the sides. Push the dough down to release air bubbles, then scrape it onto a floured surface. Dust flour on top, shape into a log, and cut into 12 even pieces. For each piece, gently flatten it, pull the edges up like a little sack, flip it over, and roll into a smooth ball—this keeps the tops looking nice. Arrange them in your pan, 3 rows of 4.
- Step 5: Second Rise Time
- Spray the rolls with cooking oil (or cover with oiled plastic wrap) and let them rise in that warm place for 30-45 minutes until they've grown about 75% bigger—not fully doubled. Start preheating your oven to 350°F (with fan) or 390°F (without fan) halfway through this wait.
- Step 6: Bake to Golden
- Bake for 15-18 minutes until they're golden brown—tap the middle roll and listen for a hollow sound. Brush them with 1 tablespoon melted butter as soon as they come out, then use the parchment to lift them onto a cooling rack. Let them cool slightly before serving warm.
 Pin it
The yeast in this recipe works like magic. My mom tried a roll and said it took her back to her grandmother's kitchen, but without all the hard work. We've been making them nonstop since then, especially for that moment when you break one open steaming hot and add a swipe of butter.
Prep Them Earlier
These rolls are perfect for planning ahead. Form them, stick them in the fridge overnight (wrapped well), then let them sit out 30 minutes before baking them fresh. I do this for holiday meals—we get hot, fresh rolls without morning stress.
 Pin it
Try These Tasty Changes
Add garlic butter on top after baking for something savory—my little ones gobble them up. Or mix some cinnamon sugar into the dough for breakfast treats. I once tossed in shredded cheddar cheese—those cheesy rolls vanished within minutes.
Keep Them Fresh
Rolls get a bit dry the next day, but a quick 15-second zap brings back their softness. You can freeze them after baking or as shaped dough—just thaw in the fridge overnight, then warm at 320°F covered with foil for 8 minutes. I always freeze extras for quick sides with weeknight dinners.
Ways To Enjoy Them
They're amazing with hot soup—the soft centers soak up all that delicious broth. During Thanksgiving, I've cut them in half for tiny turkey sandwiches—everyone loved them. Even plain with a smear of jam at breakfast feels special.
 Pin it
These pillowy no-knead dinner rolls are pure kitchen wizardry—basic, forgiving, and incredibly tasty. They show that you don't need to work hard for that fresh-baked happiness. Just one bite and you'll wonder why you ever made bread the hard way.
Frequently Asked Questions
- → Why don’t these rolls need kneading?
- The dough has extra liquid, which helps gluten develop on its own while it sits and rises over time. The wet dough gives yeast room to work, making the rolls airy without needing physical kneading. It’s a laid-back process!
- → Can I use active dry yeast instead of instant yeast?
- Sure, just swap it in using the same amount. Since you’re already dissolving the yeast in warm liquid in this recipe, it'll activate active dry yeast just fine. Follow the steps exactly as written!
- → What if my kitchen is too cold for dough to rise?
- Try these ideas: Turn your oven on its lowest heat for 1-2 minutes, then shut it off and leave the dough inside. Or warm up your clothes dryer for a minute, turn it off, and let the dough sit there. You can also place the dough near something warm, or in a microwave with a hot cup of water (don’t turn the microwave on). A proofing box works well too if you’ve got one!
- → Can I prep these ahead of time?
- Absolutely! Let the dough do its first rise, then shape your rolls and place them in the fridge covered for anywhere between 4 hours to a whole day. Take them out half an hour before baking so they warm up a bit. You can also bake them fully, cool them, and freeze. To reheat, wrap them in foil and pop in the oven or zap for 15 seconds in the microwave.
- → Why’s my dough super sticky?
- This dough is extra wet, which keeps the rolls soft. When shaping, flour your hands and surface generously, but avoid mixing in extra flour. In humid areas, you might need more flour for coating. Work fast to handle the dough without it sticking too much.
- → Can I use this dough for other shapes or filled options?
- Yep! Make knots, small loaves, or use a muffin tin to create cloverleaf rolls. You can also add fillings—flatten the dough, place a filling like cheese or jam in the middle, seal it shut, and bake seam-side down. Handle the dough gently since it's delicate.
