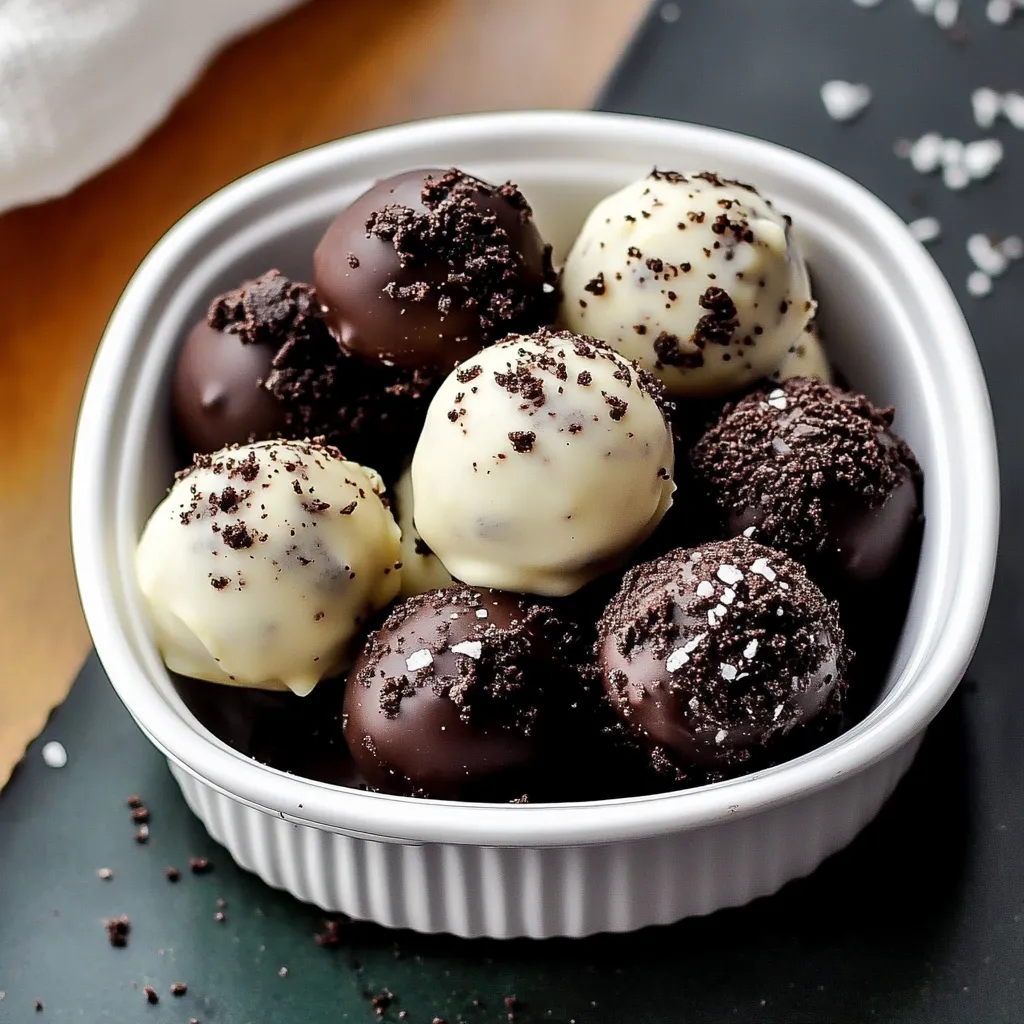
These Oreo truffles are made with just a few pantry staples, turning simple items into fancy chocolatey bites. Crush Oreos with cream cheese, shape into tiny balls, and dip in melted chocolate for a treat that tastes store-bought but is made in your kitchen. To get the perfect texture, use firm cream cheese and chill before rolling. Sprinkle with pink or red decorations for a festive touch. These great-for-sharing treats last up to 2 weeks in the fridge, making them ideal for gifting or party snacks.
These little Oreo balls mix the unforgettable cookies-and-cream taste with fancy truffle vibes. Something special happens when you mix smashed Oreos with smooth cheese and wrap it all in top-notch chocolate – you get a tiny treat that's both comfy and fancy at once. They've become our family's go-to holiday sweet, turning basic stuff into something that makes everyone smile with happiness.
I brought a batch to our family Christmas party last year, and they were gone in seconds. My picky nephew, who usually won't touch anything that looks fancy, gobbled down four back-to-back. What's my trick? Taking my time with each part and splurging on really good coating chocolate.
Key Ingredients and Smart Picks
Oreo Cookies: Stick with standard Oreos, not Double-Stuf since the normal filling amount gives you the best texture
Cream Cheese: Go for full-fat blocks at room temp only. The light stuff makes everything too mushy
Chocolate: Grab premium baking bars like Ghirardelli or Lindt but avoid chips as they won't melt right
Vegetable Oil: Just a bit helps make your chocolate coating flow better
Optional Toppings: Have stuff like sprinkles, extra Oreo bits, or different colored chocolate handy for decoration
Step-by-Step Guide
1. Getting Everything Ready
Set up everything first – food processor out, cream cheese softened, and baking sheet covered with parchment. Make a special truffle-making spot with all your tools close by. After years making these, I've found that staying organized makes everything run smoothly.
2. Making The Crumbs
Grind whole Oreos including the filling into tiny bits in your food processor. Use quick pulses until it looks like wet, dark sand. You don't want any cookie chunks left – smooth texture makes perfect truffles. If you're using a rolling pin instead, double-bag those cookies to avoid a mess everywhere.
3. Mixing It Together
Combine your softened cream cheese with all those Oreo crumbs until they're totally mixed. Look for when it turns one solid color with no white streaks left. It should feel like soft cookie spread – you can shape it but it won't stick to everything. With a mixer, keep scraping the bowl sides often.
4. Shaping Your Balls
Use a tablespoon measure (about 18-22g each) to portion out the mix. Roll between your hands into round shapes about the size of small golf balls. Work steady but don't hurry. Each one needs to be smooth and even. Put them on your prepared sheet, and if the mix gets too warm, stick it in the fridge for 15 minutes.
5. Prepping Your Chocolate
While your balls chill for at least an hour, get your chocolate coating ready. Cut chocolate into small even pieces and add your oil. Melt in the microwave using 20-second bursts, stirring after each one. Your chocolate should look silky and shiny but not too hot – let it sit for 5 minutes before you start dipping.
6. Coating Each Ball
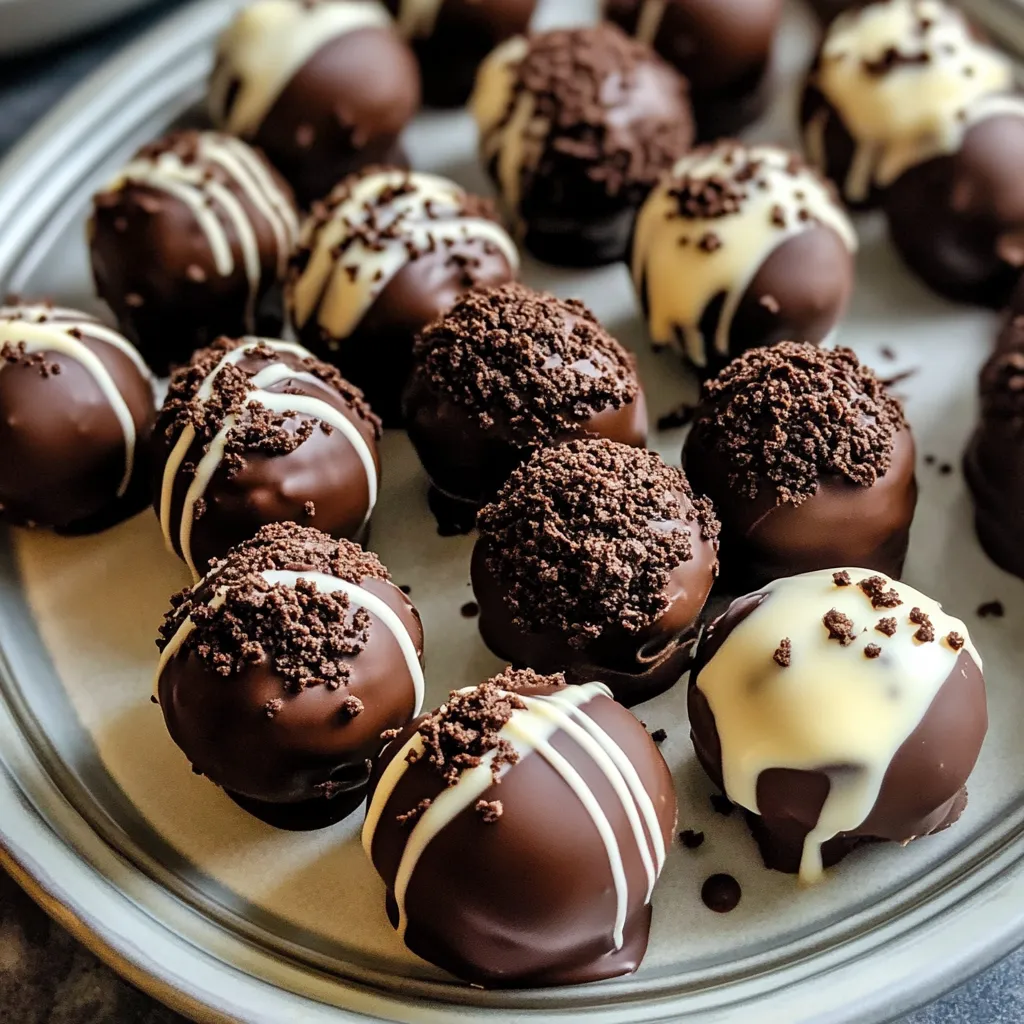
Work with just a few balls at once (keep the rest cold), dipping each one in your melted chocolate. Use a fork or special dipping tool and let extra chocolate drip off. Gently tap the fork against the bowl edge for an even coat. Carefully place on parchment paper. If you're adding toppings, put them on right away before the chocolate hardens.
Pin itHow to Make Oreo Balls Truffles | cookscoop.com
I first tried making Oreo balls during a holiday baking day with my friend Amy years ago. What started as just trying something new has turned into our yearly tradition, and each time we come up with fresh decorating ideas and methods.
Mastering The Chocolate Coating
After making tons of batches, I've learned that getting the coating just right takes some patience. Your chocolate needs to flow nicely but can't be hot enough to melt what's inside. I always keep half my balls in the fridge while working with others so they stay firm during dipping.
How To Store Them Right
These treats actually taste better after sitting in the fridge for a day. Put them between sheets of parchment in sealed containers, and they'll stay good for up to two weeks – though nobody ever lets them last that long!
Different Flavors For Different Seasons
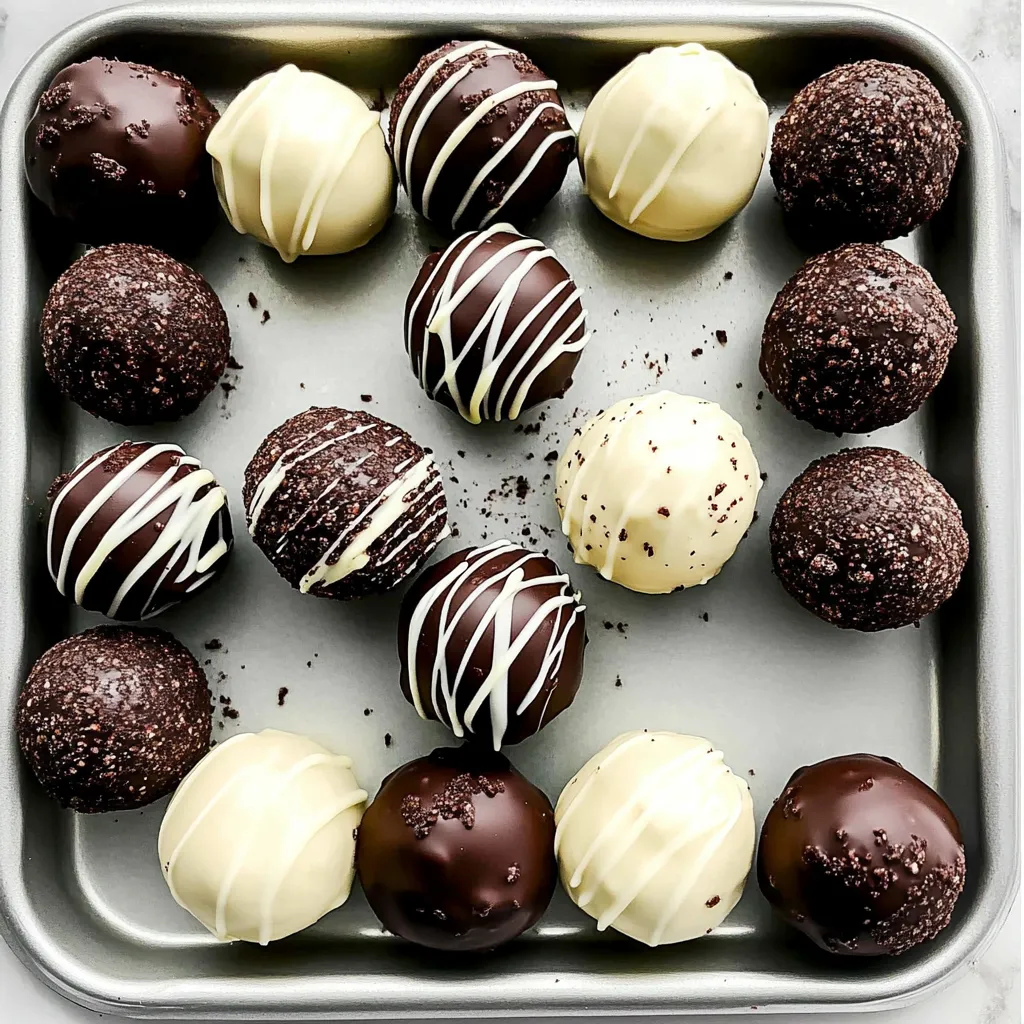
I switch these truffles up throughout the year for various occasions. Try Golden Oreos with white chocolate for springtime, mint Oreos with dark chocolate at Christmas, or birthday cake Oreos for parties. Each version brings its own special touch while keeping that amazing cookies-and-cream middle.
Pin itHow to Make Oreo Balls Recipe | cookscoop.com
How To Give Them As Gifts
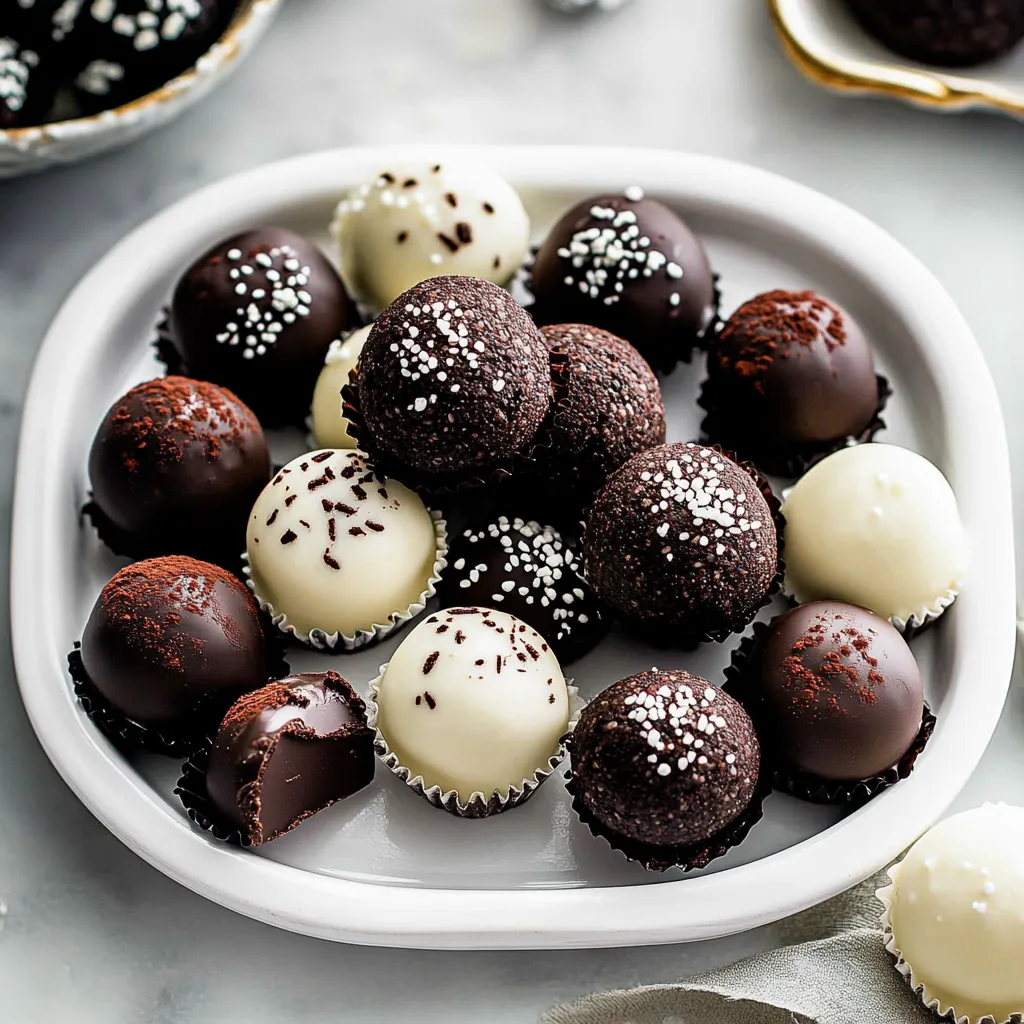
When I'm giving these as presents, I arrange them in small paper candy cups inside pretty boxes. This makes them look more like fancy candy shop treats than homemade sweets. I like to mix white and dark chocolate coatings with different toppings to create a collection that looks totally professional.
Getting The Temperature Just Right
Working with chocolate-covered goodies means paying attention to how warm your kitchen is. In summer, I keep my workspace cool and move quickly. During winter, I let the finished truffles sit at room temp for about 5 minutes before serving to get the perfect texture and flavor. These little tricks help me get great results any time of year.
Pro Tips From Experience
Pin itHow to Make Oreo Balls (Truffles) Recipe | cookscoop.com
Wipe your dipping fork clean between each truffle for the best looking coating
Set a bowl of ice water nearby to cool your hands while rolling batches
Start with less oil in your chocolate since you can always add more but can't take it back
Let your chocolate-dipped truffles set at room temperature for the smoothest finish
Wrapping It All Up
Making awesome Oreo balls means finding the sweet spot between careful technique and letting your creativity flow. Each batch gives you a chance to try new decorations or get better at your method. Whether they're headed for a holiday party plate or wrapped up as gifts, these little treats never fail to make people happy.
Frequently Asked Questions
→ How do I make these extra festive?
Top them with candy hearts, colorful sprinkles, or pink-dyed white chocolate for a romantic flair.
→ Can I make these ahead of time?
Definitely! Store them in the fridge for up to 14 days, so they’re ready when needed.
→ Why is my mixture sticky and hard to work with?
Stickiness happens! Chill the mix in the fridge for 15 minutes to firm it up before rolling.
→ What chocolate works best for dipping?
Go for high-quality baking chocolate bars such as Ghirardelli or Baker’s for the silkiest finish.
→ Can they be frozen for storage?
Yes! Pop them in the freezer for up to 3 months and let them thaw in the fridge overnight before serving.
Valentines Day Oreo
These Oreo truffles are simple and covered in chocolate, then topped with fun sprinkles – a thoughtful homemade dessert for your loved ones.
0236 regular Oreos, not the Double-Stuf kind (405g)
→ Coating
0312 oz chopped semi-sweet or white chocolate (339g)
04Half a teaspoon of coconut or vegetable oil
→ Optional Garnish
05Crushed Oreo pieces
06Sprinkles for Valentine's Day
07Extra melted chocolate for decorating
Instructions
Step 01
Put the whole cookies (including the creamy centers) in a food processor and blend till you get fine crumbs.
Step 02
Mix the crushed Oreos with the softened cream cheese in a mixer or processor till smooth and well blended.
Step 03
Scoop out portions about 18-22g each, roll them into small balls, and lay them on a parchment-lined sheet. Chill in the fridge for an hour or more.
Step 04
Heat the chopped chocolate and oil in the microwave, stirring every 20 seconds, till smooth. Let it cool down for 5 minutes.
Step 05
Dip the chilled balls into the melted chocolate, gently shake off extra chocolate, and place on the sheet. If you're using sprinkles, add them while the chocolate is still wet.
Step 06
Pop them in the fridge for at least an hour so the chocolate hardens properly before enjoying.
Notes
Keep refrigerated; good for up to 2 weeks
Swap regular Oreos for Golden or Mint Creme flavors
Use firm, brick-style cream cheese—not the spreadable type
Tools You'll Need
Blender or food processor
Hand mixer
Parchment-lined baking trays
Candy dipping tools or a fork
Allergy Information
Please check ingredients for potential allergens and consult a health professional if in doubt.

 Pin it
 Pin it
 Pin it
 Pin it