
 Pin it
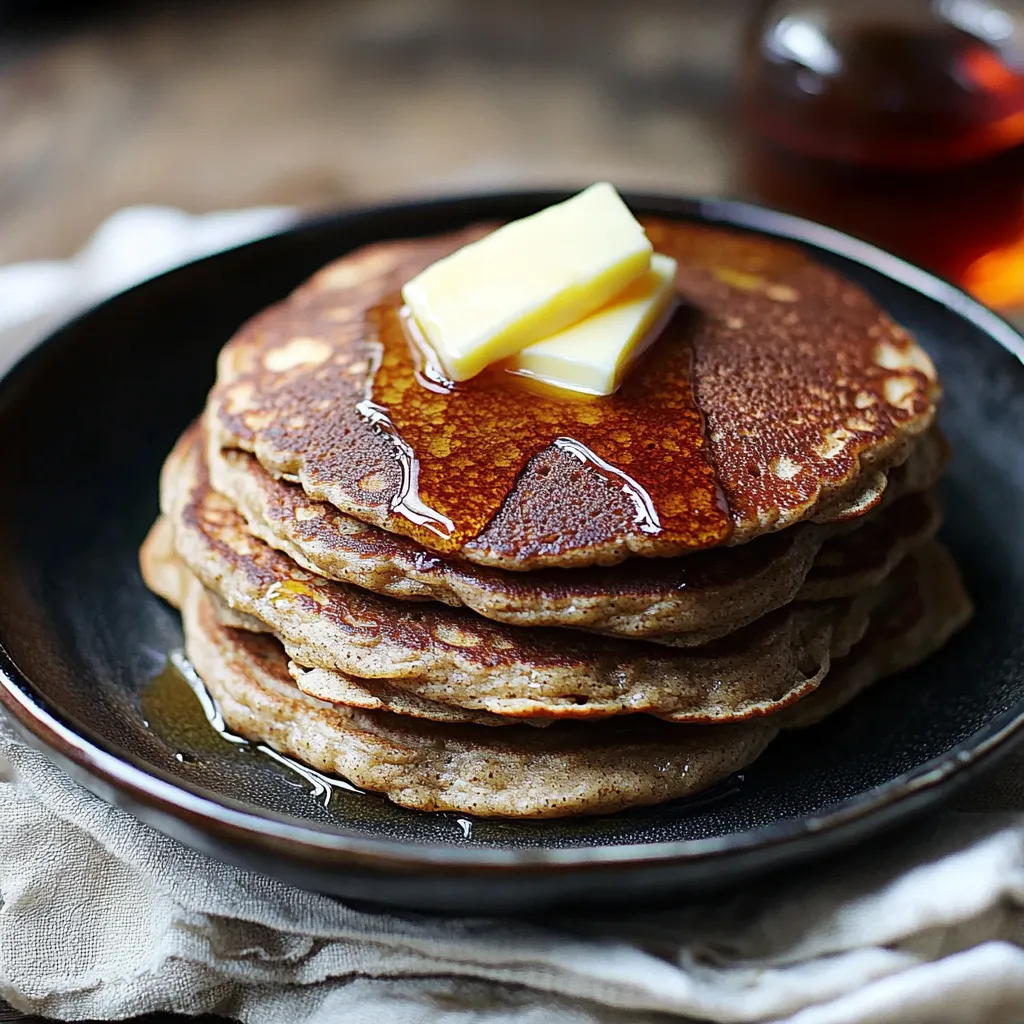
Buckwheat pancakes bring such comfort with their earthy, nutty taste that takes me back to easier days when breakfast wasn't rushed but savored. After countless weekend pancake sessions, I've found that great buckwheat pancakes come from more than just throwing ingredients together - it's about knowing how to bring out the best from this old-world grain.
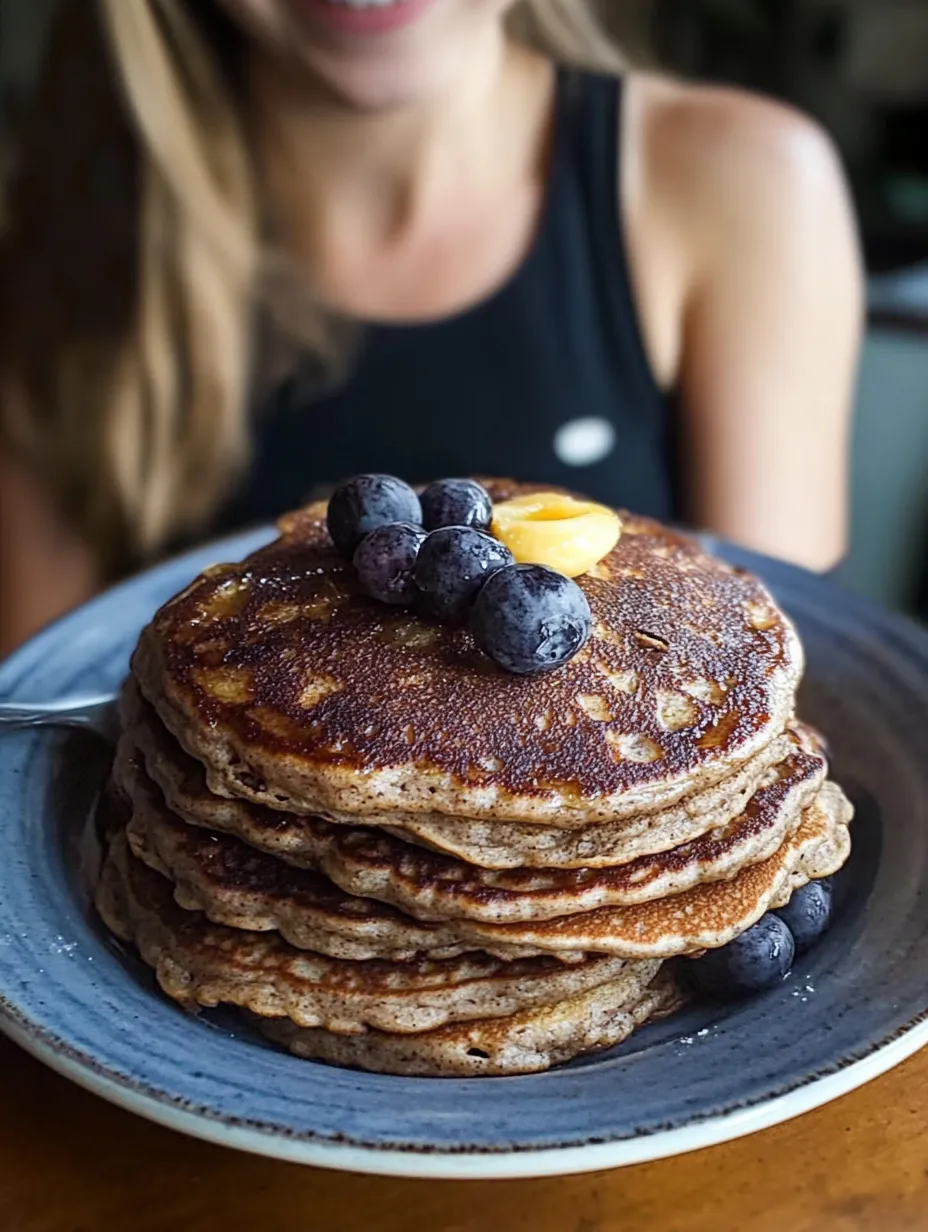
I whipped these up for some friends staying over last weekend who'd never tasted buckwheat pancakes. They looked doubtful at first but fell in love after one bite. What made the difference? Taking my time and understanding how everything works together.
Key Ingredients and Smart Selection
- Buckwheat Flour: Get it fresh and fragrant. Look for stone-ground options for the richest flavor.
- Buttermilk: Use whole and fresh; its tangy nature helps both taste and texture.
- Butter: Just melted but cooled slightly so it blends in without cooking the egg.
 Pin it
Detailed Pancake Making Process
- Get your pan ready:
- Put your skillet or griddle on medium heat - give it plenty of time to warm up completely.
- Blend dry stuff:
- Stir buckwheat and regular flours with sugar, salt, and baking soda until they're well combined. Make a hole in the middle to avoid mixing too much later.
- Blend wet stuff:
- Beat your egg until it's bubbly, then mix in half the buttermilk and your melted butter until smooth. Pour in more buttermilk as needed for the right thickness.
- Combine everything:
- Pour your wet mix into the hole in your dry ingredients. Stir gently just until mixed, leaving some small lumps for softer pancakes.
- Let it sit:
- Give your batter a 5-minute break while your pan finishes heating up.
 Pin it
Mastering The Perfect Flip
Keep an eye on your pancakes as they cook. You'll see tiny bubbles form and burst, leaving little holes. The edges will begin to look dry and less shiny. These are your clues to flip. Go with a thin, bendy spatula and flip with quick confidence.
Heat Control Techniques
Controlling your heat matters all through cooking. After a few pancakes, your pan might get too hot - feel free to turn down the heat or even lift the pan off the burner briefly. If you notice any smoke, wipe the cooking surface with a paper towel and let it cool down a bit before going on.
Building Your Pancake Tradition
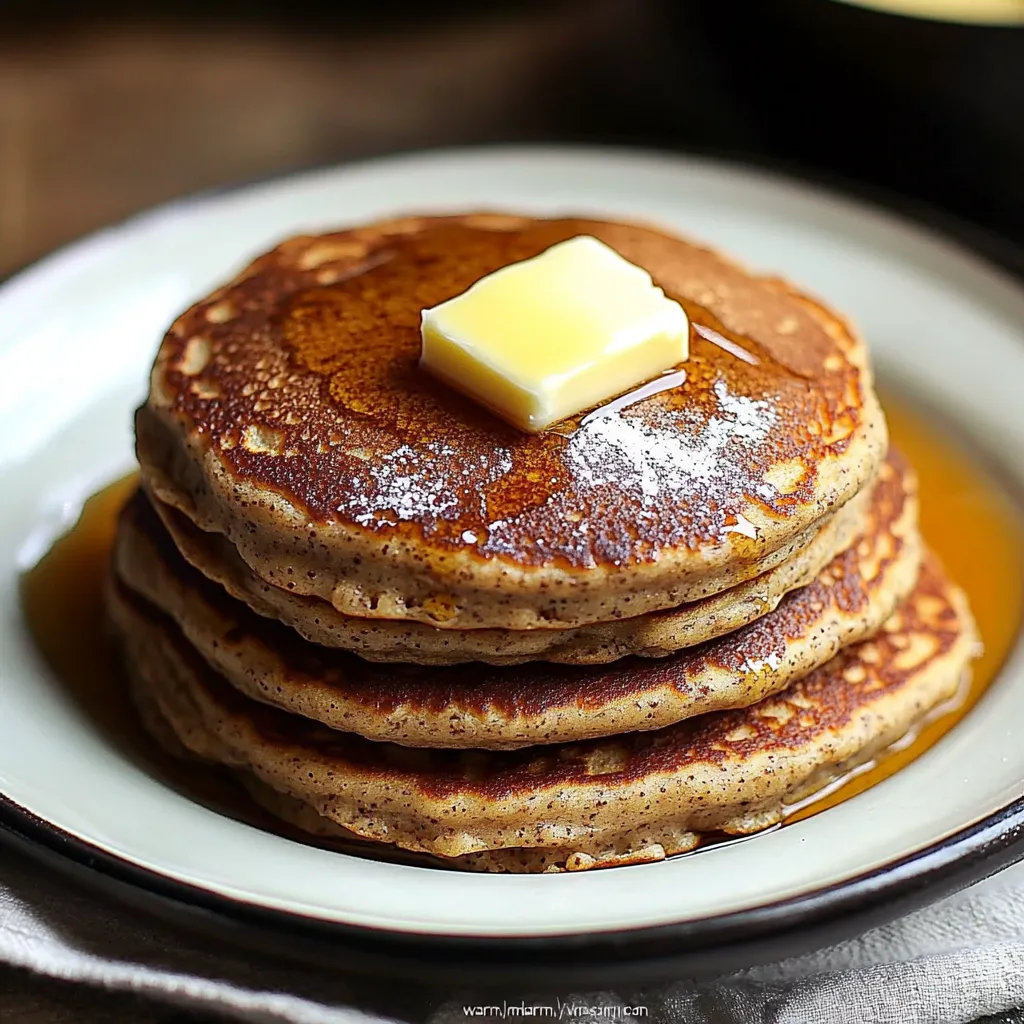
At my house, weekend pancakes have turned into a treasured routine. I warm the oven on its lowest setting and put a wire rack inside. As each pancake finishes cooking, it goes right onto that rack, staying warm and crispy while I cook the rest. This works so much better than piling them up, which makes them get soggy.
Topping Ideas and Twists
- Traditional: Pure maple syrup
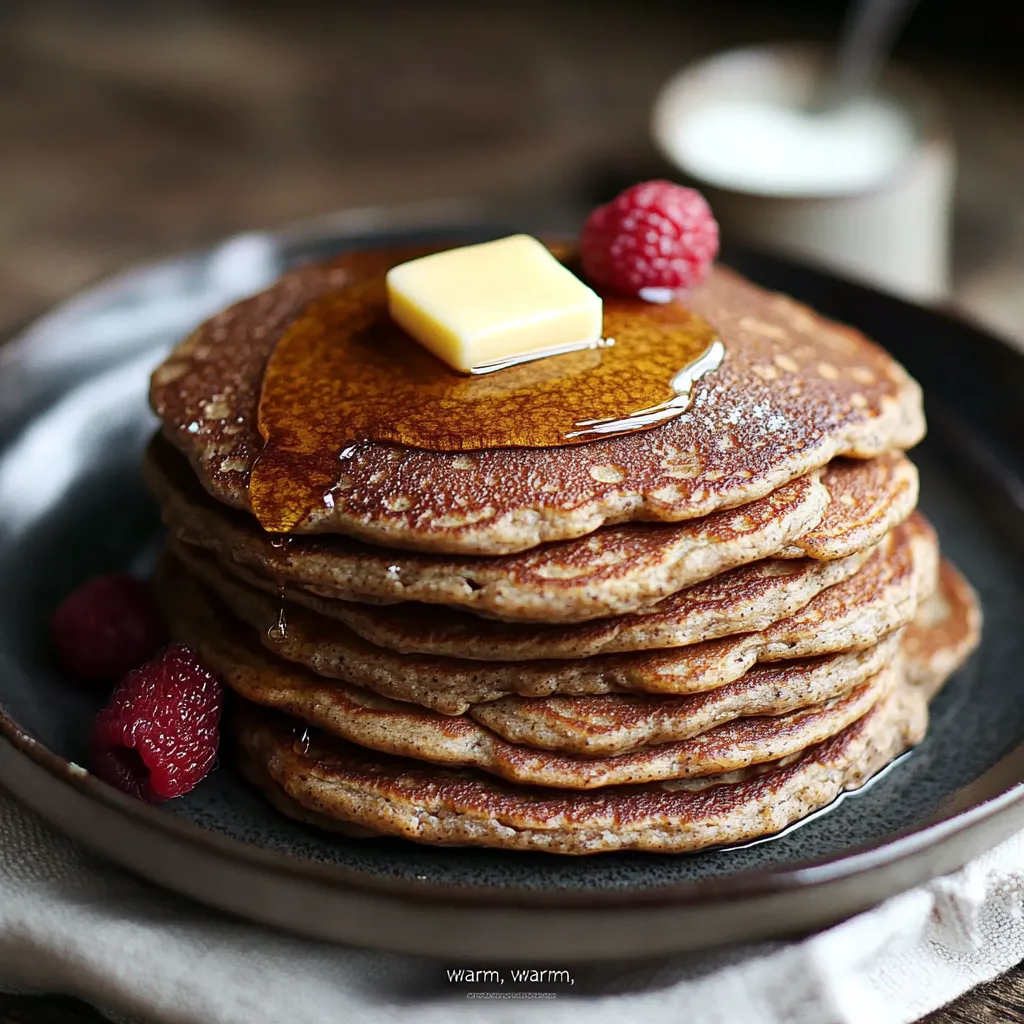
- Fruity: Mixed berries and cream
- Cozy: Cooked apples with cinnamon
- Crunchy: Honey and toasted nuts
Heritage Background
Buckwheat pancakes run deep in American farming history. They were common in areas where tough buckwheat plants grew well, showing our connection to farming roots. Whenever I make these pancakes, I think about all the cooks before me who watched for those same bubbles, waiting for just the right moment to turn them over.
Adjustments For Every Season
- Fall: Throw in some cinnamon and nutmeg, serve with apple slices and pecans.
- Hot months: Drop fresh berries into the cooking batter.
- Cold months: Mix in orange zest and top with dark honey.
- Early year: Add fresh mint and lemon for light flavors.
Helpful Equipment Insights
The pan you pick really matters. A well-used cast iron pan becomes your best pancake tool. It keeps heat steady and gets naturally non-stick over time. If you're using non-stick cookware, go for something heavy that heats evenly. Keep a skinny spatula with a flexible edge handy - it gets under pancakes much better than thick ones do.
Prep-Ahead Tips
- Combine dry stuff the evening before and cover it well.
- Get wet ingredients ready and keep them in the fridge.
- Make sure your cooking surface is clean and ready.
- Set out plates and toppings ahead of time.
 Pin it
Keeping and Warming Know-How
- Let them cool fully on racks before storing.
- Put parchment paper between each pancake.
- Keep them in a sealed container in the fridge for up to three days.
- Warm them quickly in your toaster or in a pan.
Thoughtful Closing Ideas
Making great buckwheat pancakes comes down to understanding the relationship between your ingredients, heat, and timing. Through many Sunday mornings, I've learned these pancakes show you when they're done - you just need to watch for the signs.
The wonder of buckwheat pancakes isn't just their taste but how they link us to cooking history while fitting right into today's lifestyle. Whether you're enjoying them during a lazy weekend brunch or warming them up for a quick breakfast before work, they remind us that carefully made food feeds both our bodies and our spirits.
Frequently Asked Questions
- → How can I make these gluten-free?
- Replace the all-purpose flour with either 100% buckwheat flour or a gluten-free blend.
- → Do I need to add eggs?
- Eggs are totally optional—you can skip them, and the pancakes will still turn out well.
- → What’s a simple trick for buttermilk?
- Combine 2 tablespoons of vinegar with enough milk to make 2 cups. Wait 5 minutes.
- → Why aren’t my pancakes fluffy?
- Avoid overmixing, a few lumps are okay. Also, double-check that your baking soda is fresh.
- → Can I store these pancakes in the freezer?
- Absolutely. Once they’re fully cool, layer them with parchment paper and freeze. To reheat, use a toaster or microwave.