 Pin it
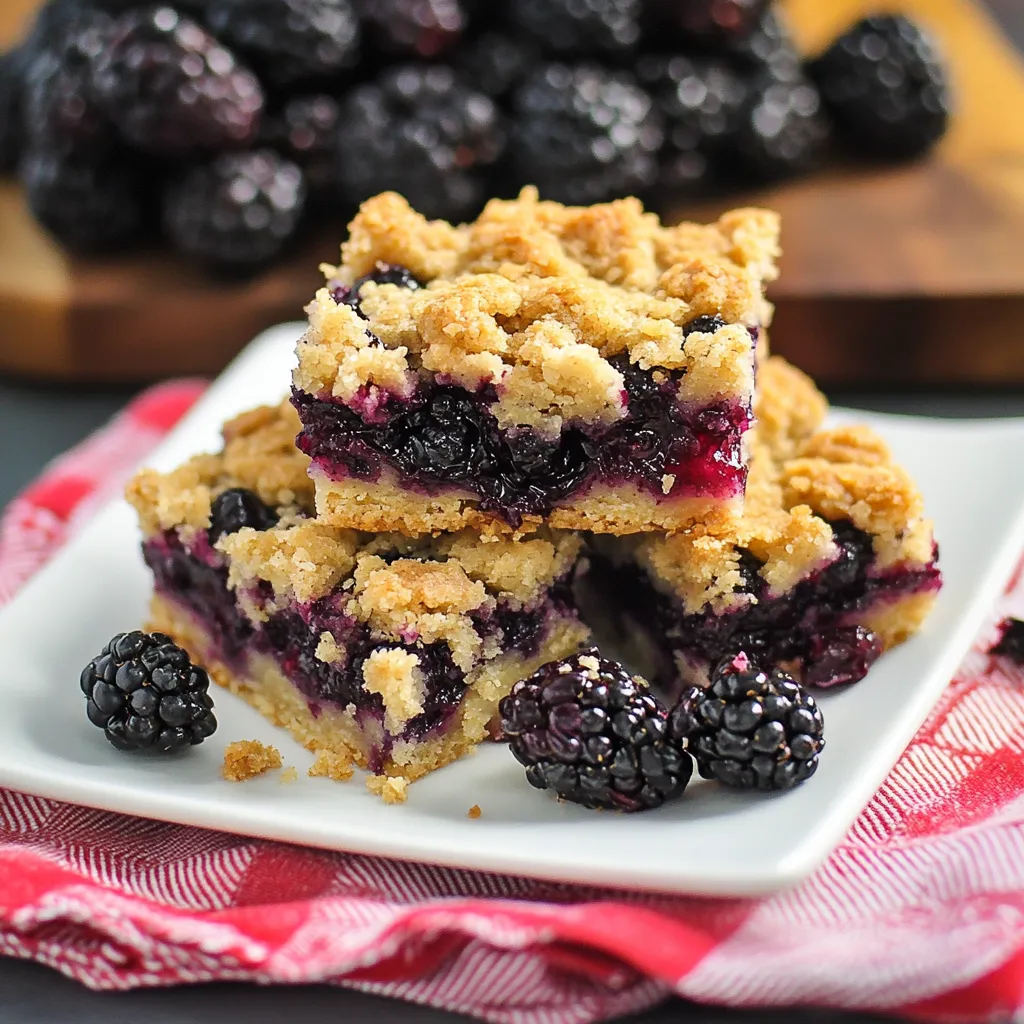
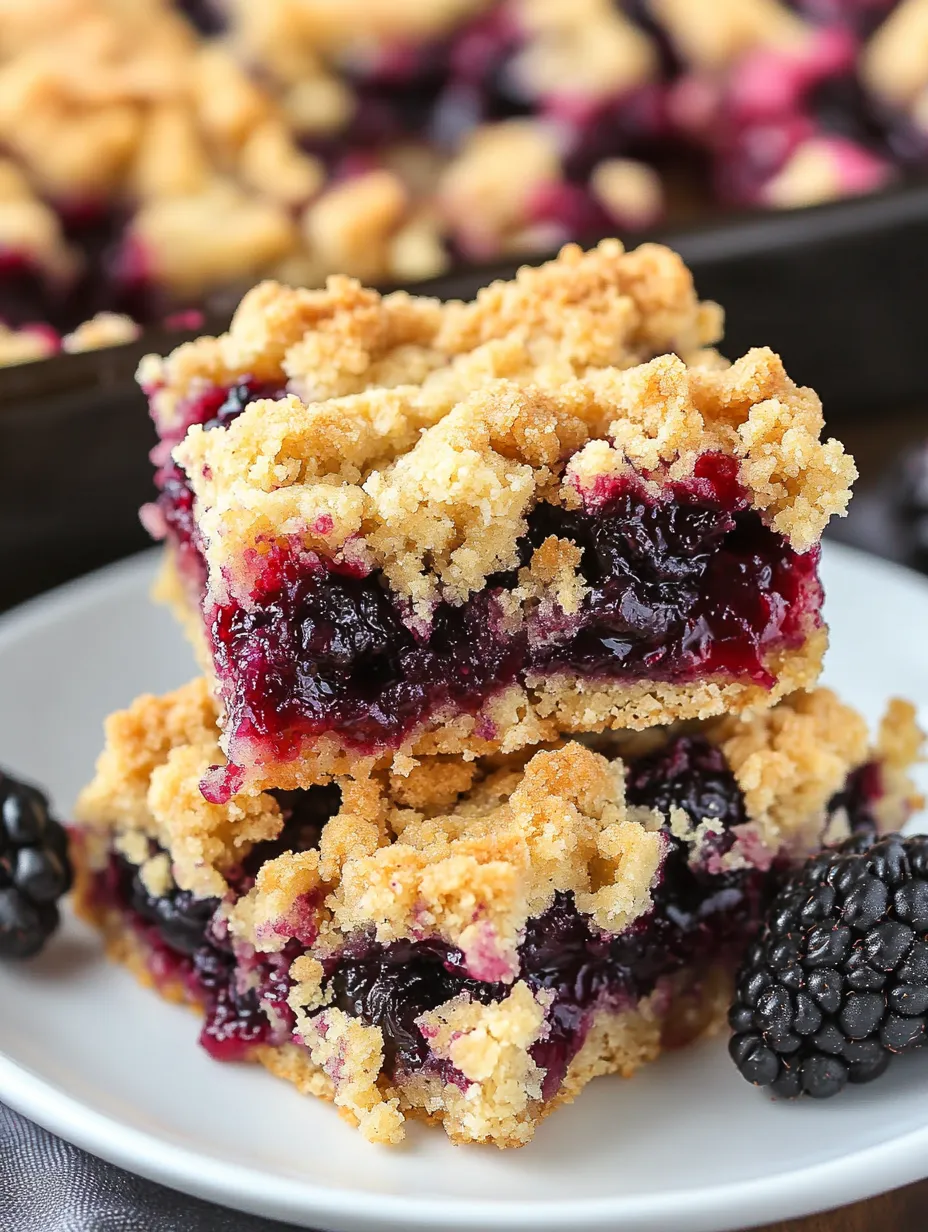
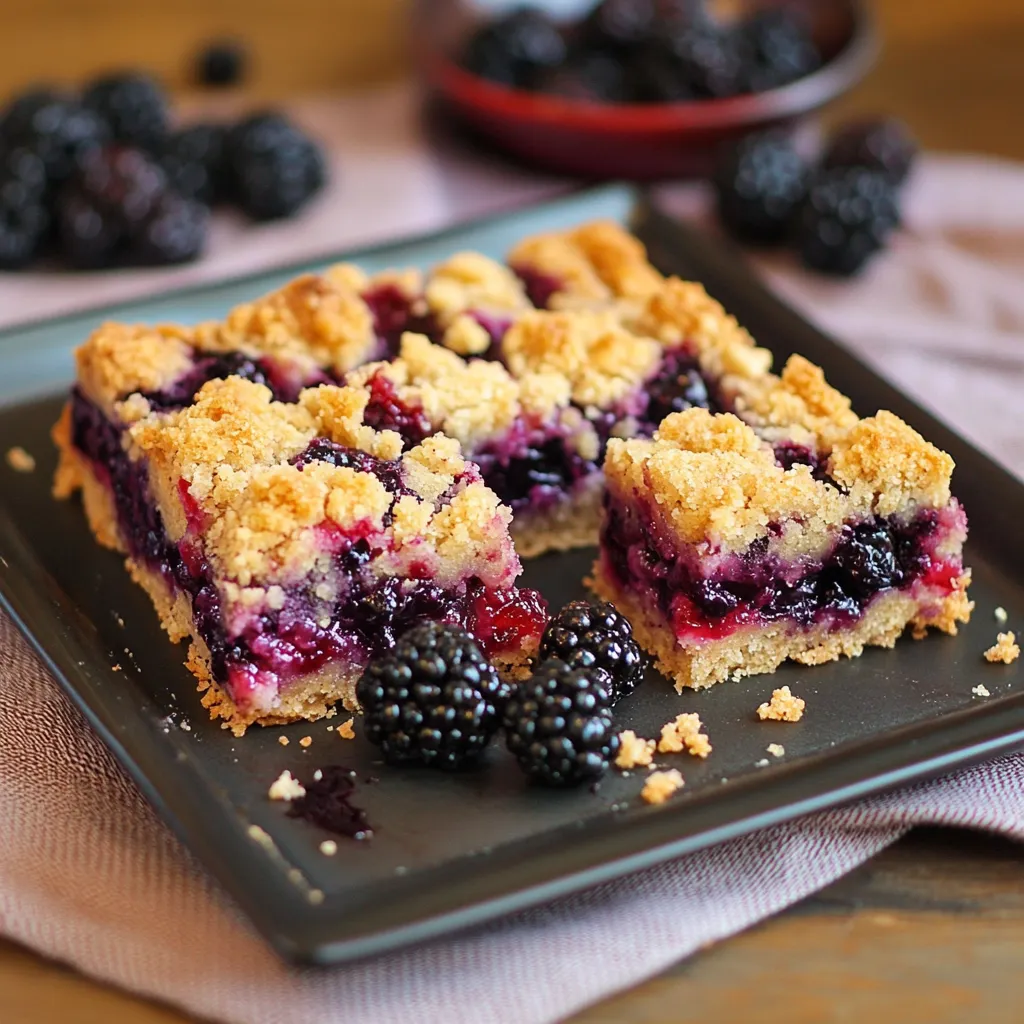
Juicy blackberries tucked between buttery crumbled layers make an unforgettable sweet treat that brings the taste of summer in every mouthful. These blackberry crumb squares hit just the right note between tangy fruit filling and sweet, crumbly crust, making them perfect for anything from backyard get-togethers to fancy after-dinner treats. Using the same mixture for bottom and top makes baking easier while packing in loads of flavor.
I took these squares to our block party last week, and they were gone in minutes flat. Even my neighbor's fussy son who "can't stand fruit in desserts" wanted to know how I made them. There's something wonderful about how the blackberries cook down while baking to create little pockets of sweet-tart goodness throughout.
Key Ingredients and Smart Picking Advice:
- Blackberries - Go for fat, dark-colored berries. When buying fresh, they should give slightly when touched but not be mushy
- Butter - Stick with unsalted butter so you can manage the saltiness yourself; make sure it's fully melted but cooled down
- Brown Sugar - Either light or dark works fine; dark gives more of a caramel flavor
- Almond Extract - It's not required, but adds amazing background flavor that makes the berries pop
- Cornstarch - You can't skip this—it thickens everything up so your bars won't turn out soggy
 Pin it
Easy-to-Follow Cooking Instructions:
- 1. Getting the Bottom Just Right
- - Push the mixture down firmly across the whole pan
- A measuring cup's bottom works great for flattening everything
- Look for any spots that seem too thin and might leak
- Build up the edges slightly to hold in all the filling - 2. Making the Berry Mixture Shine
- - Mix berries with sugar combo carefully so they don't break
- Spread berries all the way across, leaving a tiny edge
- Squish any super big berries to help them cook evenly
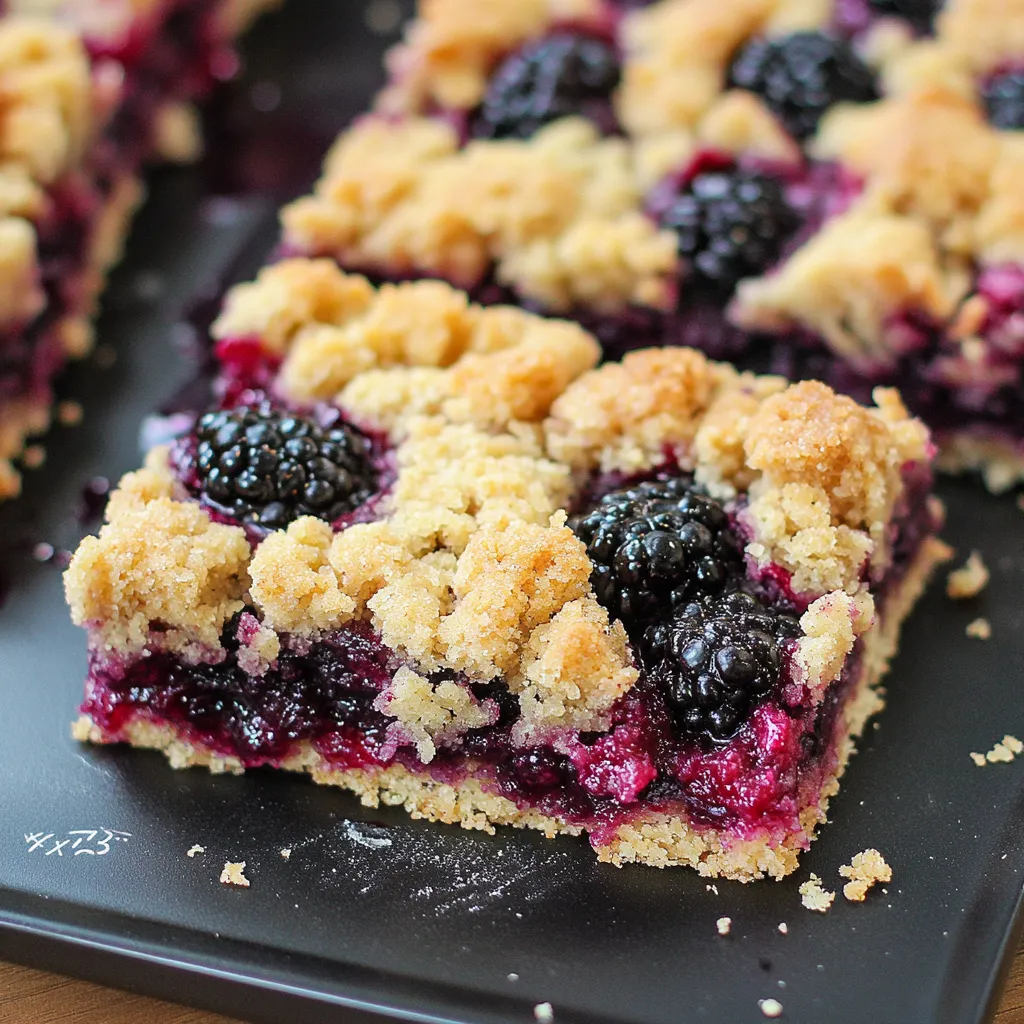
- Don't worry about extra juice—it'll thicken up in the oven - 3. Nailing the Top Crumble Layer
- - Keep some bigger and smaller chunks for better texture
- Drop from above to get even coverage
- Don't smash down the topping after sprinkling
- Keep an eye out during final minutes to catch it before it gets too brown
 Pin it
My grandma always put a tiny bit of cardamom in the crust mix, a little trick that adds a mystery flavor nobody can quite figure out. Watching her make these taught me you can't rush good things—letting them cool all the way really does make cutting them so much easier.
I make these squares every single berry season now. Each summer I pick wild blackberries along our walking paths, saving the best ones for this special dessert. Turning berries I found myself into something this tasty makes me enjoy them even more.
Handy Kitchen Tricks:
- Put the bars in the fridge for half an hour before cutting them
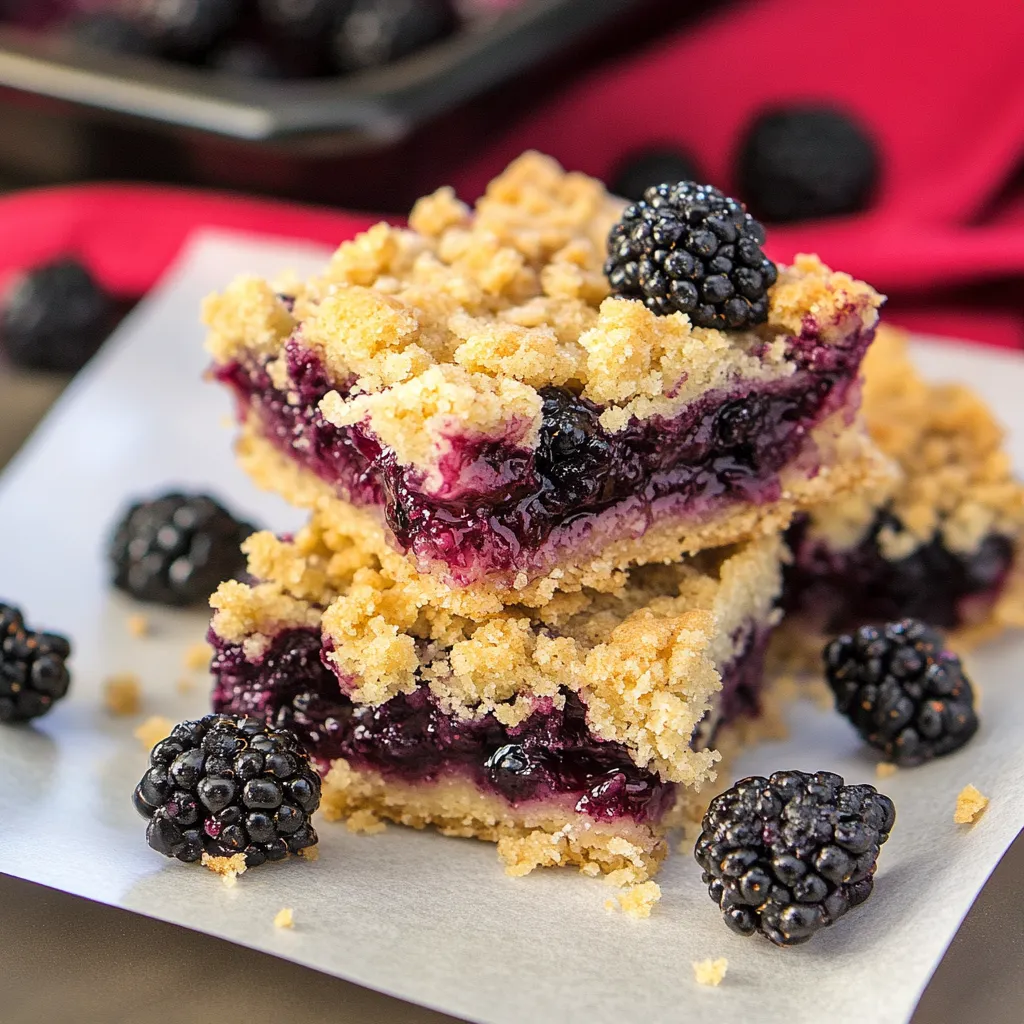
- Put parchment paper in the pan with extra hanging over the sides for easy lifting
- Warm your knife under hot water and dry it for the smoothest cuts
Making these blackberry squares brings back memories of berry picking trips with my kids, their tiny hands and faces all purple from juice. While the steps aren't complicated, these sweet memories make baking them so special. Whether you've collected wild berries yourself or grabbed a pack at the store, each bite holds a little taste of summertime.
 Pin it
Tasty Changes for Different Seasons:
Over time, I've played around with different versions of these bars as seasons change. In early summer, a bit of lemon zest in the crust makes everything taste fresher. When using frozen berries in winter, I add just a touch more cornstarch (about half a teaspoon) to soak up the extra water. My favorite change happened by accident—I ran out of blackberries and threw in some raspberries too, creating a mixed berry version that my family now asks for at every holiday.
Secrets for Perfect Texture:
Getting that just-right texture comes down to watching your temperatures. Your melted butter should be warm but not hot enough to cook eggs when mixed. I've learned the hard way that you need to let the bars cool completely on the counter, then chill them for at least an hour for the cleanest slices. When it's time to eat, I take them out about 15 minutes before serving so the flavors wake up again.
Smart Make-Ahead Options:
These bars fit into busy days with a bit of planning. You can mix up the crust the day before and keep it in the fridge. Just let it sit out for half an hour before pressing it into your pan. If you want to keep them longer, I've found that wrapping each bar in parchment before freezing keeps them from sticking together and lets you grab just one or two when you want them.
Fun Serving Suggestions:
These squares are great on their own, but I love finding new ways to dress them up. For dinner with friends, I serve them slightly warm with a scoop of lavender ice cream on top. At breakfast gatherings, I pair them with honey-whipped mascarpone. My sister-in-law loves having one with her morning coffee. For kids' birthday parties, I cut them smaller and arrange them with fresh berries and mint leaves to make them look fancy.
Picking the Best Berries:
The berries you choose really change how your bars turn out. For fresh blackberries, look for dark colors but berries that aren't mushy. If they're too soft, they'll turn to complete mush while baking. I've found using a mix of perfectly ripe and slightly firm berries gives you the best sweet-tart balance. Don't wash them until you're ready to use them, since extra water can make your bars too wet.
Fixing Common Problems:
After years of making these bars, I've run into and fixed all sorts of issues. If your filling seems too watery, try adding an extra half tablespoon of cornstarch. For a topping that's falling apart, try chilling the reserved mixture for about 15 minutes before sprinkling it on. If the edges are getting too brown too fast, just loosely cover the pan with foil for the last 10-15 minutes in the oven.
Making Moments Matter:
These bars have a way of turning ordinary days into something special. I've wrapped them as teacher gifts, sent them in care packages to my kids at college, and even served them at my cousin's backyard wedding. They're so versatile and crowd-pleasing that they fit just about any occasion worth celebrating.
 Pin it
Lighter Options That Still Taste Great:
While these are definitely a treat, I've found ways to make them a bit healthier without losing what makes them so good. Cutting back sugar by a quarter cup in both the crust and filling lets the natural berry sweetness come through better. For friends who can't have gluten, I've used cup-for-cup gluten-free flour blends with pretty good results, though they do come out a bit more delicate.
The Kitchen Science Behind Great Bars:
Knowing what each ingredient does helps get consistent results every time. The cornstarch doesn't just thicken things—it creates that perfect jammy texture by grabbing onto all the berry juices. The melted butter in the crust gives you those crispy edges everyone loves, while eggs hold everything together and add richness. Even the almond extract has a job, making the berry flavor pop with its slight bitter notes.
These blackberry crumb bars have become more than just another recipe in my collection—they represent the joy of sharing something homemade with people I care about. Whether you're a baking pro or just starting out, these bars combine simple steps with impressive results. The amazing smell while they're in the oven always draws people into the kitchen, and that first bite never fails to bring happy sounds around the table.
Frequently Asked Questions
- → Can I use frozen blackberries?
- Absolutely, you can use either fresh or frozen berries in this.
- → What’s the best way to store them?
- Keep them in a sealed container at room temperature for 2 days, or chill in the fridge up to 5 days.
- → Can I swap blackberries for other fruits?
- Sure! Try raspberries, blueberries, or even a mix of different berries.
- → Why is parchment paper recommended?
- Using parchment makes lifting and slicing the bars mess-free.
- → Can these be frozen?
- Yes, wrap them up well and freeze for up to 3 months.
