
 Pin it
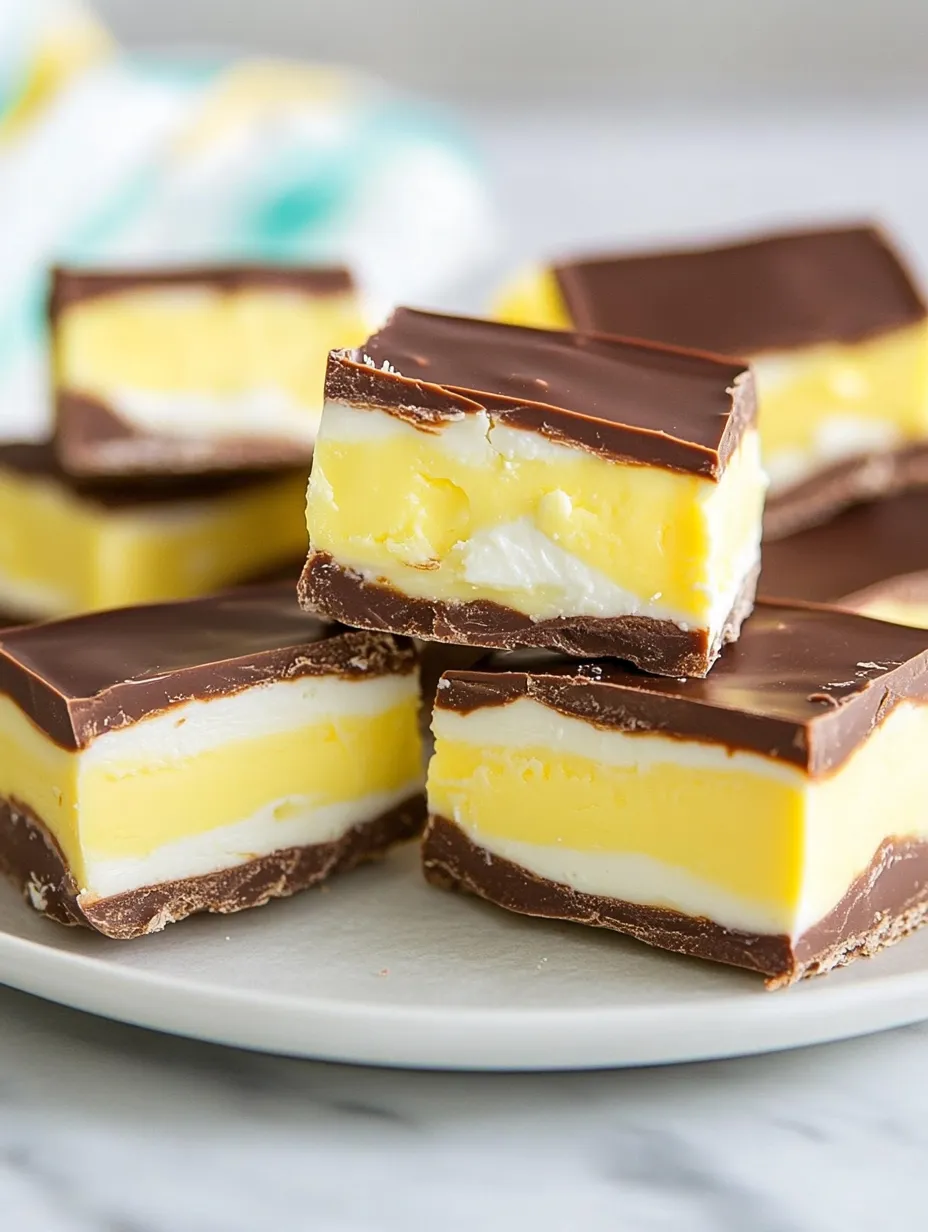
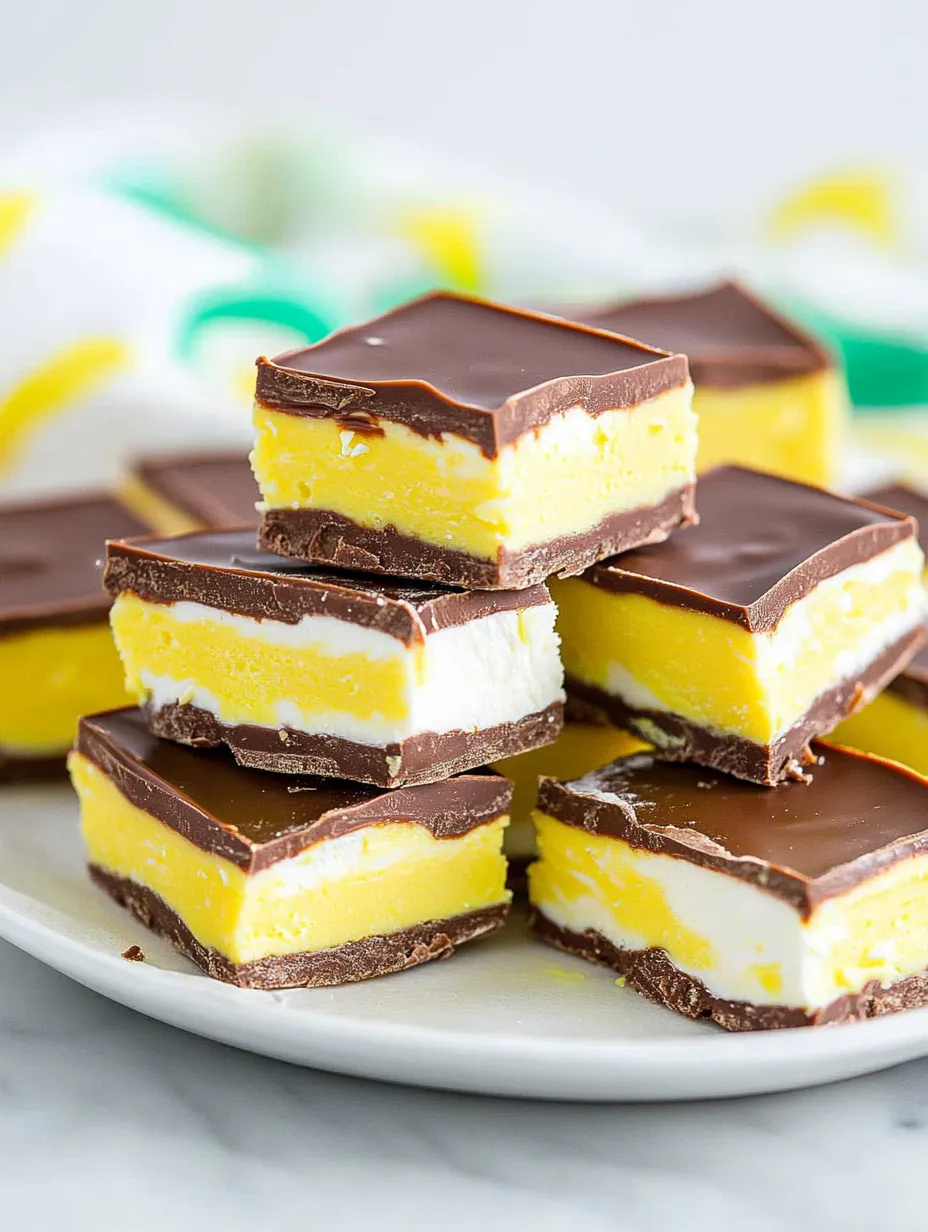
This layered Cadbury Egg Fudge brings all the things we adore about those Easter favorites into a rich dessert you can slice and share. With its velvety filling tucked between two chocolate layers, you'll get that familiar Cadbury taste without any fuss about melting or tempering chocolate. I stumbled upon this idea when I needed a simpler way to enjoy these classic flavors while hosting friends during springtime celebrations.
When I took this fudge to our family Easter gathering last year, my normally picky niece not only asked for another piece but also wanted me to teach her how to make it. The magic comes from nailing the balance between the chocolate outside and that iconic sweet center.
Key Components and Smart Shopping Advice
- Corn Syrup: Grab light corn syrup to nail that signature Cadbury filling consistency
- Milk Chocolate: Try Ghirardelli melting wafers for the creamiest texture and tastiest results
- Powdered Sugar: This helps achieve that smooth, sweet middle section
- Yellow Food Coloring: Go for gel versions as they pack more color with just a tiny drop
- Vanilla Extract: Don't skip the real stuff for maximum flavor impact
Step-by-Step Making Process
- Mix Up the White Filling: Whip the softened butter with corn syrup until it's perfectly blended. Throw in vanilla, powdered sugar, a touch of salt, and milk, then beat until you've got a smooth, lump-free mixture. You want it thick but easy to spread.
- Make Your Yellow Center: Scoop out about two-thirds of your white filling into another bowl. Add yellow food coloring to what's left and mix it well. This creates that classic "yolk" look we all love.
- Get the Chocolate Ready: Put your milk chocolate in a bowl that's safe for the microwave. Heat it in short bursts of 20-30 seconds, giving it a stir each time, until it's totally smooth. Don't rush this or your chocolate might clump up.
- Form Your First Layer: Put parchment paper in a 9-inch square pan with extra hanging over the sides for easy grabbing later. Pour half your melted chocolate in and spread it flat. Chill it briefly (just 5 minutes) so it firms up a bit.
- Spread the White Layer: Carefully smooth the white filling over your slightly set chocolate base. Take your time to make it even without messing up the chocolate underneath.
- Add Your Yellow Touches: Drop spoonfuls of the yellow mixture onto the white layer. Use a knife or spatula to gently swirl it around, creating a pattern that looks like egg yolk.
- Finish With More Chocolate: Pour what's left of your melted chocolate over everything. Tilt the pan around to cover it all or use a spatula to spread it completely.
- Let It Set: Pop the whole thing in the fridge for at least half an hour until the chocolate hardens fully. The layers will stick together as they cool.
- Slice It Neatly: Take it out of the fridge and lift the whole block using the parchment paper edges. Cut into squares using a knife you've warmed in hot water and wiped clean between cuts.
- Keep It Fresh: Put your cut fudge in a container that seals tight, with parchment between layers if you stack them. Keep it in the fridge until serving time.
 Pin it
When I first tried making this fudge, I wasn't sure it would really taste like those famous eggs, but just one bite took me right back to finding Easter treats in my basket as a kid.
Tasty Twists and Changes
I've played around with this recipe many times over the years, coming up with versions my friends and family can't get enough of. One big hit is adding a few drops of peppermint extract to the white filling for a cool mint chocolate combo. During Christmas, I've switched things up by making red and green layers instead of white and yellow, then sprinkled crushed candy canes on top for a holiday feel. Once you get the hang of the basic method, you can really change it up for any season or flavor you like.
 Pin it
Perfect Present Ideas
You won't find a better homemade gift than this fudge - it shows way more thought than anything from a store. I've packed small squares in cute Easter tins with colorful tissue paper as gifts for my kids' teachers and our neighbors. For something really special, try using egg-shaped cookie cutters and wrapping each piece in pastel foil - they look just like store-bought eggs but taste so much better. The look on people's faces when they bite into something familiar yet clearly made with love is truly wonderful.
Fun With Little Helpers
Making this fudge has turned into a yearly tradition with my grandkids each spring. There are enough different jobs for everyone - little ones can stir and drop yellow "yolks" while bigger kids can measure things out and watch the chocolate as it melts. It's more than just making sweets together - we talk about why eggs are important symbols at Easter and what they mean. These kitchen moments stick with kids and help pass down both cooking skills and holiday customs to younger generations.
I figured out these shortcuts through plenty of mistakes - like the time I tried cutting the cold fudge with a room temperature knife and ended up with broken chocolate and rough edges everywhere.
 Pin it
Closing Thoughts and Reflections
This fudge has become what I'm known for at Easter, with friends and family asking about it months in advance. There's something really special about taking a seasonal candy everyone loves and turning it into something homemade that brings people together. When you cut into it, the layers look stunning, making it as pretty as it is tasty. What I love most is how adaptable it is - you can use more or less yellow filling for different looks, or even color the white filling light blue or pink for a fresh take on the classic. However you make it your own, this fudge brings Cadbury egg joy to your table in a totally new way.
Frequently Asked Questions
- → What's the benefit of a hot knife?
- A warm knife slices chocolate smoothly without breaking it.
- → Do I need the yellow coloring?
- No, it's just for looks and doesn't change the taste.
- → What kind of chocolate should I pick?
- Milk chocolate matches the original, but semi-sweet works too.
- → How do I store this?
- Put it in a sealed container in the fridge.
- → Can it go in the freezer?
- Yep, just wrap it well and it stays good for 3 months.