 Pin it
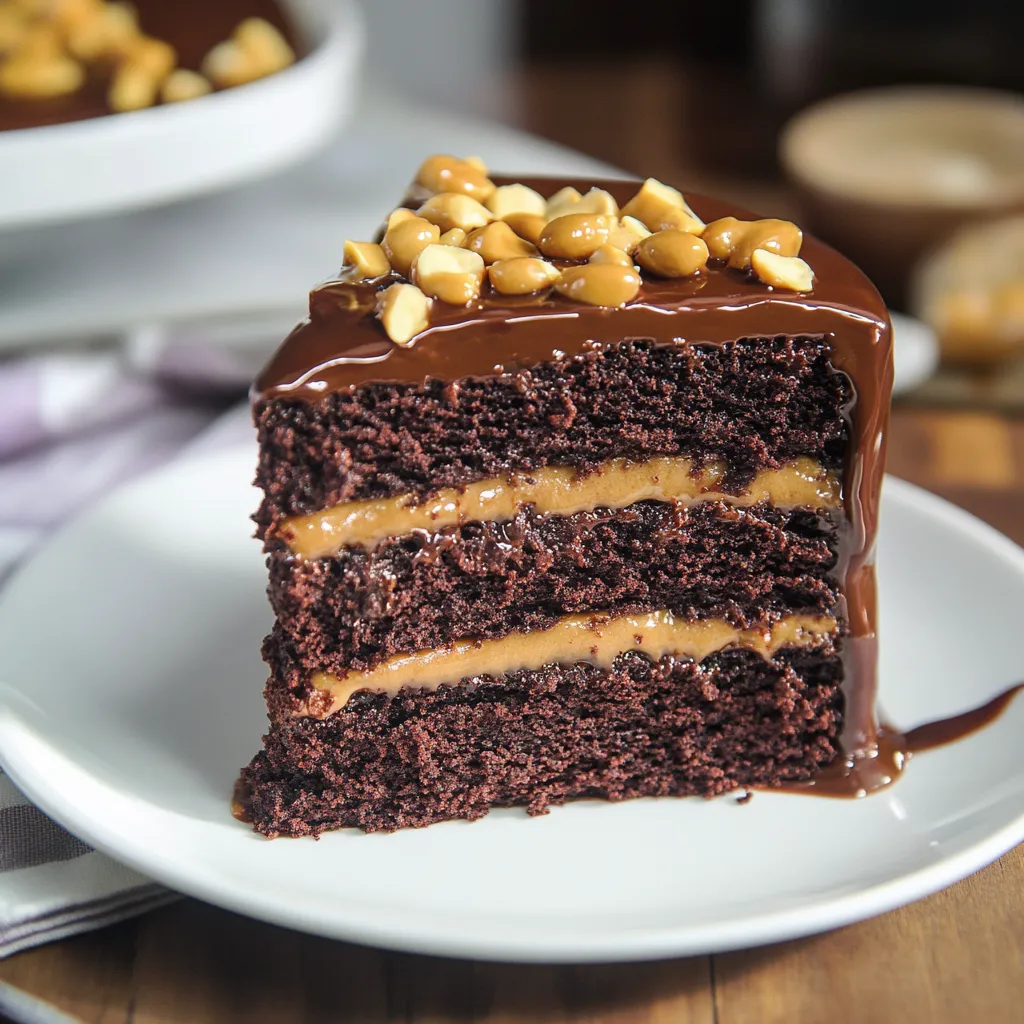
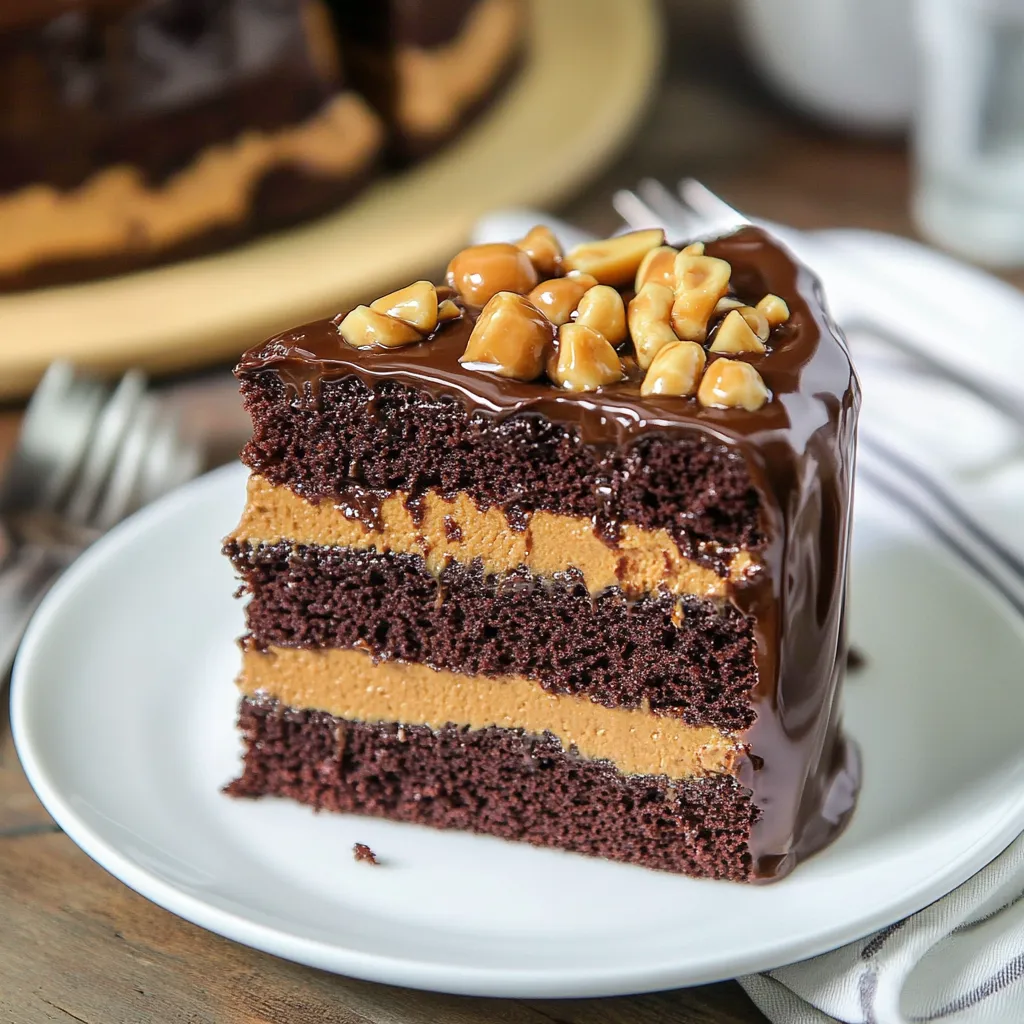
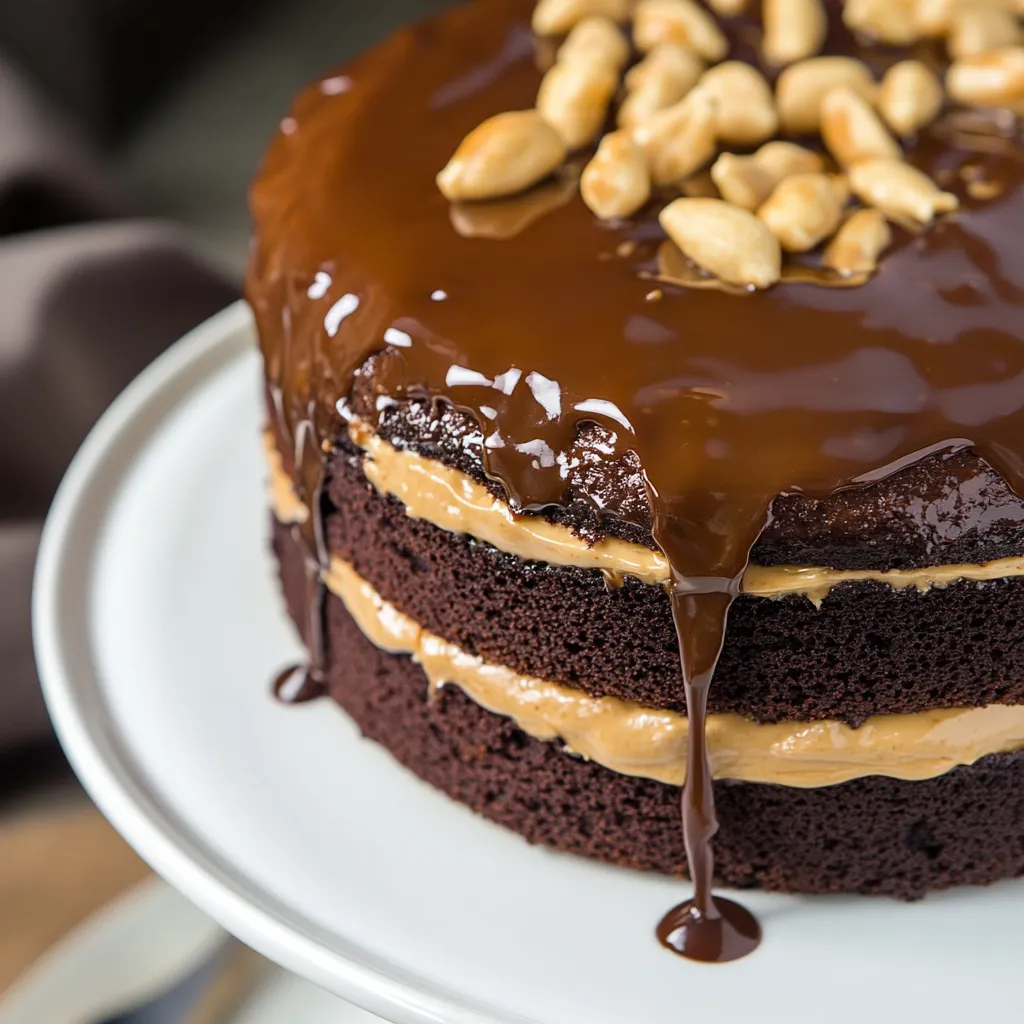
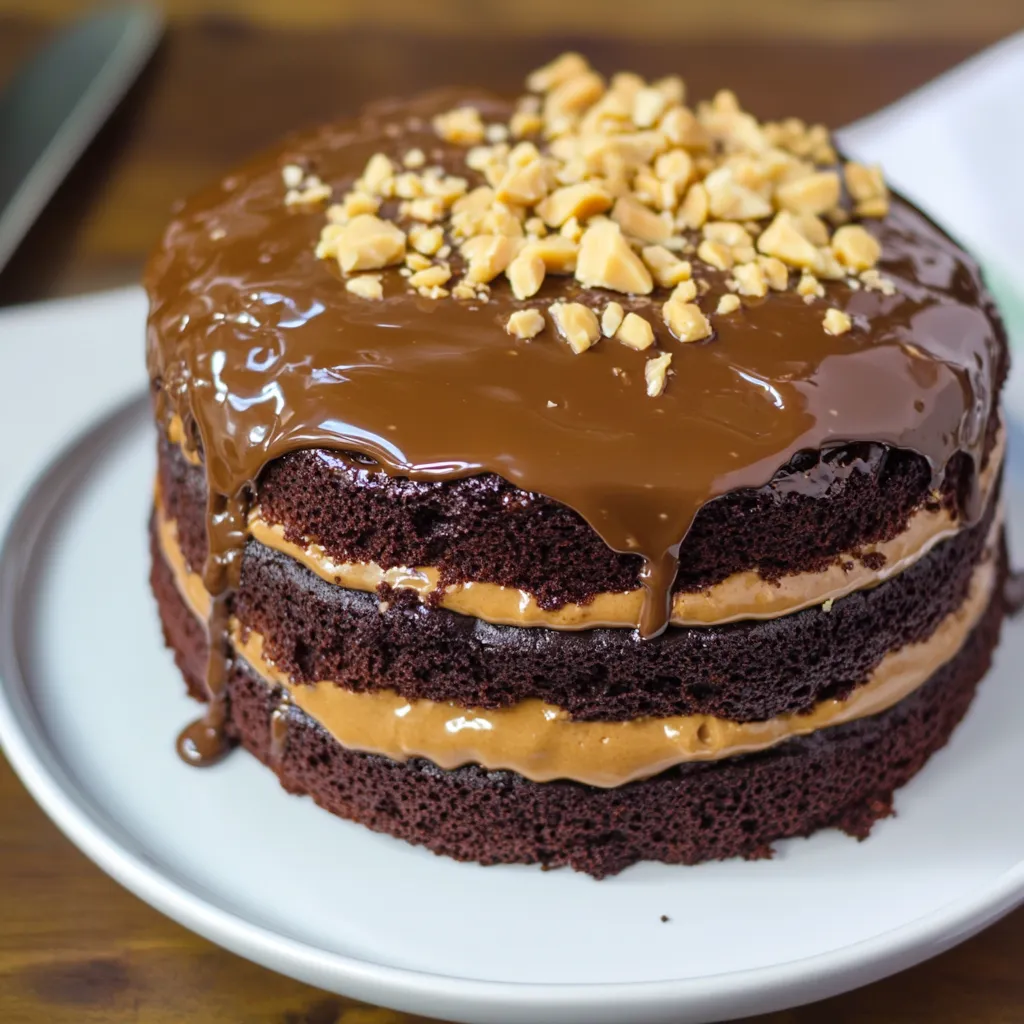
Picture this: layers of rich chocolate cake smothered with velvety ganache and topped with crunchy homemade peanut caramel that's got just the right hint of salt. This showstopper dessert won't just satisfy your sweet tooth—it'll create memories that stick around. I spent ages perfecting this combo of deep chocolate, gooey caramel, and nutty crunch to make something that's fancy enough for your biggest celebrations but totally doable in your kitchen.
I've baked this cake for countless birthday parties and family get-togethers. What keeps me making it again and again is watching everyone's eyes light up when they taste all those amazing layers together for the first time.
Key Ingredient Breakdown:
- Cocoa Powder: Go for Dutch-processed for a more intense chocolate taste and darker color
- Sour Cream: Don't skimp on fat here—full-fat sour cream adds moisture and kicks the baking soda into action
- Milk Chocolate: Buy good chocolate bars instead of chips for the smoothest possible ganache
- Heavy Cream: Pick cream with at least 36% fat to get the best texture in your caramel and ganache
- Roasted Peanuts: The salted ones give you that perfect crunch and make the caramel taste even better
Step-by-Step Baking Guide:
- 1. Setting Up Before You Start
- - Pull all ingredients out half an hour early so everything's room temperature
- Put parchment circles in your cake pans and butter the sides generously
- Make sure your oven rack sits right in the middle for even heat - 2. Mixing Your Cake Batter
- - Stir the cocoa with boiling water until smooth—this brings out stronger chocolate flavor
- Mix all dry stuff thoroughly so you don't get flour lumps
- Mix in wet ingredients bit by bit, making sure everything blends completely
- Divide your batter between pans, weighing them if you can for identical layers - 3. Creating Smooth Ganache
- - Cut chocolate into small, similar-sized pieces so it melts evenly
- Warm cream just until tiny bubbles form around the edge
- Let it sit without touching for 3 minutes
- Stir from middle to edge until completely smooth - 4. Getting Caramel Right
- - Watch the color change like a hawk—it happens fast
- Gently tilt the pan instead of stirring to avoid sugar crystals forming
- Have your cream measured and ready to go before you start
- Step back when you add cream to avoid steam burns - 5. Putting It All Together
- - Trim cake tops with a serrated knife so they're flat and professional-looking
- Cool layers in the fridge for 20 minutes so they're easier to handle
- Use a turntable if you have one for easier ganache spreading
- Keep a knife in warm water for smooth caramel drizzling
 Pin it
My family goes crazy for the caramel sauce—we usually make extra just to pour over ice cream later. That sweet-salty mix always reminds me of making sticky caramel apples with my grandma when I was little.
How To Keep It Moist:
The secret to this cake's amazing texture is getting the ingredients just right. When you mix oil with sour cream, you get this incredibly tender cake that doesn't dry out for days. I've tried tons of different amounts, and this combo makes cake that's firm enough to hold up all that ganache but still super soft when you bite into it.
Cutting Beautiful Slices:
There's nothing better than slicing into this cake and watching that caramel slowly ooze down the sides. Want perfect-looking pieces? Dip your knife in hot water and wipe it clean between cuts. Such a simple trick but it gives you Instagram-worthy slices every time.
How Flavors Change:
Something cool about this cake is how it tastes different over time. It's yummy right away, but it's actually at its best on the second day. That's when the caramel has soaked in a bit and the ganache sets to just the right firmness.
Baker's Smart Tricks:
- Do the caramel part first—if it gets grainy, you can try again without wasting other stuff
- Pop the whole cake in the freezer for 15 minutes before adding that final ganache coat for cleaner edges
- Store any leftover pieces standing up in a tall container so the layers don't squish together
I've made tons of desserts over the years, but this one still makes me proud. It hits that sweet spot between fancy and doable, so it works for special occasions or just when you need a serious chocolate-caramel fix. The way all those textures and flavors come together makes it memorable—and honestly, making it is almost as fun as eating it.
Picking The Right Chocolate:
Every amazing chocolate cake starts with good chocolate. I've tried so many different brands and cocoa percentages in this recipe. Fancy chocolate is great, but middle-of-the-road stuff works really well too. Just use chocolate you'd enjoy eating by itself. I've found that mixing different types—like using 60% dark cocoa in the cake but milk chocolate in the ganache—gives you this amazing deep flavor that's not just one-note.
Getting Timing And Temperature Right:
It took me forever to figure out how temperature changes everything in this recipe. Your cake layers need to be totally cold before you stack them—even a little warmth will make your ganache run everywhere. But the ganache itself has to be just right too. Too warm and it drips off. Too cool and it won't spread smoothly. I've learned to make the ganache while the cakes cool so both reach the perfect temperature at the same time.
What Sugar Does:
After making this cake a million times, I've learned that using both white and brown sugar isn't just about sweetness. Brown sugar has that bit of molasses that adds subtle caramel flavor and helps the cake stay moist longer. That's why I never swap it all for white sugar, even when I'm running low.
Getting That Perfect Texture:
I'm really proud of this cake's texture. It's firm enough to handle all that ganache and caramel but still super tender when you take a bite. The trick is careful mixing—stir too much and the cake gets tough, too little and you get weird texture. I actually count my stirs when mixing to make sure I get it right every time.
 Pin it
Baking At Different Heights:
I've moved around a lot while developing this recipe, and I've learned how altitude changes baking. When you're up high, cutting back slightly on baking soda and adding a bit more liquid helps the cake structure. I've made this cake everywhere from sea level to 5,000 feet up, tweaking things a little each time.
Keeping It Fresh:
Storing this cake right makes all the difference. It stays good at room temperature for a few days, but I've worked out a way to keep it longer. You can freeze individual slices with parchment paper between them, then let them thaw in the fridge overnight. The ganache and caramel hold up surprisingly well this way.
Changing With The Seasons:
I like to switch up this cake for different times of year. In summer, I might add fresh raspberries between layers. During fall, I'll splash bourbon in the caramel and use toasted pecans instead of peanuts. For winter holidays, a hint of peppermint in the ganache works great, while spring calls for some orange zest to brighten up the chocolate.
Fixing Common Problems:
After teaching this recipe to so many people, I've seen every possible mishap. If your caramel gets grainy, a splash of hot water and gentle reheating usually fixes it. Split ganache? Warm it gently while whisking like crazy. Even if your cake sinks in the middle, you can turn it into a trifle using the same ganache and caramel.
Sharing The Love:
What makes this cake really special is how it brings folks together. I've taught it in so many baking classes, and seeing students nail their first caramel sauce is just awesome. This cake has become the most requested dessert at family gatherings—people call dibs on corner pieces weeks before parties!
Tools That Help:
You don't need fancy equipment, but some things do make baking easier. Good cake pans that heat evenly are worth buying. I've found that light aluminum pans work best since dark ones can make the edges too brown. A candy thermometer takes the guesswork out of caramel making, though I've taught plenty of people to judge it just by color.
Getting Everything Ready:
One big lesson I learned early on was to get everything measured and ready before starting. This makes the whole process way smoother and more fun. It's super important for the caramel sauce especially—once that sugar starts changing color, you won't have time to measure anything else.
 Pin it
Put Your Spin On It:
While this recipe works perfectly as written, I always tell people to make it their own. Some of my students add espresso powder to boost the chocolate flavor. Others try different nuts in the caramel. These little tweaks make the recipe more special to whoever's making it.
A Recipe To Pass Down:
This cake has grown beyond just another recipe in my collection—it's become something I pass down to my kids and countless students. It shows that sweet spot between following directions and adding your own creativity. Every time I make it, I think about all the birthdays and celebrations it's been part of and all the smiles it's brought to people who've tasted it.
Frequently Asked Questions
- → Can I prepare the cake beforehand?
- Absolutely! Bake the cake layers one day before and put them together when ready to serve.
- → Why is my caramel sauce getting thick?
- Cooling naturally causes the caramel to thicken. Warm it gently to make it runny again.
- → What if I don’t want to use peanuts?
- Totally fine! Leave out the peanuts for a classic salted caramel version.
- → What’s the best way to store this cake?
- Pop it in the fridge covered for up to 5 days. Let it sit at room temperature before slicing.
- → Can I swap milk chocolate for dark chocolate?
- Yes! Go for dark chocolate if you prefer a bolder chocolate kick.
