
 Pin it
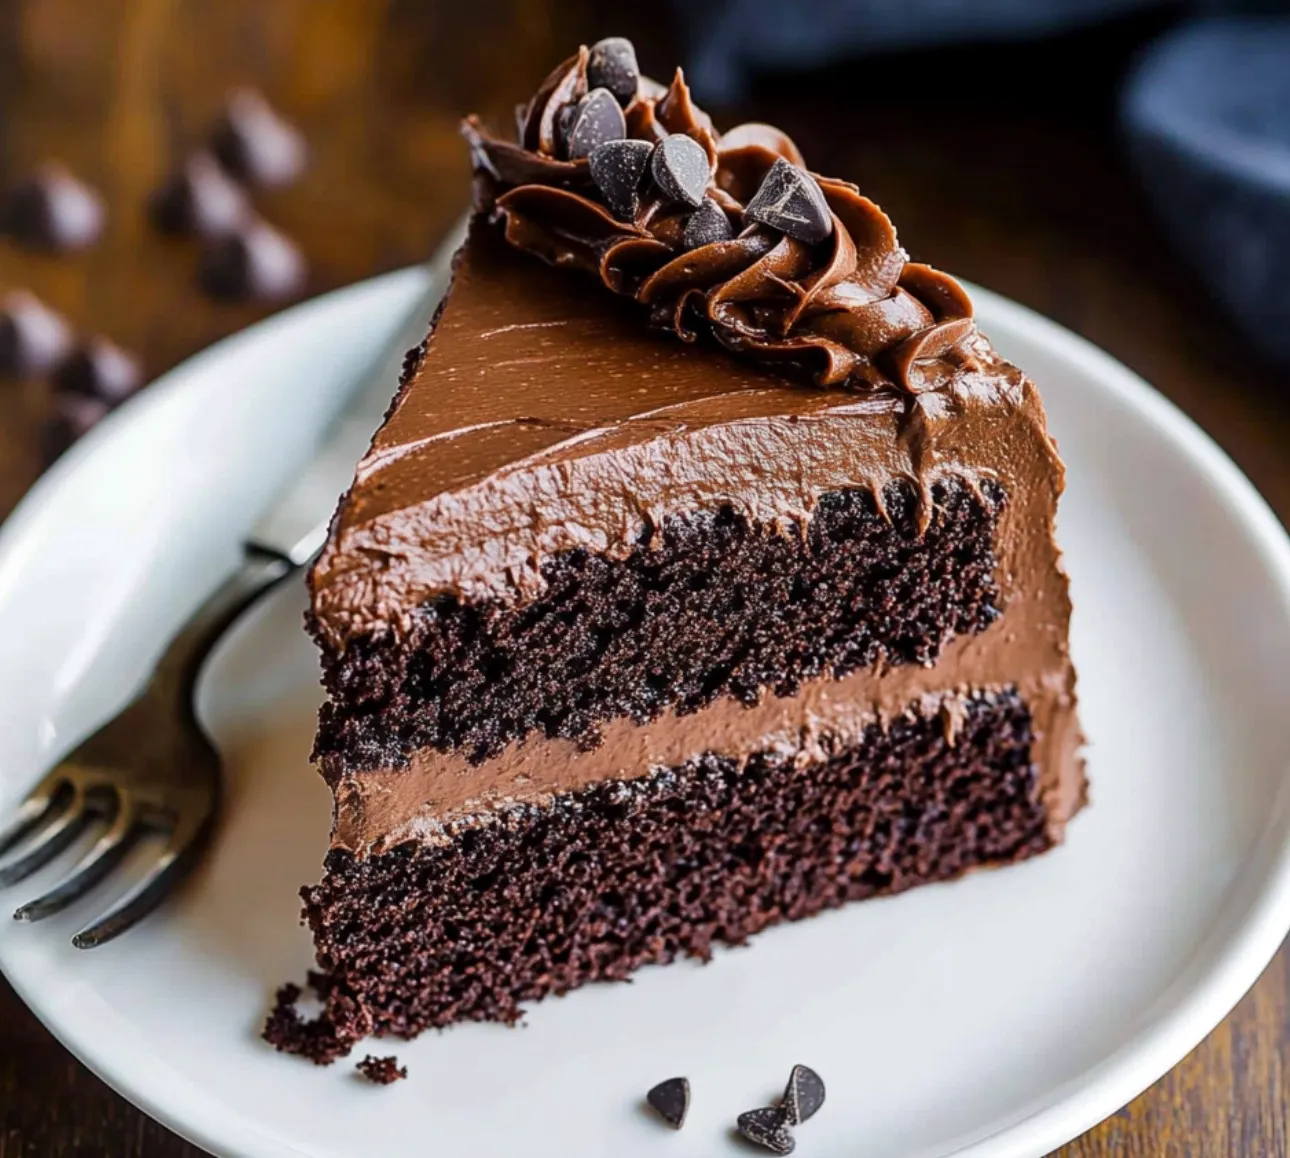
The kitchen fills with a rich smell of deep, dark chocolate as this Triple Chocolate Cake comes out of the oven. It's not your typical cake – it's a showstopper with three levels of chocolate intensity, each one building on the next to give chocolate fans exactly what they dream about. You'll notice the cake's reddish-brown inside shows off its Devil's Food roots, while the super moist texture hints at something even better than the classic version.
I baked this for my nephew's birthday party last weekend. The pure happiness on his chocolate-covered face told me why this has become my favorite chocolate cake recipe. Even my dessert-avoiding sister couldn't help asking for another slice.
Key Ingredients and Smart Picking Tips
- Natural Cocoa Powder - Go for good quality unsweetened stuff. Its natural acids help create that lovely reddish color and soft texture
- Oil - Pick a plain vegetable oil like canola or grapeseed. Unlike butter, it helps the cake stay incredibly moist even after refrigeration
- Hot Coffee - Freshly brewed coffee makes the chocolate taste better without adding coffee flavor. The warmth helps wake up the cocoa powder
- Sour Cream - Don't skimp on fat here - full-fat sour cream makes for a thicker, tastier cake. I've found this single ingredient changes an ordinary cake into something special
After years of baking, I've learned using room temperature ingredients isn't just a nice suggestion - it's actually key to getting that smooth, perfect texture.
Step-by-Step Directions
- Getting Ready
- 1. First, put your oven rack right in the middle and heat to 350°F. Get your cake pans ready thoroughly - I grease them, put down parchment circles, then grease those too. Might seem like overkill, but you'll thank yourself when the cakes slide out perfectly.
- Making Your Foundation
- 2. Begin with dry ingredients. Mix your flour, cocoa powder, baking soda, baking powder, and salt in a big bowl. Don't just toss it together - really whisk it to break up any cocoa clumps. These small things really affect how your cake turns out.
- Creating the Mixture
- 3. In another bowl, combine your oil, eggs, buttermilk (or sour cream), and vanilla until everything looks smooth. If you're using sour cream, take a bit more time to make sure it's completely mixed in.
- The Transformation
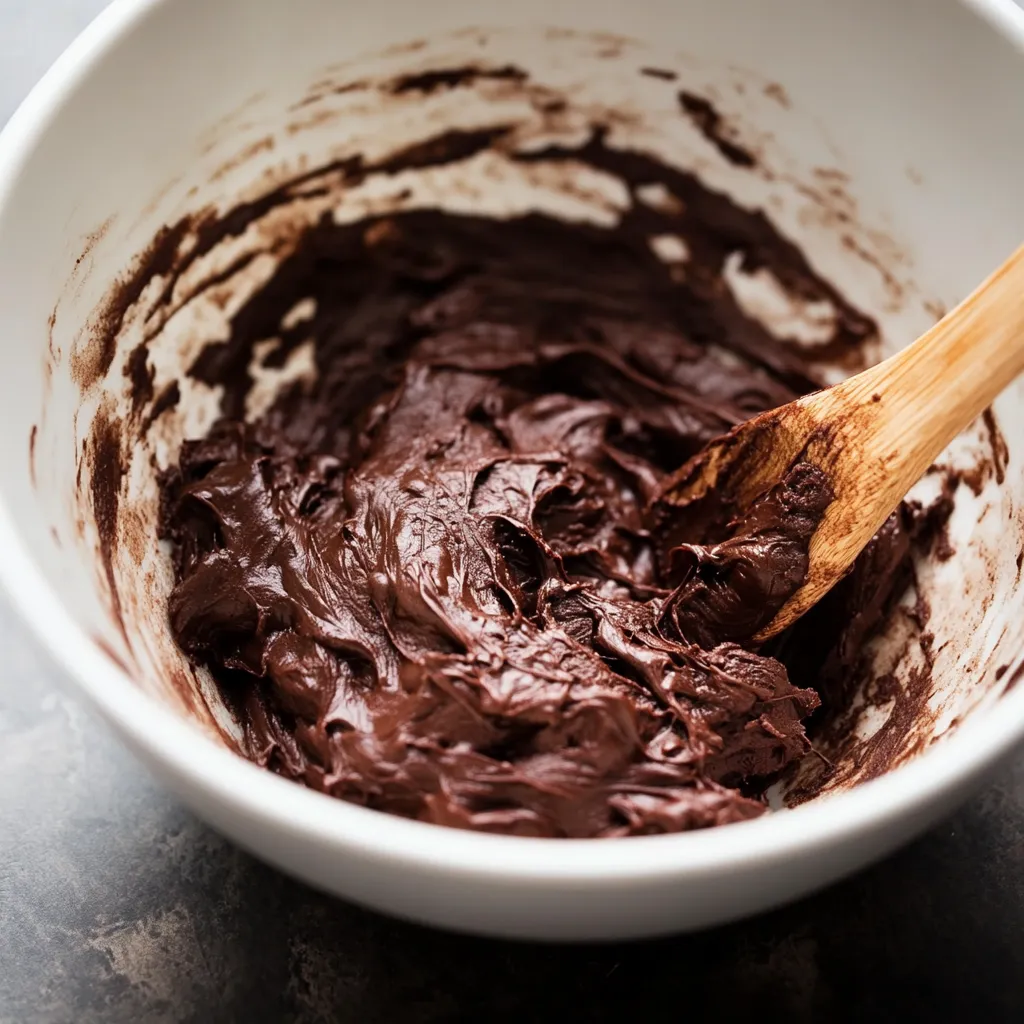
- 4. Mix your wet stuff into the dry stuff, then whisk until barely combined. Now for the game-changing part - pour in your hot coffee or water. You'll see the batter change into a thin, shiny chocolate mixture.
- Baking Time
- 5. Split the batter evenly between your prepared pans. Tap each pan gently on the counter to get rid of air bubbles. Put them in your hot oven and let the magic happen - about 24-26 minutes of waiting.
 Pin it
My best memory with this cake was when I accidentally used coffee that was too hot and thought I'd messed everything up. Surprisingly, the cake came out with an even stronger chocolate flavor. Sometimes mistakes turn into the best discoveries!
Smart Timing Tricks
Knowing when your cake is done takes practice. The top should bounce back when you touch it lightly, and the edges should just start to pull away from the pan sides. Don't just rely on the toothpick trick - watch for these visual clues too.
 Pin it
Fantastic Frosting Basics
Your chocolate buttercream needs proper prep work. Start with butter that's truly softened to room temperature - you should be able to press it easily. Mix your cocoa powder with the butter before adding powdered sugar; this makes for the creamiest possible texture.
Expert Assembly Tricks
When you're putting your layers together, take time to trim each cake if needed. A flat surface makes your cake look professional and keeps it from tilting or sliding. Cool the cake after the first thin layer of frosting before adding the final coat for the cleanest look.
Pro Baking Secrets
- Always mix your cocoa powder with hot liquid first - it makes the chocolate taste much better
- Use coffee instead of water for deeper chocolate flavor
- For super smooth frosting, sift both cocoa powder and powdered sugar first
After making this recipe countless times, I've learned you can't rush cooling the layers before frosting. Nothing's worse than seeing perfect cake layers ruined because you got impatient during assembly.
Clever Temperature and Storage Tricks
Knowing how to handle temperature and storage keeps this triple chocolate cake delicious longer. Under a cake dome at room temperature, it stays fresh for 4 days. In the fridge, it lasts a week, but always let it warm up before serving for the best texture and taste. The buttercream gets perfectly soft, and the cake returns to its velvety goodness. For longer keeping, wrap unfrosted layers in plastic, then foil, while they're still slightly warm before freezing. This locks in moisture for up to 3 months. I figured this out after many events where I needed to make things ahead.
Creating the Ultimate Chocolate Experience
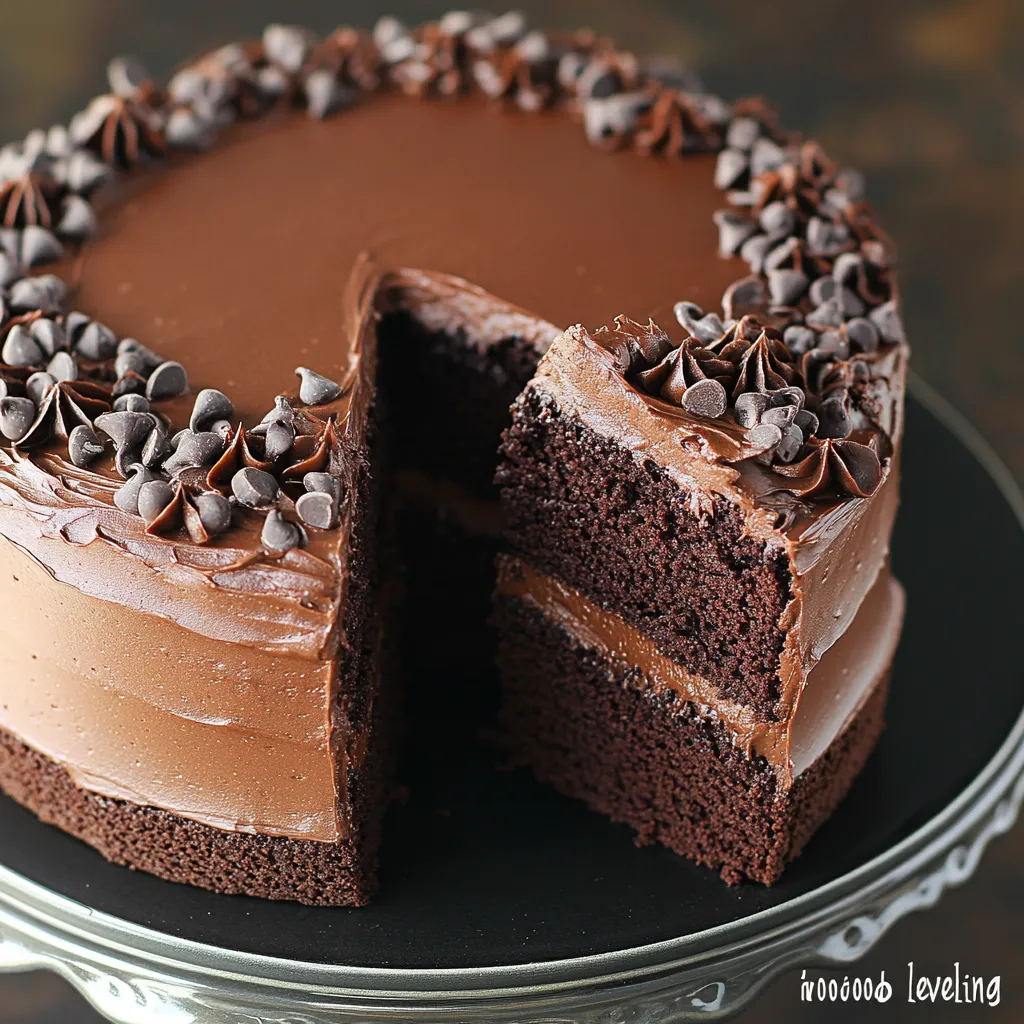
The real magic happens when you balance the three chocolate elements: rich cocoa cake, smooth chocolate buttercream, and chunky chocolate chips. Each part plays a key role in making the perfect chocolate treat. Through lots of testing, I've found that mixing different chocolate chip types creates interesting flavor differences. Semi-sweet chips give you classic taste, while dark chocolate adds fancier notes. For really special occasions, I mix both kinds - 60% dark chocolate with semi-sweet chips - creating complex flavor layers. This combo first appeared at my daughter's wedding and quickly became a family favorite.
 Pin it
Closing Thoughts
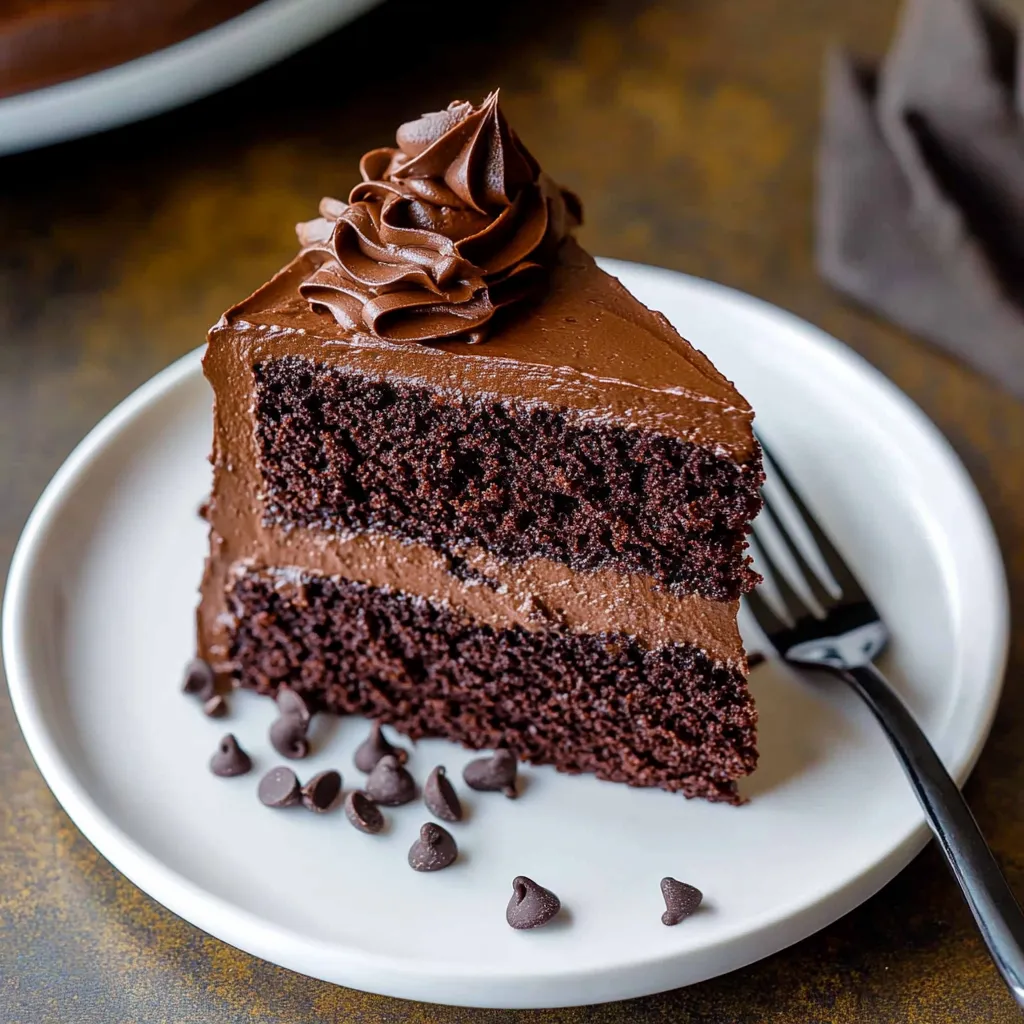
This Triple Chocolate Cake has grown beyond just another recipe in my collection; it's now a must-have for celebrations, a comfort food, and proof of good chocolate's power. Whether you're celebrating something special or just want something super chocolatey, this cake delivers every time. The mix of moist cake, silky frosting, and chocolate chips creates something you'll remember long after the last bite is gone.
Frequently Asked Questions
- → What does coffee do?
- It boosts the chocolate flavor but you won't taste coffee.
- → Can I prep it earlier?
- Sure, freeze the layers for up to 3 months.
- → Why use natural cocoa?
- It reacts properly with leavening to give the right texture.
- → What other pans work?
- You can use a 9x13 pan, bundt mold, or even make cupcakes. Just tweak baking time!
- → Why use room temp ingredients?
- It mixes everything evenly and gives better texture.