
 Pin it
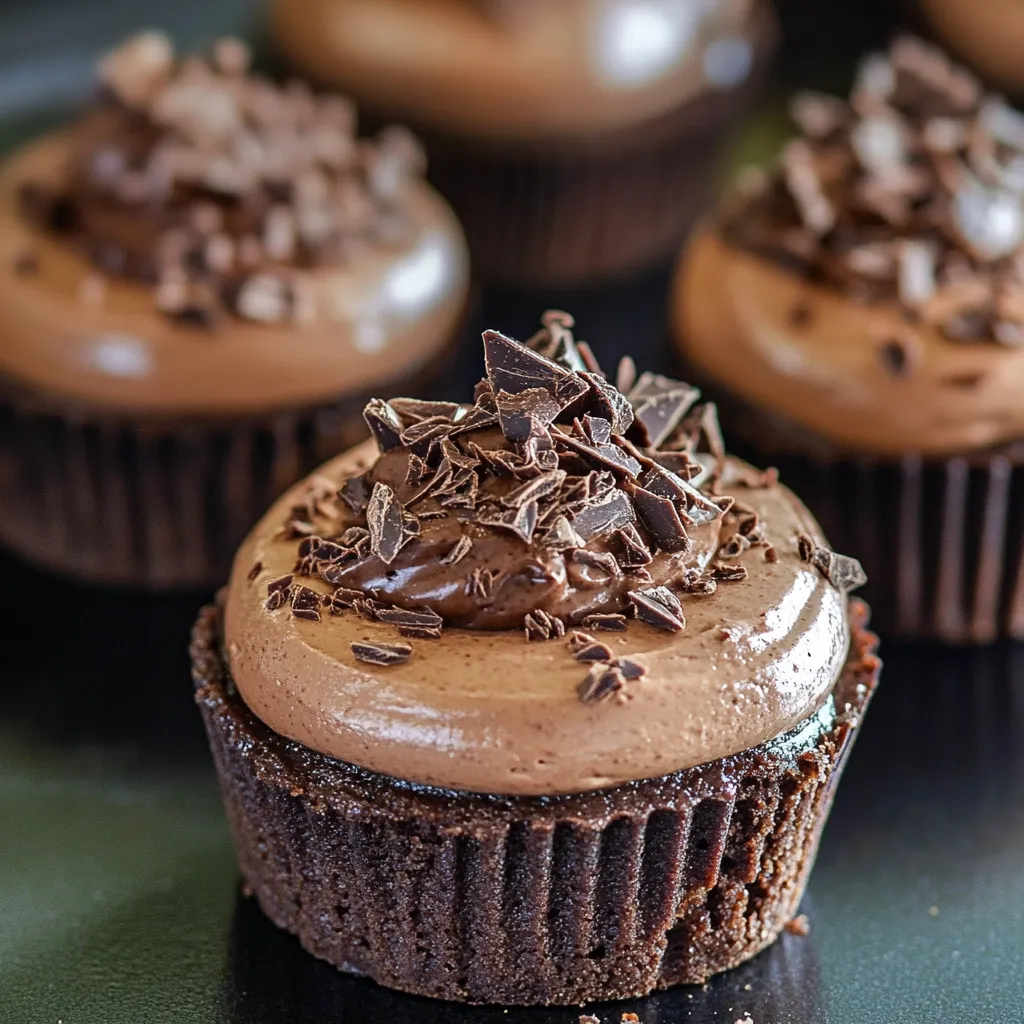
Dive into pure chocolate heaven with these bite-sized Chocolate Cheesecake Minis. Four amazing chocolate layers work together to create mouthwatering treats that'll wow any dessert spread. Each little delight starts with a crunchy Oreo base, then comes a velvety chocolate cheesecake, followed by smooth ganache, and topped with fluffy chocolate whipped cream.
I whipped up these mini treats for my sister's birthday party, and now she asks for them every year. The way each chocolate layer brings its own special flavor creates such a rich taste experience that even my husband, who's not big on chocolate, can't turn them down.
Key Ingredient Breakdown
- Cream Cheese: Go for full-fat and make sure it's totally soft—cold cream cheese will make your batter lumpy
- Chocolate: Pick good quality semi-sweet around 54-60% cacao—Ghirardelli baking bars work great
- Oreos: Stick with standard ones, not Double Stuf—too much filling messes up the crust
- Heavy Cream: Find cream with at least 36% fat to get the best whip
- Cocoa Powder: Dutch-processed gives your whipped topping a nicer color and stronger flavor
Step-By-Step Method
- Getting The Base Just Right
- Crush whole Oreos until they turn into tiny crumbs
- Pack them down with medium pressure—too hard makes removal tough
- Make sure the sides have even height
- Quick-bake for 5 minutes to set them properly
- Mixing Up Smooth Cheesecake
- Whip cream cheese till it's totally lump-free before adding sugar
- Clean the bowl sides often to catch any missed bits
- Add chocolate while it's slightly warm for better mixing
- Use an ice cream scoop for equal portions
- Making Perfect Ganache
- Cut chocolate into tiny bits for easy melting
- Warm cream just until tiny bubbles show up on the edges
- Don't touch it for 2 minutes after combining
- Tap the pan lightly to flatten the ganache layer
 Pin it
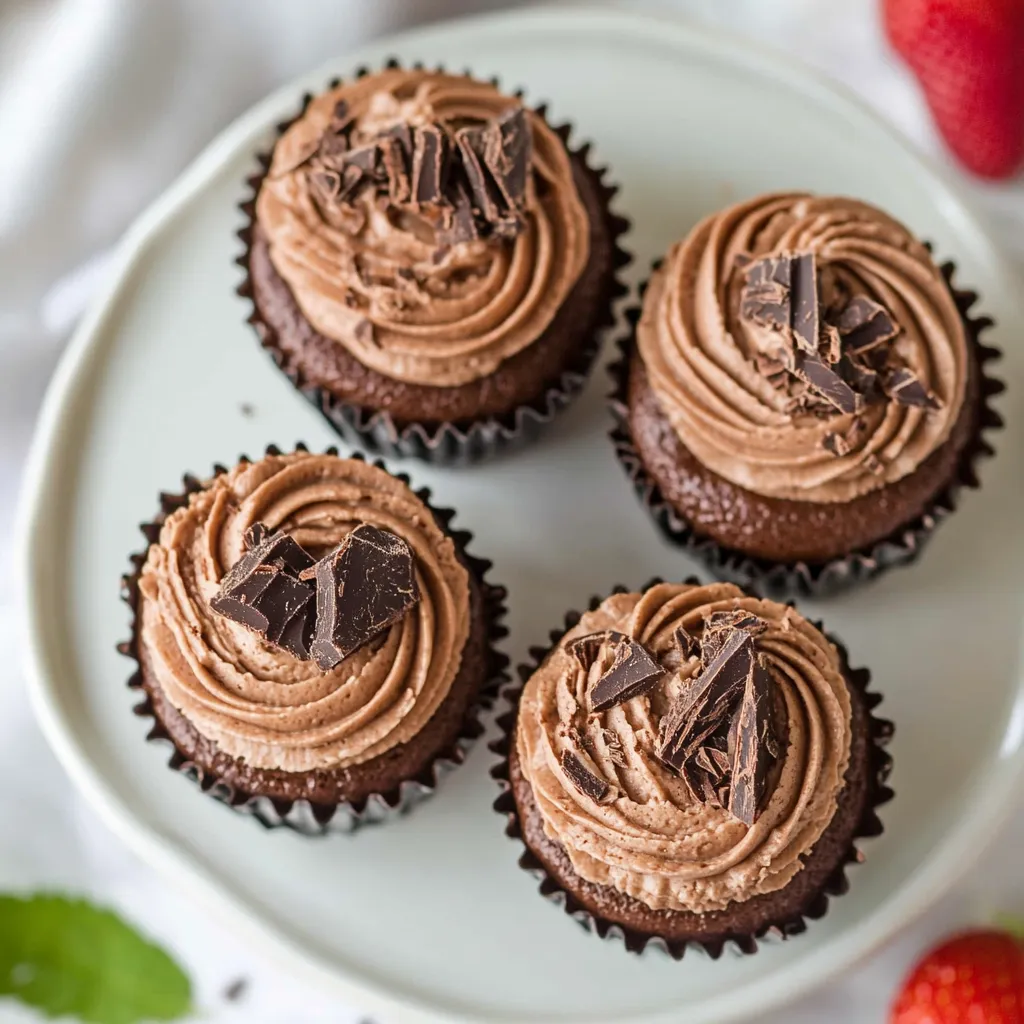
After tons of cheesecake testing, I've found chocolate brings out the dessert fan in everyone. My little girl loves helping smash the Oreos, and I've learned some cookies always seem to vanish during our baking time.
Smart Layering Technique
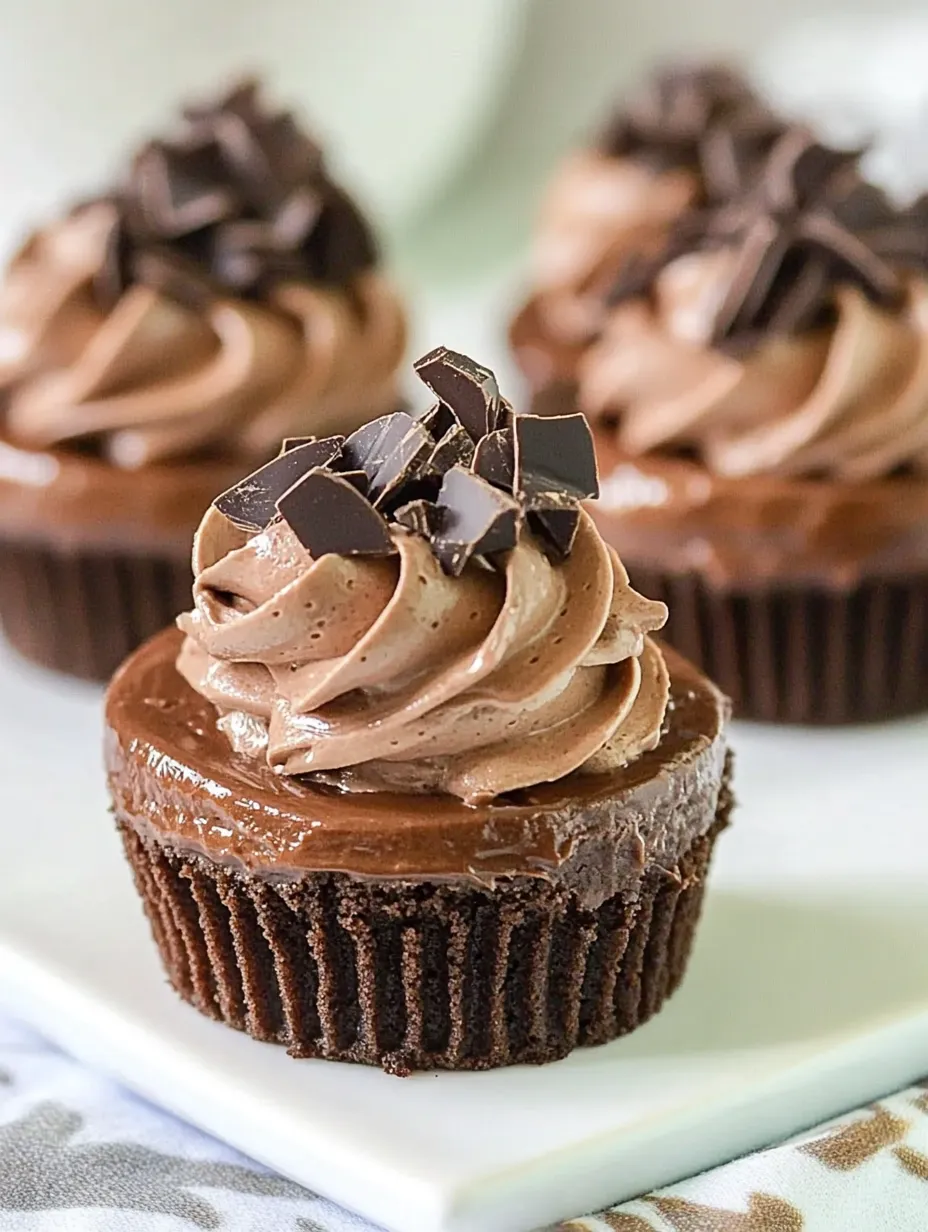
Every layer needs proper cooling time. I usually spread the process across two days, letting the cheesecake bottoms chill overnight before putting on the ganache and cream. Taking your time gives you those clean, sharp layers.
Managing Your Temps
Getting those beautiful layers comes down to temperature. Each layer should be completely set before adding another. I stick my mixing bowl and cream in the freezer about 15 minutes before whipping—it makes the topping extra fluffy.
Creating these tiny treats has shown me that small desserts can make the biggest impression. The mix of different chocolate textures makes such a memorable dessert that guests always want the recipe. Just remember, good chocolate can't be rushed—take it slow with each part, and you'll end up with absolutely gorgeous mini cheesecakes.
 Pin it
Tasty Season Changes
I've learned these little cheesecakes work great all year round. In summer, I'll add fresh berries and mint on top. For autumn, I sprinkle cinnamon and drizzle caramel. During winter holidays, I use crushed candy canes or gold dust for sparkle.
Why Your Cheesecake Stays Smooth
Getting to know how things mix together really helped me nail this recipe. The egg gives structure but keeps things creamy, and your melted chocolate needs to be warm for smooth mixing but not hot enough to melt your cream cheese. You'll get a feel for this balance as you make them more often.
Fancy Serving Ideas
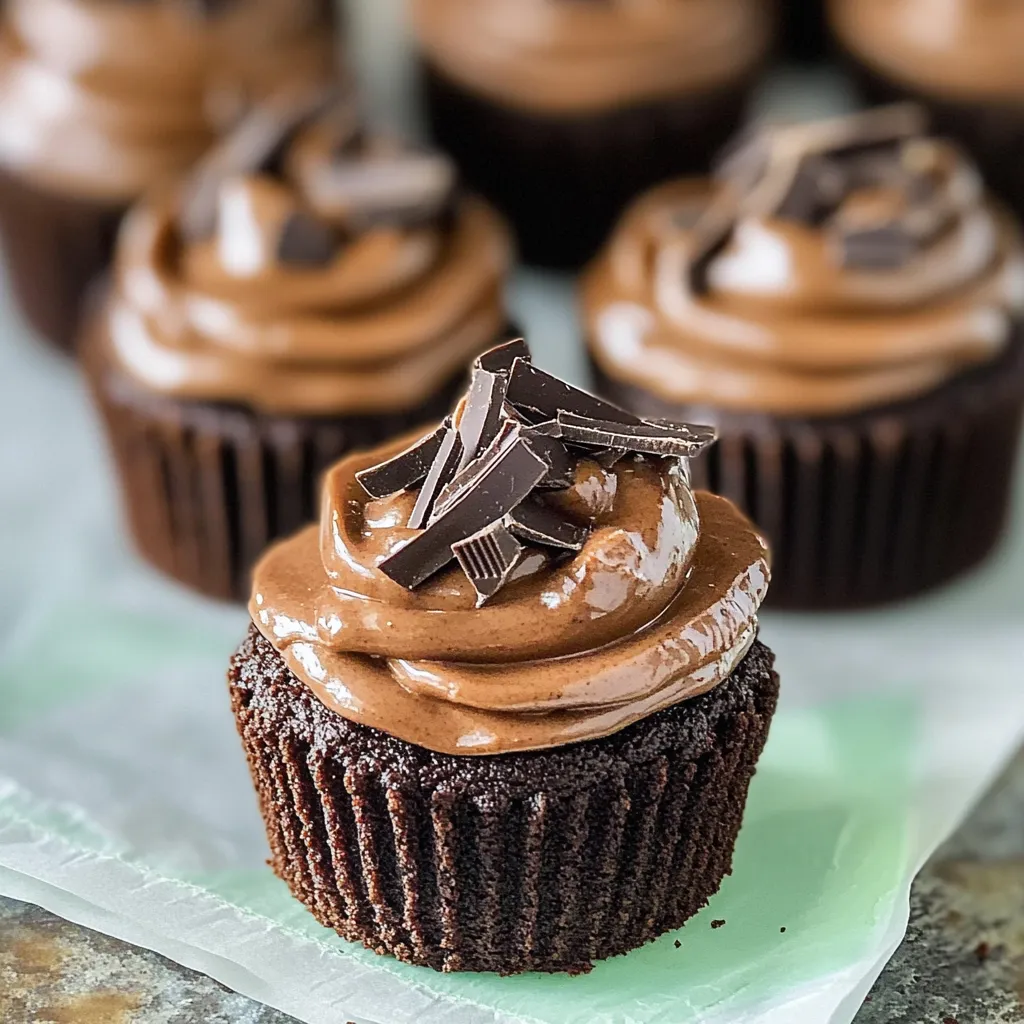
Setting up a DIY mini cheesecake station at parties has become my go-to move. I put out different toppings—fruit sauce, chocolate shavings, chopped nuts, and caramel—so everyone can fix up their own. It's always popular and gets people talking.
Plan-Ahead Perks
These mini treats actually taste better after a day or two in the fridge. The flavors mix together and deepen wonderfully. Just wait to put the whipped cream on until right before you serve them so it looks fresh.
 Pin it
Perfect Small Servings
One great thing about this treat is how the size controls portions. Each mini cheesecake is just right to satisfy without going overboard. Though I've noticed folks often sneak back for another one!
After tons of batches and many happy tasters, these mini chocolate cheesecakes have earned a special spot in my favorite desserts list. They show that you don't need fancy baking skills to make something impressive—just careful attention and good ingredients. Whether they're for a birthday party or just because you want something sweet, these chocolate bites never fail to make people smile. Just remember, success comes down to patience, watching your temperatures, and using the tastiest chocolate you can find. Enjoy baking! 🍫✨
I hope you find this guide helpful for making these awesome treats. Having four different chocolate experiences in one bite makes these mini cheesecakes something people won't forget. Have as much fun making them as serving them!
Frequently Asked Questions
- → Can I prepare these early?
- Totally! Keep them in the fridge, covered, for up to 2 days. Garnish just before serving.
- → Why are there cracks in my cakes?
- No worries—they get hidden under ganache! It happens if you bake too long or they're cooled too fast.
- → How should I freeze them?
- Freeze without whipped topping for up to 2 months. Let them thaw in the fridge overnight.
- → What's a good swap for Andes mints?
- Use mini chocolate chips, chocolate sprinkles, or shavings instead.
- → Why use room temp ingredients?
- They mix smoother and make the cakes creamy without any lumps.