
 Pin it
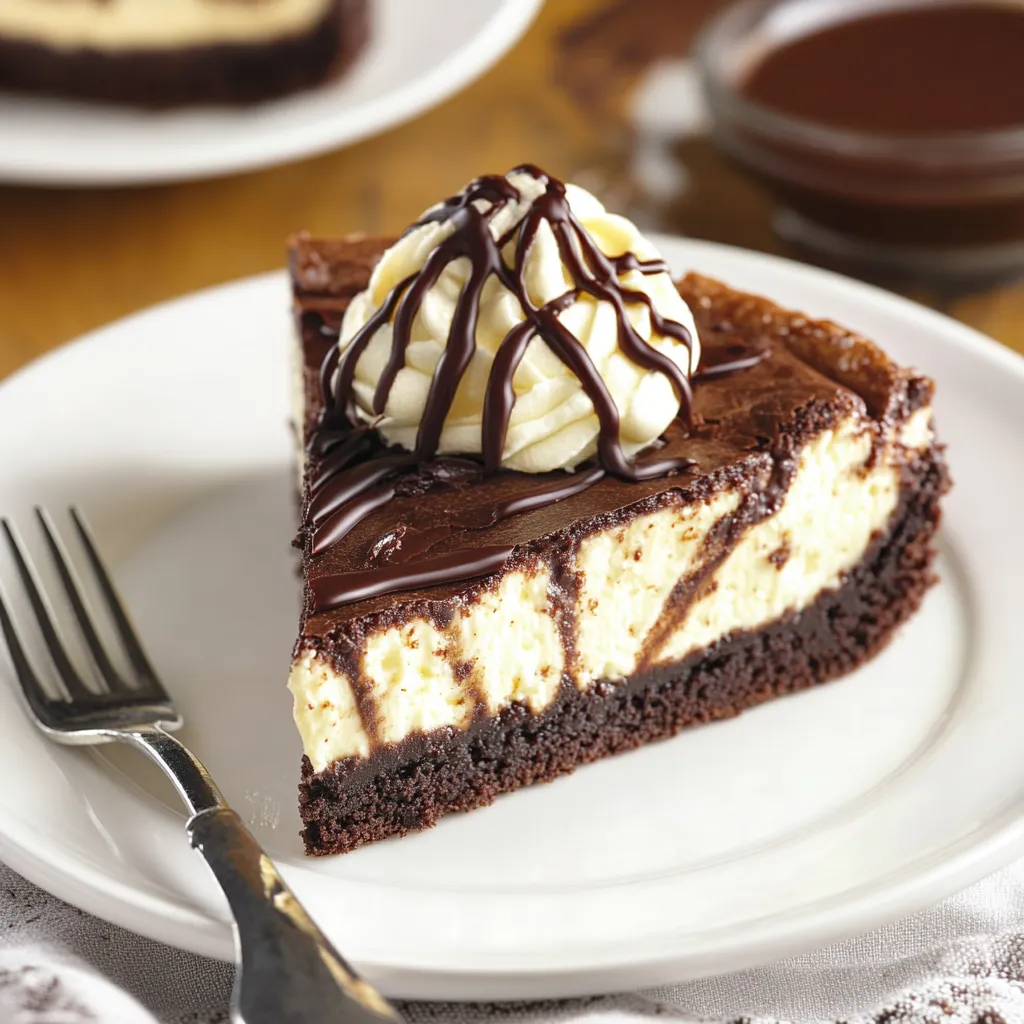
Decadent, smooth cheesecake sits perfectly on top of gooey brownie in this mouthwatering mashup that brings together two favorite desserts in one knockout creation. The play between the chocolatey foundation and the creamy top layer creates something totally magical when you take a bite. I've made this Brownie Bottom Cheesecake countless times for gatherings, and it's become our household must-have that vanishes from the plate before anyone can ask for another slice!
The first time I whipped this up was for my brother's party, and watching everyone's faces light up when they saw those perfect layers was priceless. The brownie bottom had that amazing slightly crunchy edge but stayed super gooey inside - and just like that, our family had a new favorite dessert.
Key Ingredients and Smart Shopping Advice:
- Cream cheese: Go with Philadelphia for the best results - it'll give you the creamiest texture every time. Don't skimp on fat content if you want that rich flavor
- Sour cream: Brings a nice little zip and helps create that classic NYC cheesecake feel. Get the full-fat kind and let it warm up completely
- Heavy cream: Try to grab "heavy whipping cream" instead of regular "whipping cream" - the extra fat helps everything stay together better
- Brownie mix: Pick one that makes fudgy brownies rather than cakey ones. I really like how Ghirardelli Double Chocolate works in this recipe
Simple Steps to Amazing Results:
- Getting ready to bake
- Put your rack right in the middle of the oven so heat spreads evenly
- Don't rush when you're fixing the parchment in your pan - push it into all the corners
- Give the sides a good coating of cooking spray, especially where the pan comes together
- Make sure cold stuff sits out for 2+ hours to warm up properly
- Making your brownie foundation
- Stir brownie mix just until everything comes together - too much mixing makes them tough
- Knock the pan against the counter a few times to pop any air bubbles
- Keep an eye on it during the first bake - you want it firm enough to hold cheesecake but not fully done
- Look for a slightly dry top but still soft when touched
- Whipping up the perfect cheesecake
- Whip cream cheese by itself first until it's completely smooth without any bumps
- Keep scraping the bowl sides and bottom so everything mixes evenly
- Pour in new ingredients slowly to avoid getting lumps
- Use a spatula to mix in eggs by hand, counting as you fold them in
- Baking it right
- Don't ever crack that oven door while it's cooking - fight the urge to check!
- Watch for the right wobble - edges should be set about 2-3 inches in, middle still wiggly
- Follow the cooling steps carefully - use timers for each part
- You'll know it's done when it starts pulling away from the sides slightly
 Pin it
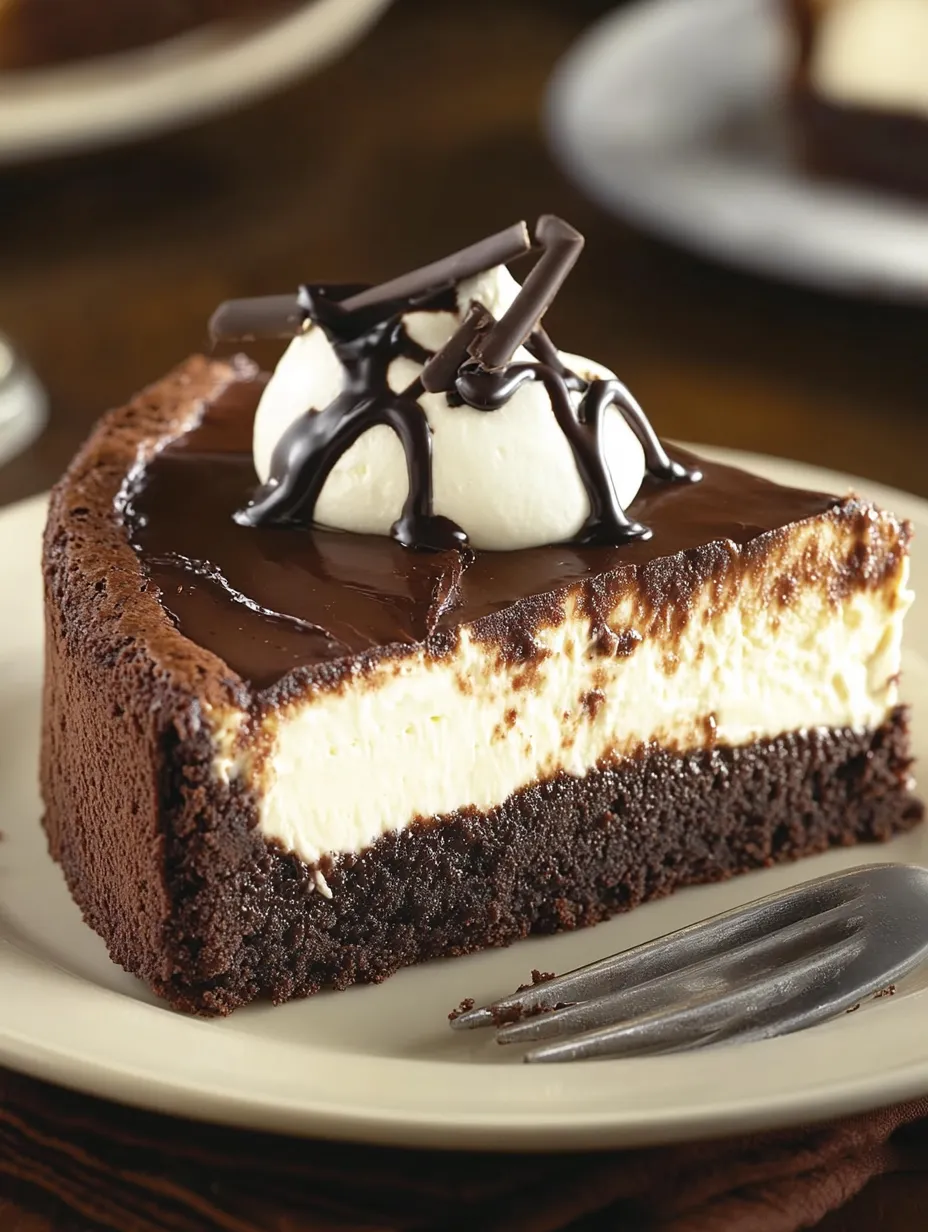
My nana taught me the trick to that perfect brownie foundation - always underbake it a tiny bit. She showed me how a gooey brownie base helps keep moisture in the cheesecake and stops it from drying out during the long time it spends in the oven.
Cutting Like a Pro:
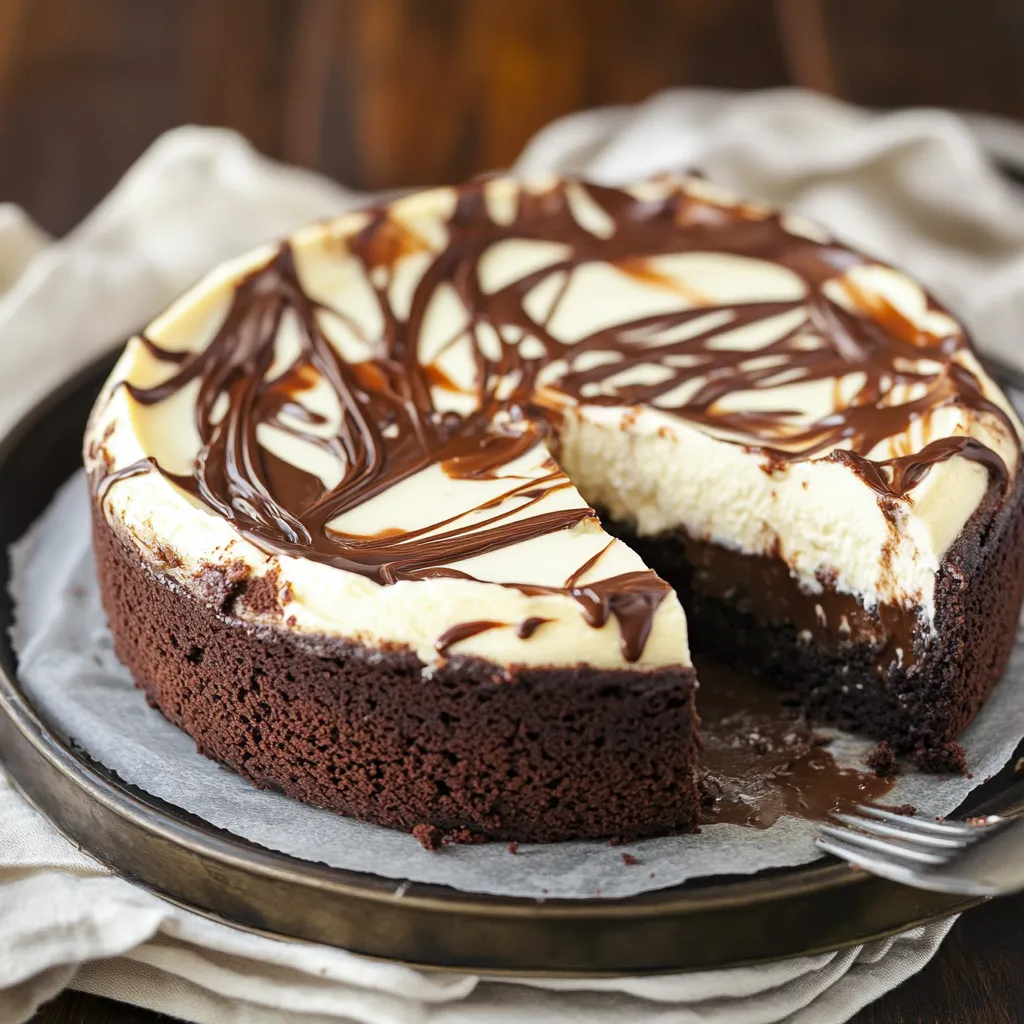
Getting those picture-perfect slices comes down to temperature tricks. I always keep a big glass of hot water nearby and dunk my knife after each cut, wiping it clean with a paper towel. This simple hack makes every piece look like it belongs in a fancy bakery window.
How Textures Change:
It's pretty amazing how this dessert transforms overnight. The brownie gets even more fudgy while the cheesecake becomes silkier than before. That's exactly why I always make it a day ahead - waiting really does pay off here.
Ways to Serve It Up:
This beauty stands on its own, but I love setting up a topping station with fresh berries, warm caramel, chopped nuts, and chocolate shavings so everyone can dress up their own slice. Last time I hosted dinner, people couldn't stop talking about this fun approach.
Keeping It Fresh:
The trick to storing this cheesecake is all about wrapping it right. After it cools completely, I lay a paper towel on top (it soaks up extra moisture) before covering with plastic. This stops those annoying water drops from forming on your beautiful surface.
I've tried tons of cheesecake recipes over the years, but this Brownie Bottom version still tops my list. The mix of dense, chocolatey brownie with smooth, vanilla cheesecake creates something totally special. It takes some patience and care, but you'll find it's worth every minute you put in. Remember, if you get a crack or two, just cover it with some whipped cream and nobody will ever know. In my kitchen adventures, I've found that slightly imperfect desserts often carry the most love and create the best family memories around the table.
Tasty Twists to Try Next:
Feel free to play around with this recipe! You can swap the brownie base for blondies or even cookie dough. For the cheesecake part, try adding almond, lemon, or mint extracts for a fresh take. You might also mix in fruit purees, chocolate chips, or nuts to change up the flavor and texture. Here are some combos I really love:
- Chocolate Peanut Butter: Start with peanut butter brownie mix and swirl peanut butter through your cheesecake batter. Sprinkle chopped peanut butter cups on top.
- Cookie Crunch: Mix crushed Oreos into both your brownie mix and cheesecake filling. Finish with more crushed cookies on top.
- Sweet and Salty: Pour caramel over your brownie layer before adding cheesecake batter. Add a pinch of flaky salt before serving.
 Pin it
Why Slow Cooling Matters:
Taking your time with cooling helps stop cracks from forming in your cheesecake. When you move it straight from a hot oven to room temp, it shrinks too fast and splits. By letting it cool slowly in the oven with the door cracked open, you're giving it time to adjust gradually to the temperature change. Don't rush this step if you want that perfect, smooth top.
Making It Look Amazing:
A few finishing touches can turn this from just tasty to totally stunning. I wait until it's completely cold before taking off the springform sides, then run a thin knife around the bottom to free it from the base. This gives you clean, sharp edges. Then I move it to a pretty plate and add fresh berries, a dollop of whipped cream, or some chocolate curls. A drizzle of warm chocolate or caramel sauce makes it look extra fancy.
 Pin it
No Gluten Needed:
If you can't eat gluten or you're baking for someone who can't, this dessert is super easy to adjust. Just grab a gluten-free brownie mix and double-check that all your other ingredients don't contain gluten. Many stores sell really good gluten-free brownie mixes that work perfectly for the base. You could also make a crust using ground almonds, butter, and sugar instead. This way, nobody has to miss out on this amazing treat.
From all my years in the kitchen, this Brownie Bottom Cheesecake stands out as a true winner. It brings together the best of both worlds - fudgy, rich brownie and creamy, tangy cheesecake. Yes, it takes a bit of time and attention, but trust me, the results will blow everyone away. It's guaranteed to impress your friends and family and become one of your go-to desserts. Just remember, baking is all about sharing joy and making memories, so have fun with it and enjoy every delicious bite!
Frequently Asked Questions
- → Why stir eggs by hand?
- Gently stirring stops air bubbles forming, which keeps your cheesecake from cracking.
- → Is a water bath really unnecessary?
- Yup, you can skip it here. Cooling it slowly keeps cracks at bay.
- → Can I prep it ahead of time?
- Totally! Stored well, it lasts in the fridge for up to 5 days.
- → Why is the brownie baked first?
- Pre-cooking the brownie guarantees it's rich and gooey, not dry and overdone.
- → Can this be frozen for later?
- Absolutely! Wrap it tightly, freeze for 3 months, and thaw it in the fridge when needed.