 Pin it
These dazzling blueberry cookies turn basic kitchen staples into something truly special, merging the nostalgic taste of blueberry muffins with the tempting charm of a well-baked cookie. Their natural blue color and juicy berry pockets make these goodies look as good as they taste, showing that plant-based treats can be both eye-catching and deeply satisfying.
I've tweaked this recipe countless times, and these cookies never fail to amaze people. The first time I brought them to a party, nobody could believe they got their color naturally and contained no animal products – they vanished in seconds!
Key Components
- All-purpose flour: Measure it carefully – too much and you'll end up with dry, tough cookies
- Frozen blueberries: Keep them icy until you need them – this helps lock in their vibrant color
- Vegan butter: Use when slightly chilled – overly soft butter makes flat, lifeless cookies
- White chocolate chips: Grab the good stuff – they cut through the berry tartness wonderfully
- Baking powder: Check it's not expired for proper cookie lift
 Pin it
Simple Baking Method
- Step 1:
- Start by mixing your vegan butter and sugar in a stand mixer with the paddle attachment. Mix at medium for 3-4 minutes until it looks fluffy and light. This creates tiny air bubbles for softer cookies.
- Step 2:
- With the mixer running high, slowly add your frozen blueberries. Watch the magic happen as everything turns a gorgeous blue-purple. Keep going until the berries break down completely.
- Step 3:
- In another bowl, mix your flour, baking powder, and salt together. This spreads the rising agents evenly throughout.
- Step 4:
- Add your dry mix to the wet ingredients bit by bit, mixing on low just until everything comes together. Scrape the bowl sides as needed.
- Step 5:
- Gently stir in white chocolate chips by hand, trying not to overmix. Don't worry if the dough feels soft – that's exactly how it should be.
- Step 6:
- Put the bowl in the freezer for 30 minutes. This firms everything up so it's easier to handle and won't spread too much.
- Step 7:
- Scoop out 35g balls of dough onto a baking sheet lined with parchment paper.
- Step 8:
- Bake at 350°F for 12-15 minutes, or until the edges look set but the middles still seem slightly gooey.
 Pin it
I first created these cookies while looking for ways to avoid artificial food dyes. When I pulled that first tray from the oven and saw their beautiful color coming purely from fruit, I knew I'd found something worth sharing.
Beautiful Natural Coloring
Through lots of testing, I've found temperature really matters for keeping that gorgeous blue shade: Don't thaw the berries before using them. Keep the butter cool during mixing. Make sure the dough gets properly chilled. Let the cookies cool completely on a rack.
Changes Through The Year
While frozen berries work anytime, I've played with different versions: Summer: Throw in fresh lemon zest. Fall: Add some cinnamon and nutmeg. Winter: Mix in some crushed candy canes. Spring: Try a hint of lavender.
Fixing Common Problems
Easy solutions when things go wrong: Cookies too flat? Chill the dough longer. Not blue enough? Try wild blueberries instead. Dough too sticky? Mix in a bit more flour. Want more sweetness? Throw in extra white chocolate chips.
Plant-Based Baking Tips
Getting to know your vegan ingredients: Not all vegan butter brands work the same way. Double-check that your white chocolate says vegan on the label. Different sweeteners can affect the final color. A splash of plant milk helps fix the texture if needed.
The Magic of Real Ingredients
These cookies show how amazing natural foods can be. Kids especially get excited watching blue berries turn the dough into swirly purple-blue magic. It's a fun way to teach them about food colors from nature and basic baking science.
Don't rush these cookies. The time you spend chilling properly and watching the bake carefully pays off with treats that taste amazing and look stunning. As one little baker told me, 'They look like they're made with magic!' – and sometimes, that's exactly what our kitchens need.
Serving Them Beautifully
After making batch after batch, I've found ways to make these cookies look even more special: Put them on blue or white plates to make the color pop. Dust them with edible sparkles. Make little cookie sandwiches with vanilla filling. Stack them in clear jars for gifts.
Keeping Them Fresh
Store them right to keep the flavor and looks: Use sealed containers with parchment between layers. Keep them away from bright light to protect the color. Freeze unbaked dough balls separately. Store finished cookies away from foods with strong smells.
Next-Level Methods
For bakers ready to try more: Toast the vegan butter first for richer flavor. Add blueberry powder to boost the color. Mix plain dough with colored dough for swirls. Try different sizes of chocolate chips.
Learning While Baking
These cookies help teach about: How natural foods change color when heated. The chemistry behind baking. Why measuring matters so much. How to swap in plant-based options.
Getting The Right Bite
Understanding what makes the texture: The flour you choose affects how chewy they are. Sugar amount controls how much they spread. The fat you use changes crispiness. Moisture balance determines how long they stay fresh.
 Pin it
After so many test batches and happy eaters, I've realized these cookies aren't just tasty treats – they start conversations, teach cooking skills, and show how everyday ingredients can make extraordinary desserts. Whether you're a pro baker or just starting out, these blueberry cookies offer a fun adventure in plant-based baking.
Keep in mind that each batch will look a bit different, just like the natural ingredients that give them their beautiful color. Enjoy the variations and have fun making these magical treats.
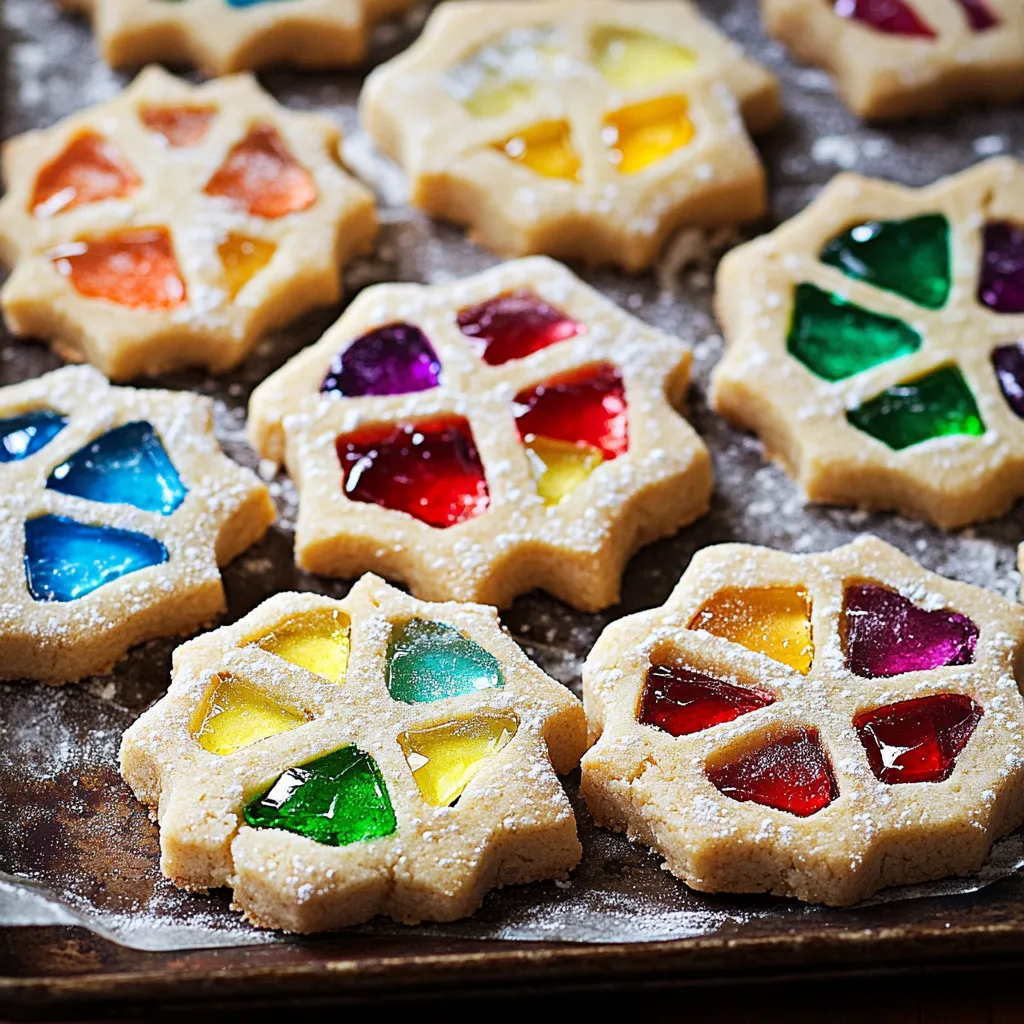
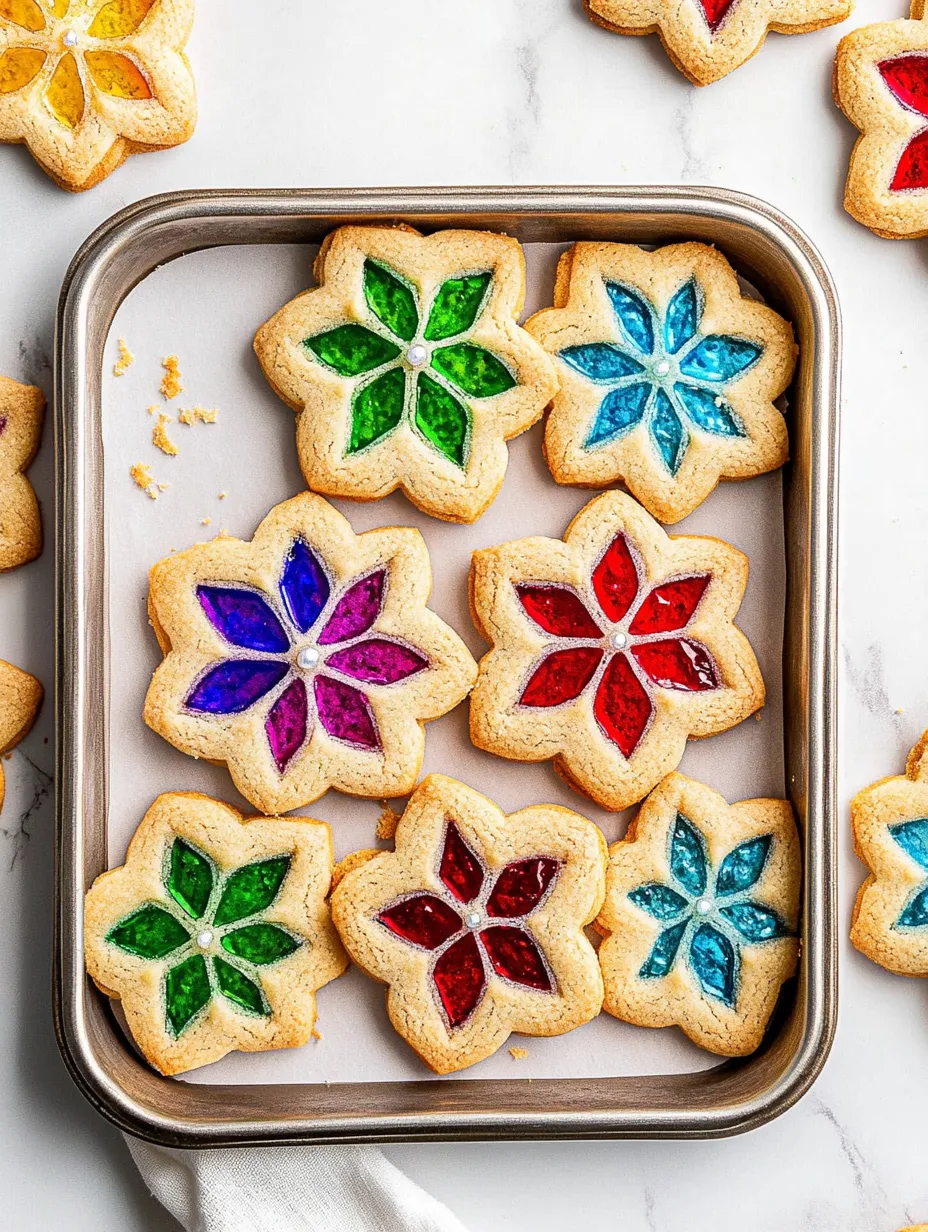
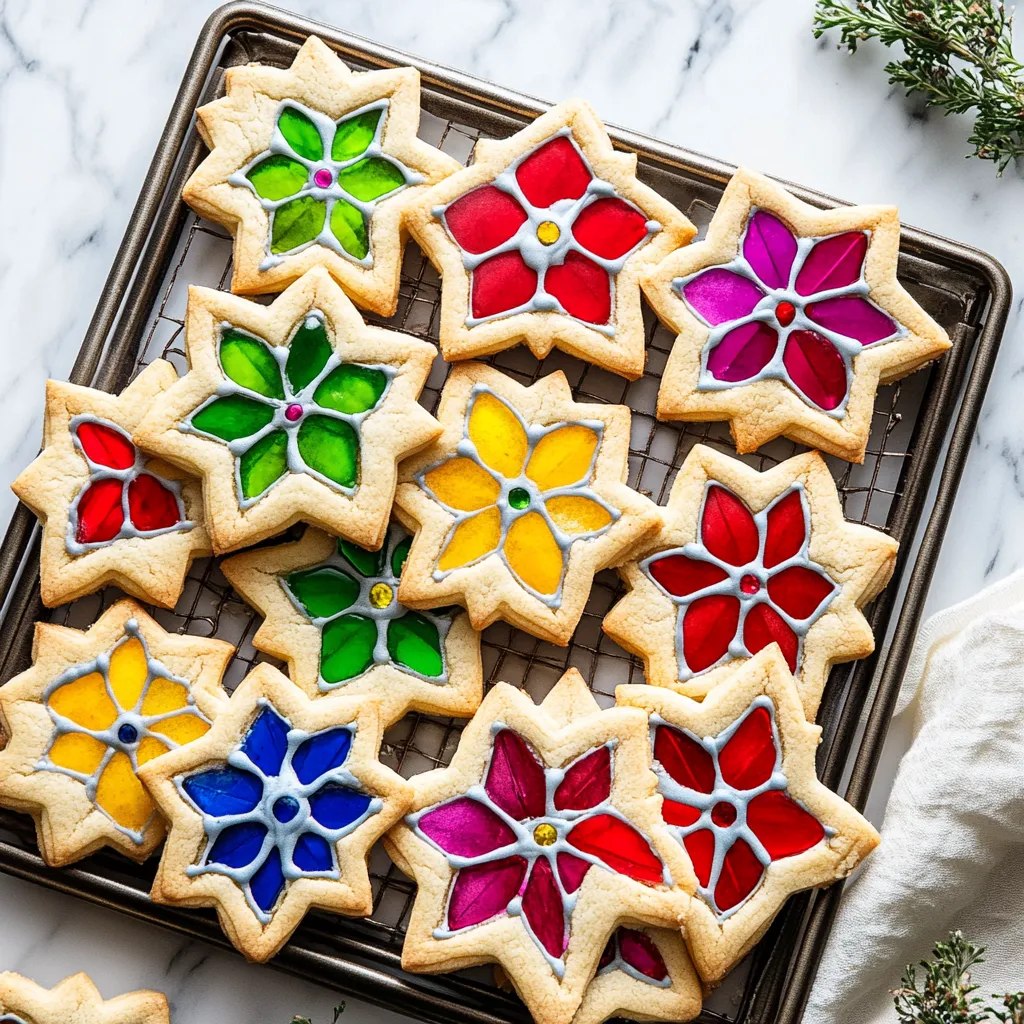
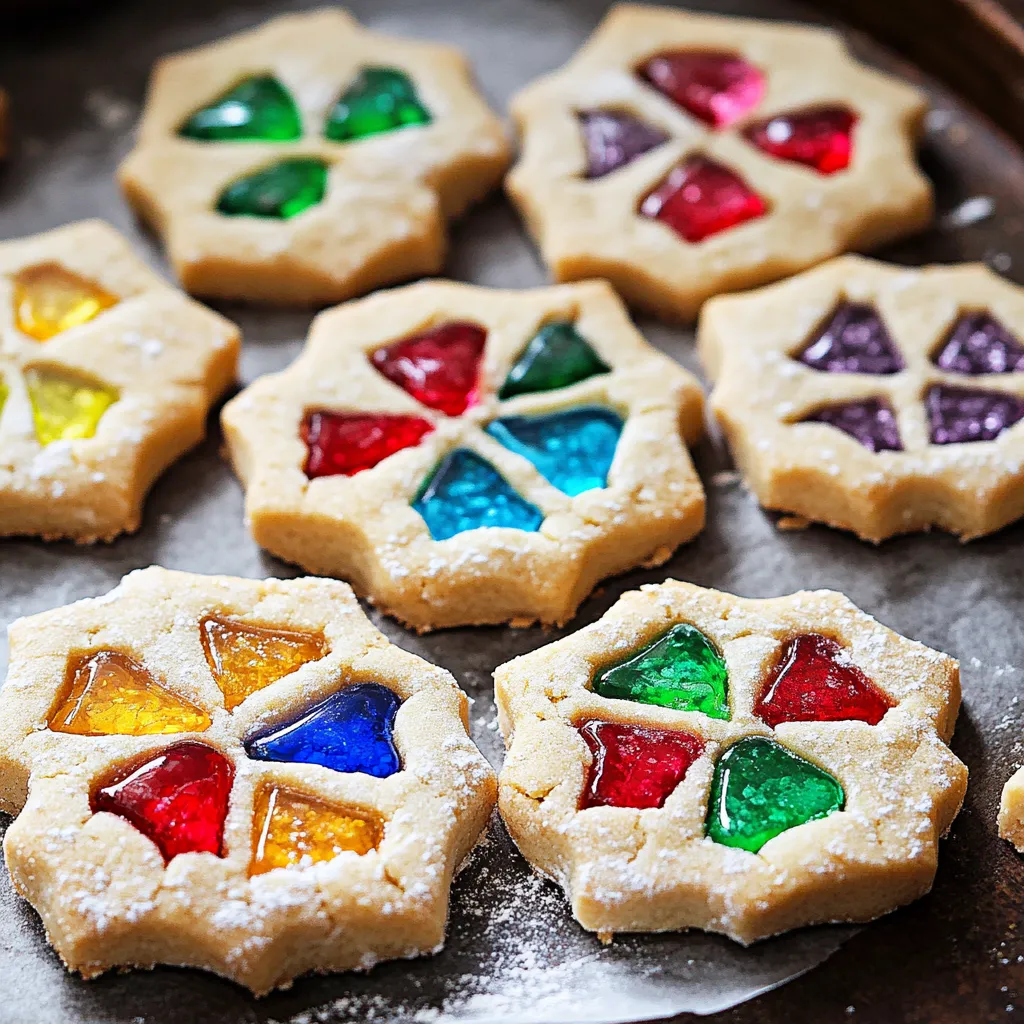
These magical stained glass window cookies turn ordinary ingredients into delicious art pieces. Their gleaming candy middles catch light like precious gems against buttery cookie borders, adding a touch of wonder to any holiday dessert tray. They're perfect hanging from Christmas tree branches or wrapped up as gifts, creating moments of delight for people of all ages.
Frequently Asked Questions
- → Which candies work best for the centers?
- Hard candies like Life Savers or Jolly Ranchers are great. Skip soft or chocolate-based options.
- → What's the point of chilling the dough?
- It stops the dough from spreading during baking and makes cutting shapes much easier.
- → Can I prep these cookies in advance?
- Absolutely! Store them at room temperature for about a week, or refrigerate for up to 10 days.
- → Why don’t my candy centers look clear?
- Crush the candies into chunks instead of powder and avoid overfilling. Bake just until the candy fully melts.
- → Could these double as decorations?
- Sure! Poke a tiny hole at the top before baking. Once set, thread a ribbon through to hang.
