
 Pin it
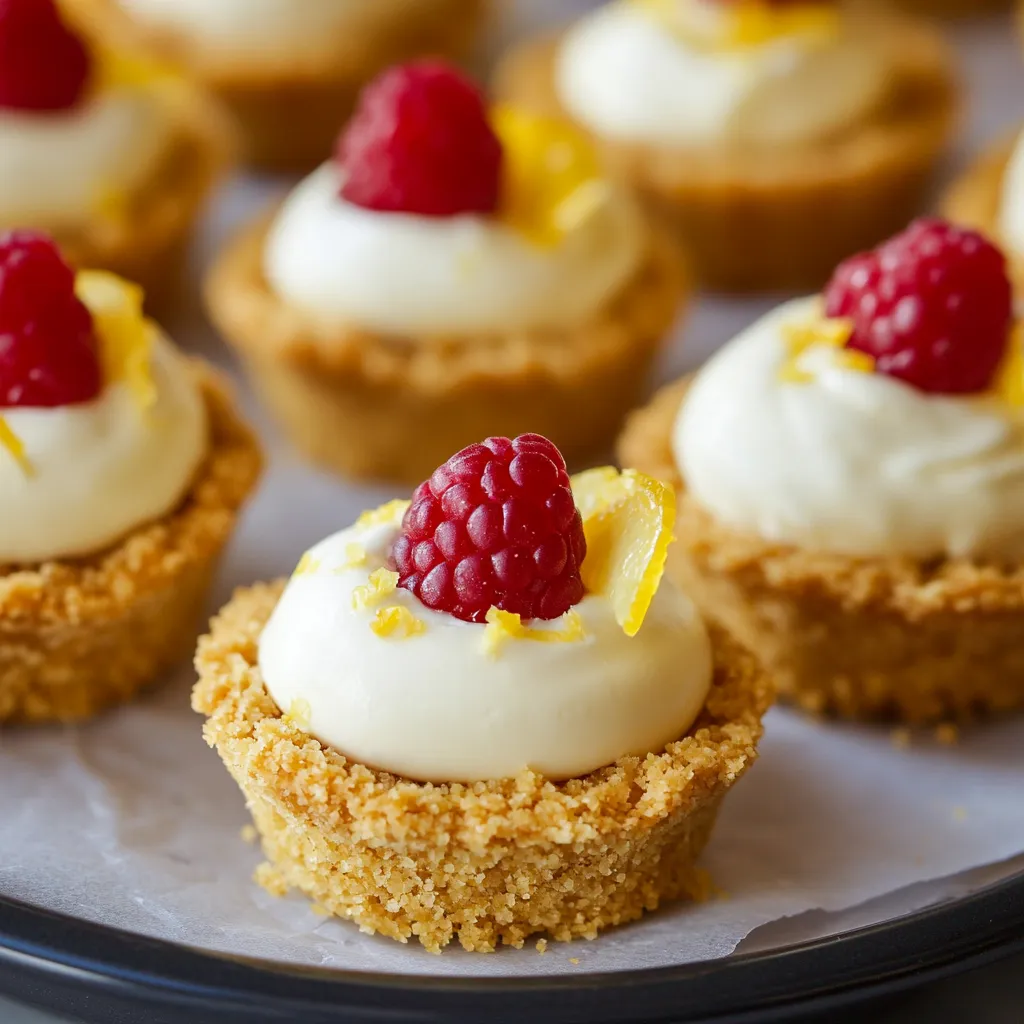
These cute Mini No-Bake Lemon Cheesecake Tarts mix tangy citrus with smooth cheesecake filling in bite-sized treats. They're super convenient to prepare ahead and look fancy enough for any occasion from casual get-togethers to fancy dinner celebrations.
When I hosted a backyard gathering last spring, these little treats disappeared fast. Everybody kept sneaking back for another one because the zingy lemon and velvety cheesecake combo was just too good to resist.
Key Ingredients Breakdown
- Cream Cheese: Go for room-temp Philly-type for the creamiest texture possible
- Lemons: Pick ones that are sunny and bright for the most punch of flavor
- Graham Crackers: Make sure they're nice and crunchy for the best base
- Heavy Cream: The higher the fat percentage (try for 36%+), the better it'll whip up
 Pin it
Step-by-Step Making Process
- Building Better Bases
- Crush graham crackers until they're super fine with no chunks
- Pack down firmly using a measuring spoon's back side
- Make sure the thickness stays the same all around for strength
- Creating Dreamy Filling
- Mix cream cheese until it's totally lump-free before adding anything else
- Grab the zest off your lemons first, then squeeze them
- Add whipped cream with care to keep it light and airy
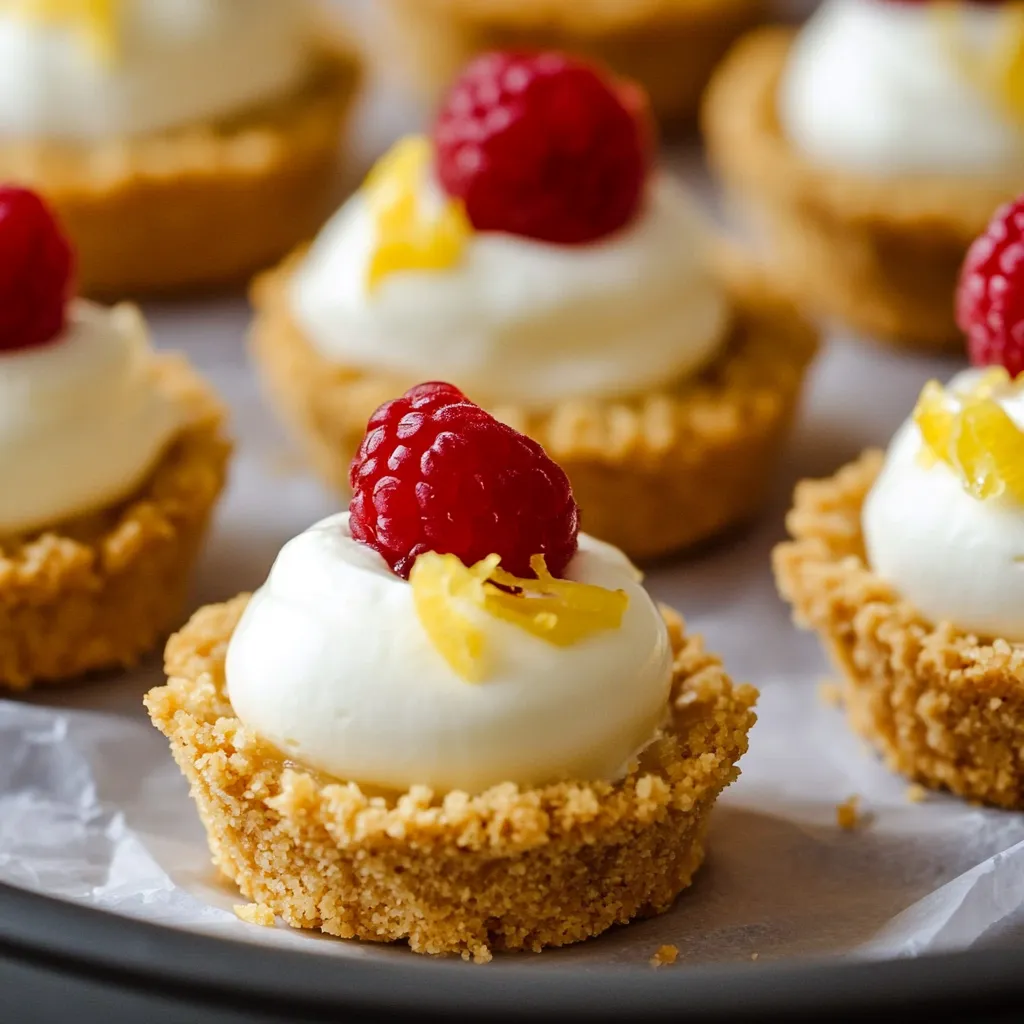
- Putting It All Together
- Lift tarts out carefully with the plastic wrap handles
- Use a piping bag for that wow-factor look
- Put in fridge between steps for best setting
 Pin it
I first came up with these when I needed something fancy yet doable for a summer baby shower. I wanted treats that looked great but didn't need last-minute fussing.
They've now become my favorite dessert for warm weather parties because they're so refreshing compared to heavy chocolate options.
You can switch things up so easily by using different fruits and decorations as the seasons change.
When you bite in, the mix of crumbly base and fluffy filling creates a mouthfeel that's totally addictive.
I've made these tarts for countless parties over the years, and they've consistently been one of my most requested and reliable go-to desserts.
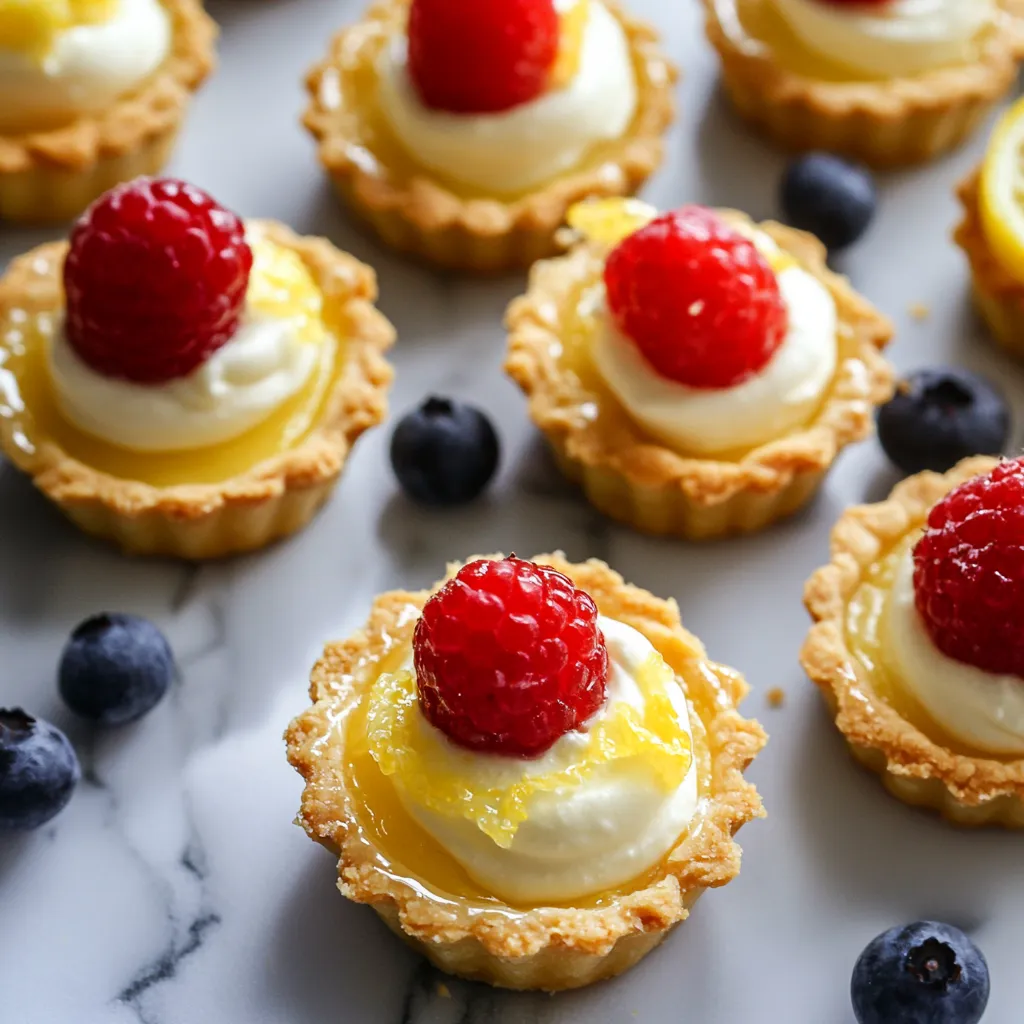
Tasty Twist Ideas
Make your dessert table more exciting by playing with different flavor combos. Some winners I've tried are:
- Tart raspberries with lemon topped with fresh mint
- Sweet orange zest paired with real vanilla beans
- Zippy lime mixed with coconut and sprinkled with toasted flakes
For bigger parties, stack them on a multi-level cake stand with some pretty flowers between layers to really catch everyone's eye.
 Pin it
Plan-Ahead Pointers
These treats are so handy for busy hosts:
- Get the crusts ready and pop them in the freezer up to four weeks early
- Whip up the filling a couple days ahead of your party
- Save the fruit decorating until just before guests arrive for the prettiest look
Fixing Common Problems
If your filling seems runny, try whipping your cream a bit more stiff next time. When crusts fall apart, just mix in another spoon of melted butter. If they're stuck in the pan, stick them in the freezer for 5-10 minutes and they'll pop right out.
Getting Temps Just Right
Ingredients should be cool but not fridge-cold for smooth mixing
Stick your bowls and mixers in the freezer before whipping cream
Take tarts out of the fridge about 5 minutes before serving
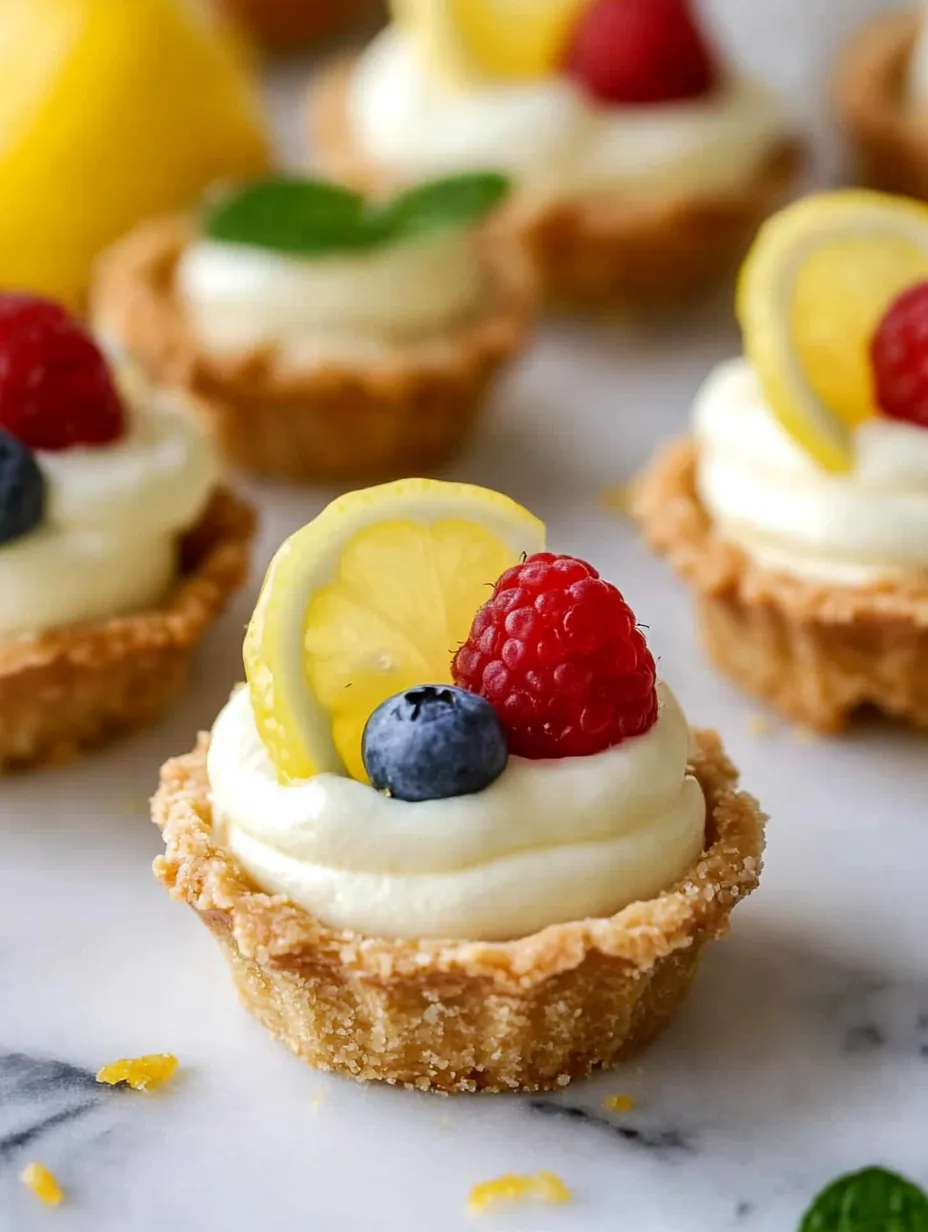
Year-Round Variations
Spring: Finish with fresh strawberries and tiny mint leaves
Summer: Scatter mixed berries and pretty edible blooms on top
Fall: Pour warm caramel sauce over for extra richness
Winter: Top with sweet candied lemon strips
Fancy Finishing Touches
Try a star-tipped piping bag for pretty swirled tops
Line up your berries in a neat pattern for a pro look
Add a light sprinkle of powdered sugar right before serving
Tuck in small mint sprigs for a pop of green
I've learned that often the easiest recipes can look the most impressive. These tarts bring bright flavors and pretty looks without complicated steps, making them great for both beginning and seasoned bakers. Just take your time and pay attention to little details to make them extra special.
I've never served these at any party without getting compliments and recipe requests. The beauty is in their simplicity and flavor. Hope your tarts turn out amazing and bring as much happiness to your table as they have to mine!
Frequently Asked Questions
- → Can I prepare these bites ahead?
- Absolutely! Store them in the fridge for up to 5 days or freeze them for 3 months.
- → Why do they need to stay cool?
- Since they’re not baked, the crust can get too soft if they aren’t chilled.
- → What toppings go well?
- Fresh fruits like berries or citrus slices, or even your favorite jams, are great options.
- → Can I switch the crust base?
- Of course! Try using crushed vanilla wafers or spicy gingersnaps instead.
- → What’s the best way to store extras?
- Pop them into an airtight container in the fridge or freezer.