
 Pin it
Fall mornings call for something extraordinary, and these pumpkin scones—fluffy, well-seasoned, and topped with maple glaze—turn everyday breakfast into something wonderful. After spending years tweaking scone recipes, I've learned that making these seasonal treats comes down to getting the right balance between cold ingredients, proper handling, and perfect timing. I learn something new about pastry craft with every batch I make.
I made these for a gathering last weekend, and everyone's eyes lit up when they took their first bite. What makes them so good? It's all about keeping your butter cold and handling the dough gently to get those amazing flaky layers.
Key Ingredients and Smart Shopping Advice
- Pumpkin Purée: Grab plain pumpkin purée instead of the pie filling so you can control the wetness and taste.
- Butter: Go for premium butter with higher fat content to get extra flakiness.
- Eggs: Don't let them warm up—use them straight from the fridge to keep your dough cool.
- Spices: Toss out any pumpkin pie spice that's been sitting around longer than six months for the freshest flavor.
 Pin it
Making Your Scones Step by Step
- Get your butter ready:
- Chop butter into small half-inch squares and pop them in the freezer while you get everything else together.
- Blend dry stuff:
- Stir flour, sugar, spices, and rising agents really well to make sure everything's evenly mixed and gets some air.
- Work in the butter:
- Take your frozen butter chunks and mix them with the dry mix using a pastry tool or your fingers until it looks like rough sand with little butter bits throughout.
- Mix wet ingredients:
- Stir pumpkin purée and cold eggs until smooth. Slowly fold this into your flour mixture with a spatula, and stop once the dough starts coming together.
 Pin it
Forming Beautiful Scones
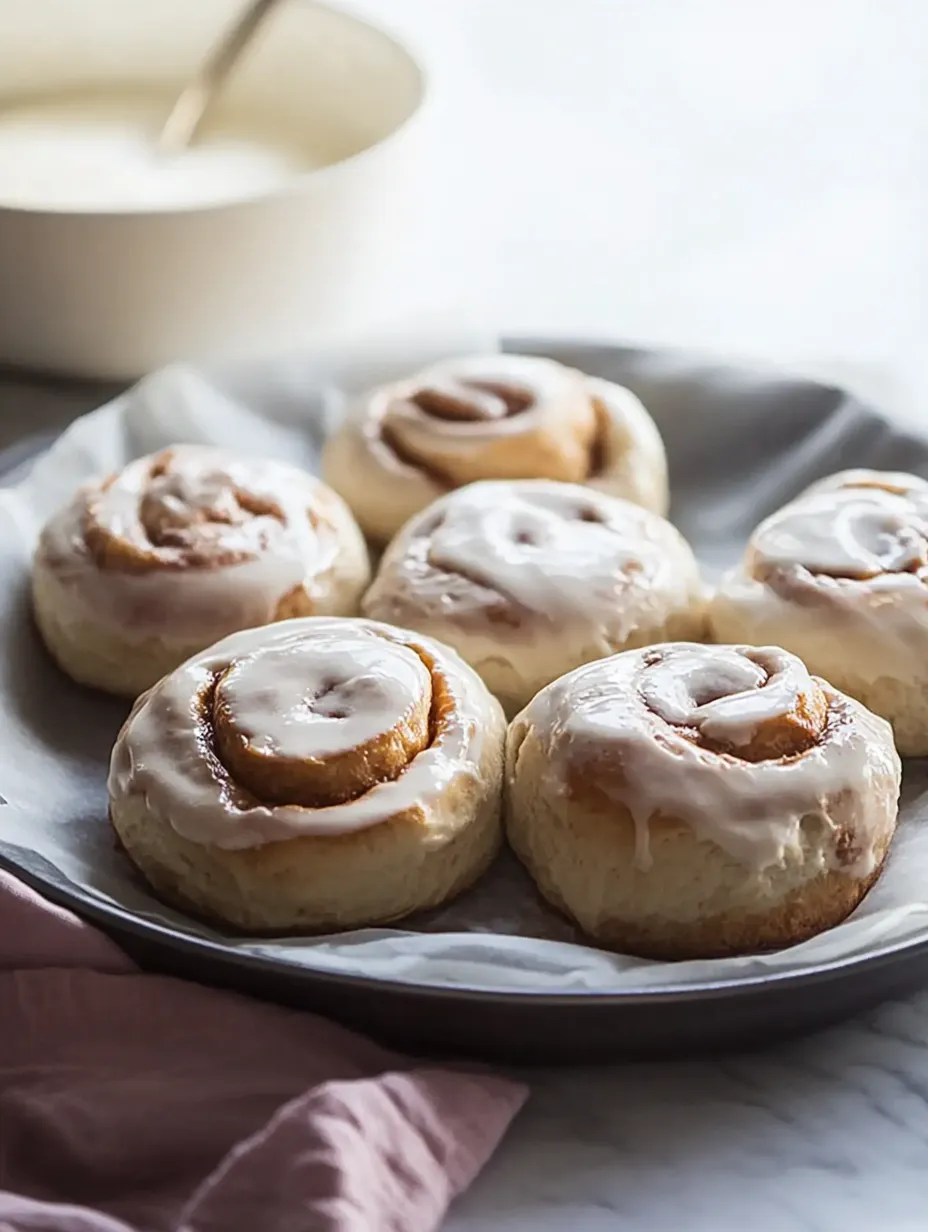
Put your dough on a lightly floured counter. Press it gently into an 8-inch round about 1½ inches thick. Cut it into eight triangle pieces using a sharp knife, pushing straight down for clean edges. Move them to a baking sheet lined with parchment paper, keeping at least an inch between each piece.
Why Cooling Matters So Much
Put your shaped scones in the freezer for 20 minutes before baking. This lets the dough relax and makes sure the butter gets really cold again, which gives you those amazing layers and helps them rise evenly. While they're chilling, heat your oven to 425°F.
Baking to Perfection
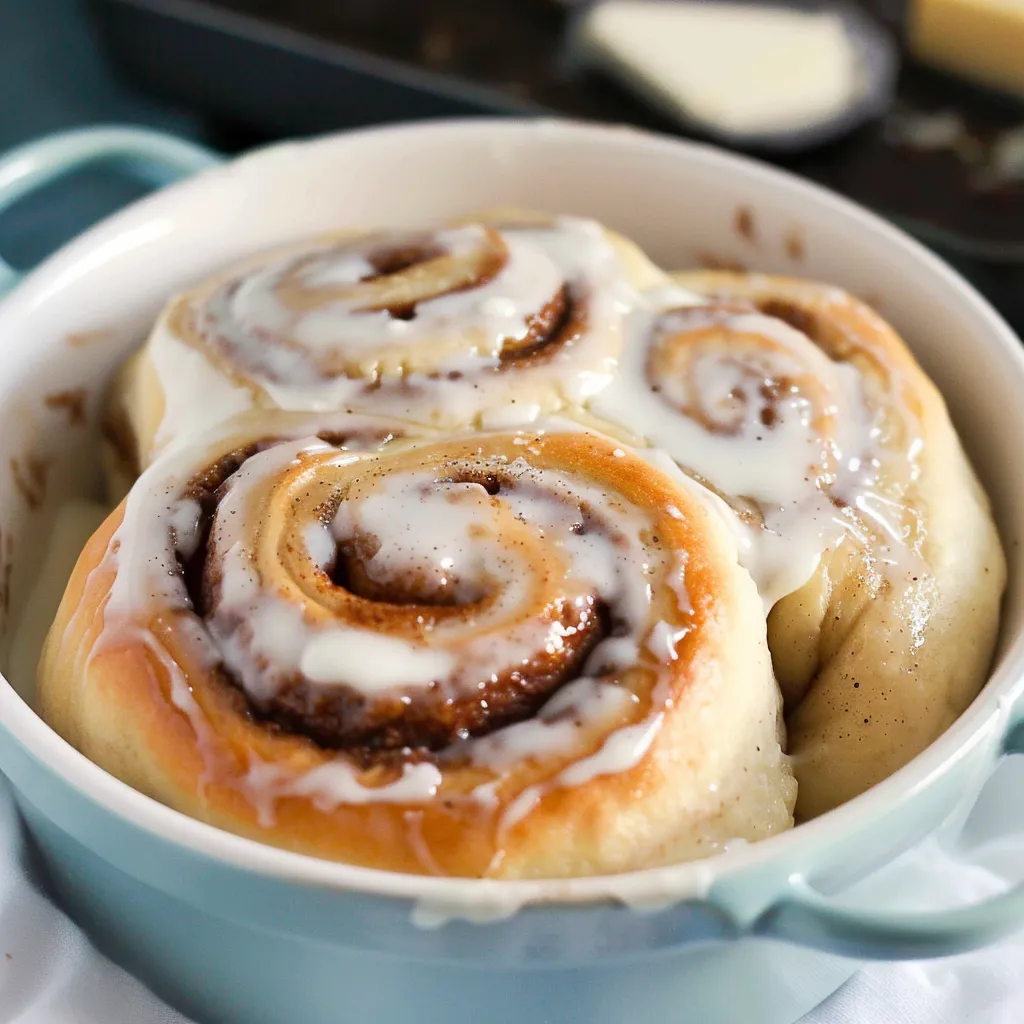
Brush some milk on top of your scones and sprinkle with sugar crystals for extra crunch and a golden color. Bake them for about 17-22 minutes, but take a peek at 15. They're done when the edges turn golden brown and the tops bounce back when you touch them lightly. Let them cool for exactly 10 minutes before adding the glaze.
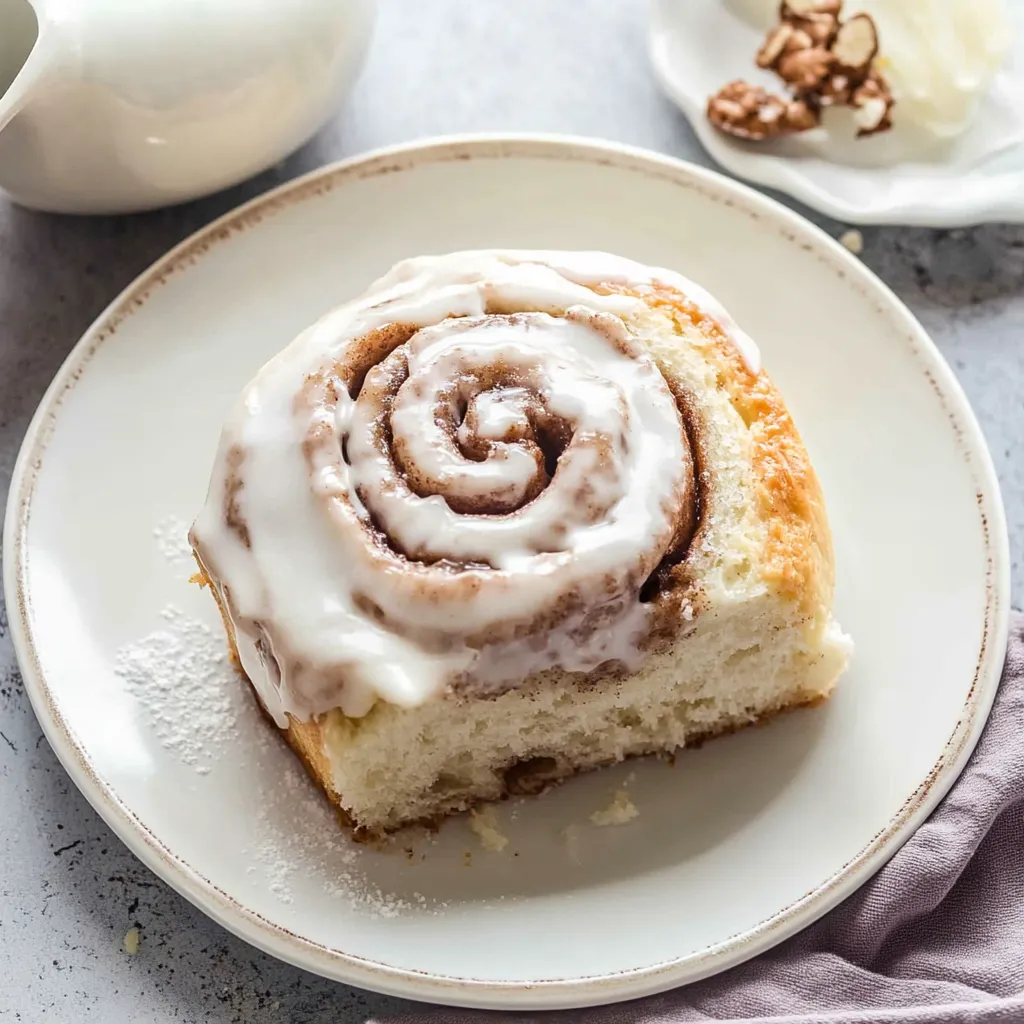
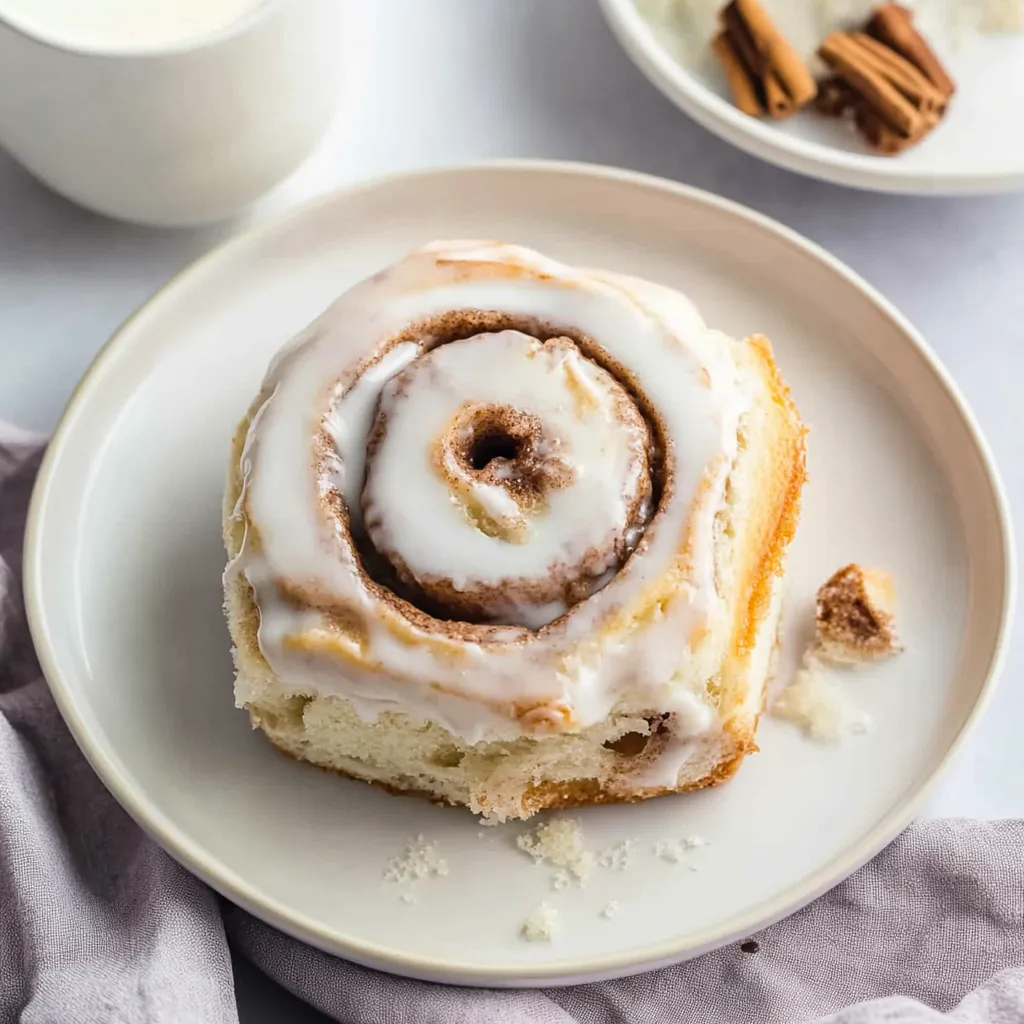
Creating the Maple Drizzle
- Mix up your glaze:
- Stir real maple syrup with powdered sugar until it's smooth and a bit thick. Add more of either ingredient to get a consistency that will drip down slowly.
- Drizzle it on:
- Gently pour the glaze over your scones, letting it flow down the sides naturally.
Historical Background
Though scones first came from Scotland as basic quick breads, this pumpkin version celebrates classic American fall flavors. It shows how old-fashioned recipes can grow to include seasonal ingredients while still keeping their comforting, satisfying nature.
Different Ways to Change Things Up
- September Version: Mix in some fresh chopped apple chunks.
- Thanksgiving Twist: Add crushed pecans or swirl in some maple butter.
- Christmas Edition: Throw in some bits of crystallized ginger for extra warmth and sparkle.
Keeping and Planning Ahead
- You can freeze the raw shaped scones for up to two months.
- Keep baked scones in a sealed container for up to two days.
- Warm up day-old scones in a low oven for 5 minutes.
- If making ahead, don't glaze until you're ready to serve.
What to Serve With Your Scones
- Tea: A bold black tea with milk makes these spiced scones even better.
- Chai: The spicy warmth of chai really brings out the pumpkin flavor.
- Coffee: A strong cup of coffee balances out the sweet glaze perfectly.
- Apple Cider: Warm apple cider makes the whole fall experience complete.
Making Your Scones Look Amazing
- Set them out on a wooden board for casual get-togethers.
- Arrange on a multi-level stand for fancy brunches.
- Add some fresh herbs or edible blooms for color pop.
- Bring out extra maple glaze in a tiny pitcher for guests who want more.
Must-Have Tools for Great Results
- A big, wide mixing bowl gives you plenty of space to work.
- A dough scraper helps you handle soft dough and clean up your counter.
- Solid baking sheets make sure everything cooks evenly without burning.
- A pastry brush helps you put milk on evenly for that golden top.
- A wire rack prevents soggy bottoms by letting air flow underneath.
Boosting Your Baking Skills
 Pin it
Every time you make scones, you learn something new about baking. Whether you've been baking for years or just starting out, these skills carry over to lots of other recipes. Getting comfortable with handling dough, knowing when it feels right, and getting that perfect texture builds a strong foundation for all your future baking.
Secrets from Pro Bakers
- You can actually hear the sound change when butter is mixed into flour just right.
- You can tell if the dough has the right moisture by how it feels in your hands.
- Watching how they look while baking works better than just following a timer.
- The smell changes in a subtle way when scones are perfectly done.
Getting Temperature Just Right
- When it's hot out, work fast and chill your ingredients more often.
- Using a cold stone or granite counter helps keep butter firm while you shape the dough.
- Use an oven thermometer to make sure your temperature settings are accurate.
- Notice how quickly your glaze hardens since room temperature affects how thick it gets.
Closing Thoughts
Making truly great pumpkin scones is about understanding how all the ingredients work together. After countless batches from my kitchen, I've found that success isn't just about following steps but developing a feel for the dough, recognizing how temperature plays a role, and taking your time with each part of the process.
Every batch connects us with baking traditions while leaving room for new ideas and creativity. These scones bring a sense of comfort and satisfaction whether they're part of a holiday spread or just enjoyed quietly with your morning coffee.
Frequently Asked Questions
- → What does tangzhong do?
- It’s a flour paste that makes bread soft, fluffy, and helps it stay fresher longer.
- → Can I skip chilling the dough overnight?
- You’ll get better flavor with the rest, but a 2-hour rise at room temp will work.
- → Why use floss to slice them?
- Floss makes clean cuts without squishing like a knife can.
- → Can these be frozen?
- Yes, freeze the unglazed rolls up to 2 months. Thaw and warm before adding glaze.
- → Can I prepare the glaze in advance?
- Absolutely, store it in the fridge for up to 2 days. Let it soften before use.