
 Pin it
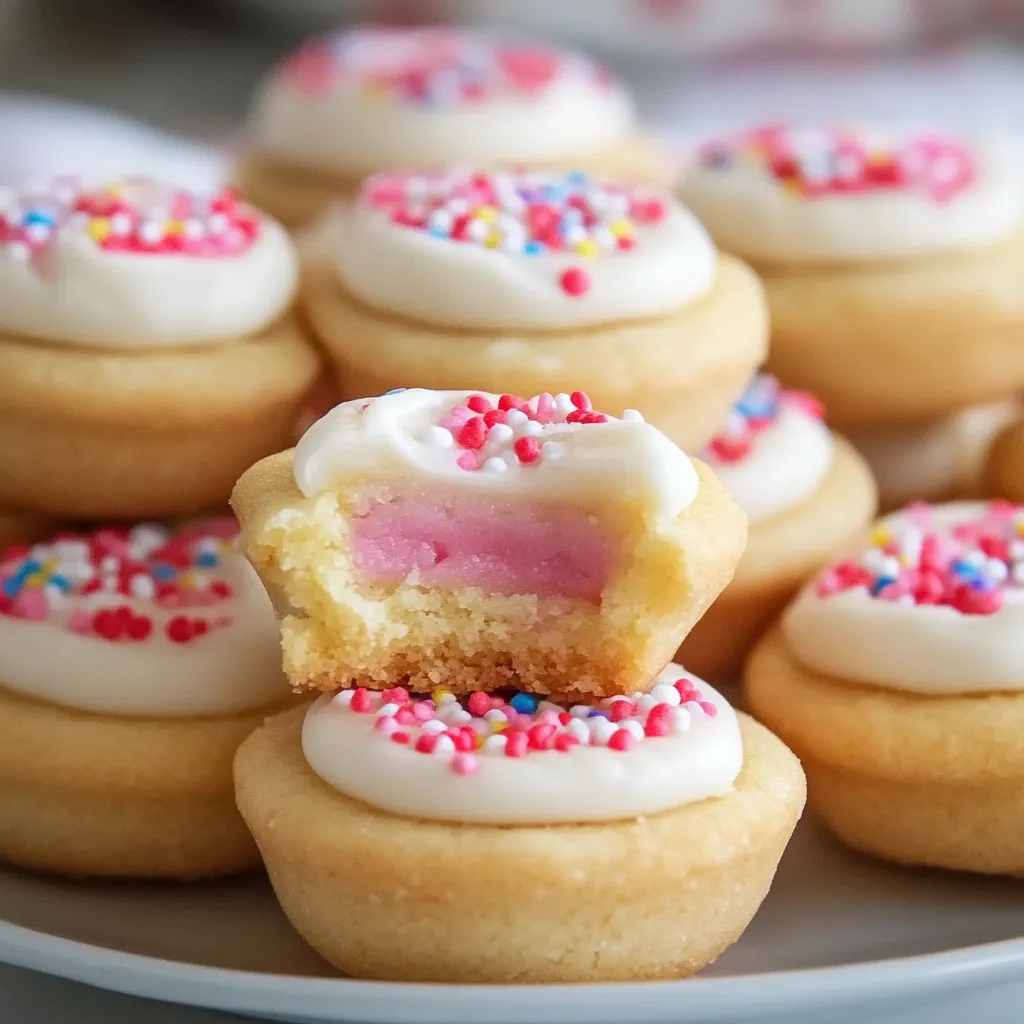
Take ordinary sugar cookies to the next level by forming them into cute mini cups that hold creamy frosting perfectly. These small bites mix a buttery cookie base with smooth frosting, making changeable treats that work great for gatherings and celebrations.
After making many test batches, I've found that getting the dough just the right coolness and watching the clock carefully gives you that ideal cup shape every time.
Key Ingredients
- Butter: At room temp (65-70°F), with no salt
- Granulated Sugar: Needed for the right consistency
- All-Purpose Flour: Properly weighed out
- Large Eggs: At room temperature
- Pure Vanilla Extract: Skip the fake stuff
- Heavy Cream: Makes the frosting smooth
- Sprinkles: For the finishing touch
Step-By-Step Guide
- 1. Dough Preparation:
- Mix room temp butter with sugar until it's airy and pale, roughly 3-4 minutes. Drop in eggs one by one, then add vanilla, blending thoroughly after each. Mix dry stuff separately, then slowly blend into the butter mix. Stir just until you've got dough – it should feel pliable but not wet. Cool it for 30 minutes to make handling easier.
- 2. Pan Preparation:
- Coat 36 mini muffin cups well with cooking spray or soft butter. For the easiest removal, try paper liners. Get your oven hot at 350°F with the rack in the middle.
- 3. Cookie Cup Formation:
- Grab a 1½-tablespoon scoop (around 1 ounce) for even sizing. Shape each scoop into a ball, then press down slightly to fit the muffin cups. Push dough into cups, making sides and bottom about ¼-inch thick.
- 4. Baking Process:
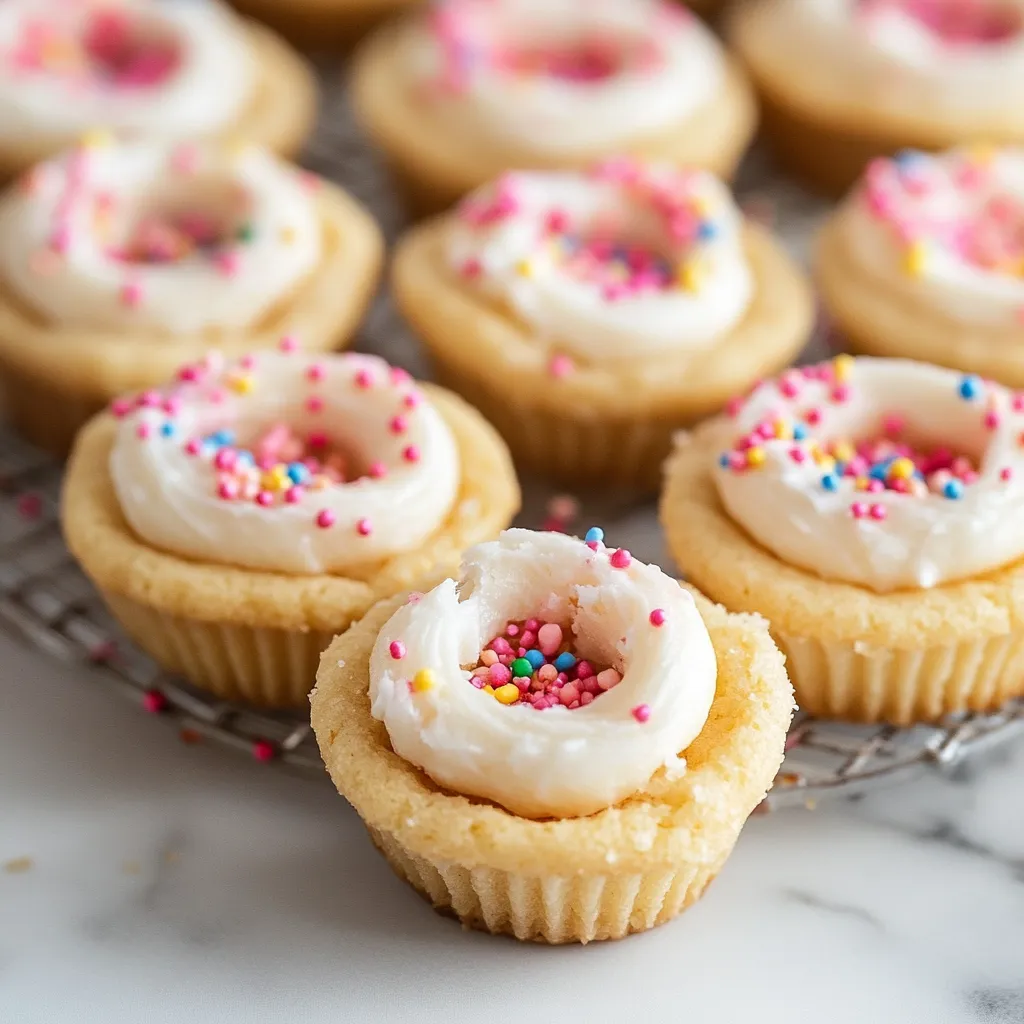
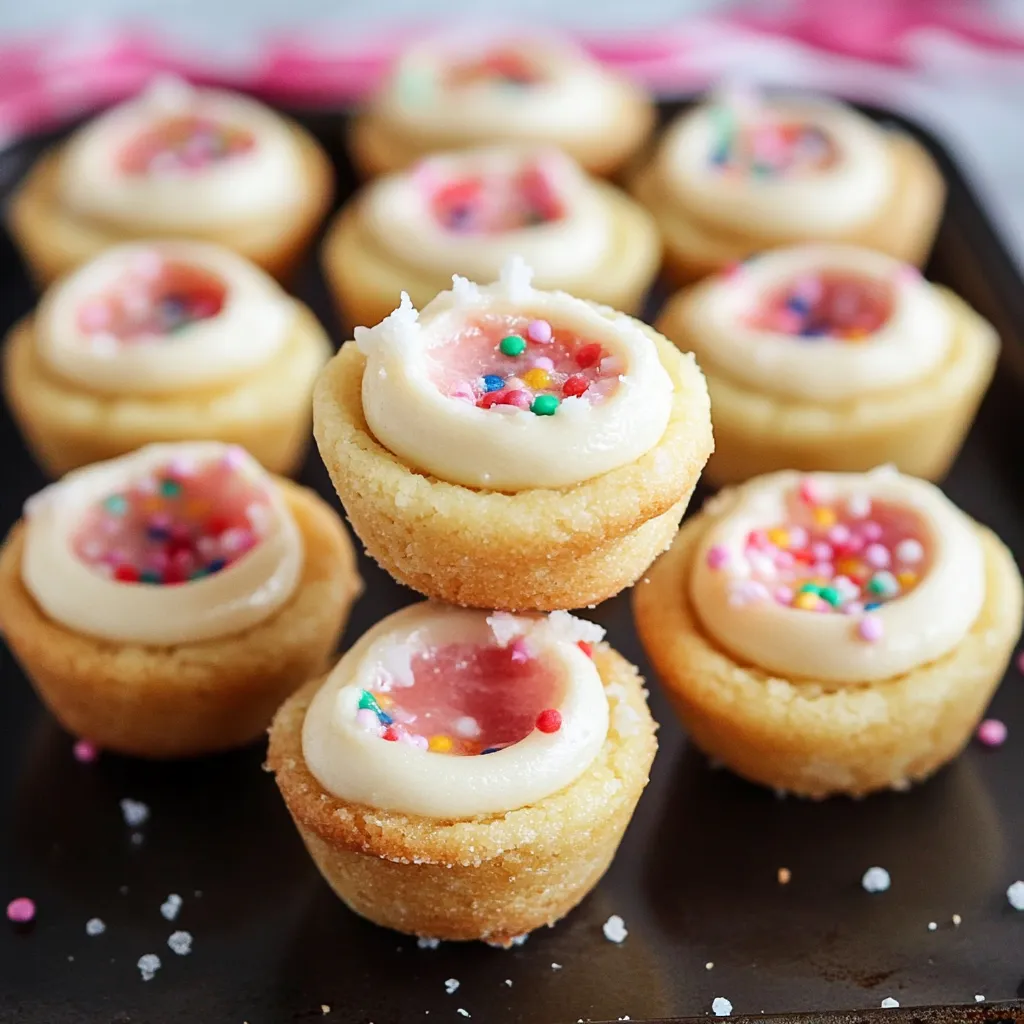
- Cook for 12-14 minutes until the edges turn slightly golden and middles look set. Pull from oven and right away push down centers with a rounded measuring spoon. You want a small dip that'll hold your frosting nicely.
- 5. Shaping and Cooling:
- Let the cookies sit in the pan for exactly 5 minutes – this helps them firm up while staying flexible enough to remove. Then carefully move them to a wire rack to finish cooling completely.
 Pin it
Keeping Fresh and Serving Ideas
Make sure cups are totally cool before adding frosting. If serving soon, keep them at room temp in an airtight box for up to 3 days. To save for later, pack unfrosted cups carefully in a freezer container with parchment paper between each layer. They'll stay good frozen for up to 3 months.
Making The Frosting
Whip softened butter until it's smooth. Slowly add sifted powdered sugar, switching back and forth with heavy cream until you get the right thickness – firm enough to keep its shape but still smooth for piping. Put it in a piping bag with a star tip (or a plastic bag with a small corner cut off).
Great Companions
- Glass of cold milk
- Mug of hot chocolate
- Cup of coffee or tea
- Handful of fresh berries
- Scoop of ice cream on top
- Bright colored sprinkles
 Pin it
Creative Finishing Touches
- Holiday-themed sprinkles
- Tinted frosting
- Various piping nozzles
- Sparkly edible dust
- Bits of fresh fruit
- Melted chocolate topping
These little cookie cups show how basic ingredients can turn into something special. Whether you're making them for a party or just because, they'll definitely make people happy. Just remember, paying attention to the little things during prep means you'll get that perfect shape and texture every single time.
Frequently Asked Questions
- → Can I prepare them early?
- Sure, bake the cups 2-3 days ahead and frost them just before eating.
- → How do I keep them fresh?
- Seal in an airtight box and keep at room temperature for up to 5 days.
- → Can I freeze the cookie cups?
- Absolutely. Store the plain cups in the freezer for up to 3 months.
- → What if I don’t have a bottle cap?
- No worries! Use any small round tool, like a spoon or tiny glass.
- → Can I use other fillings instead?
- Sure thing! Fill them with caramel, chocolate, or fruity fillings instead of frosting.