
 Pin it
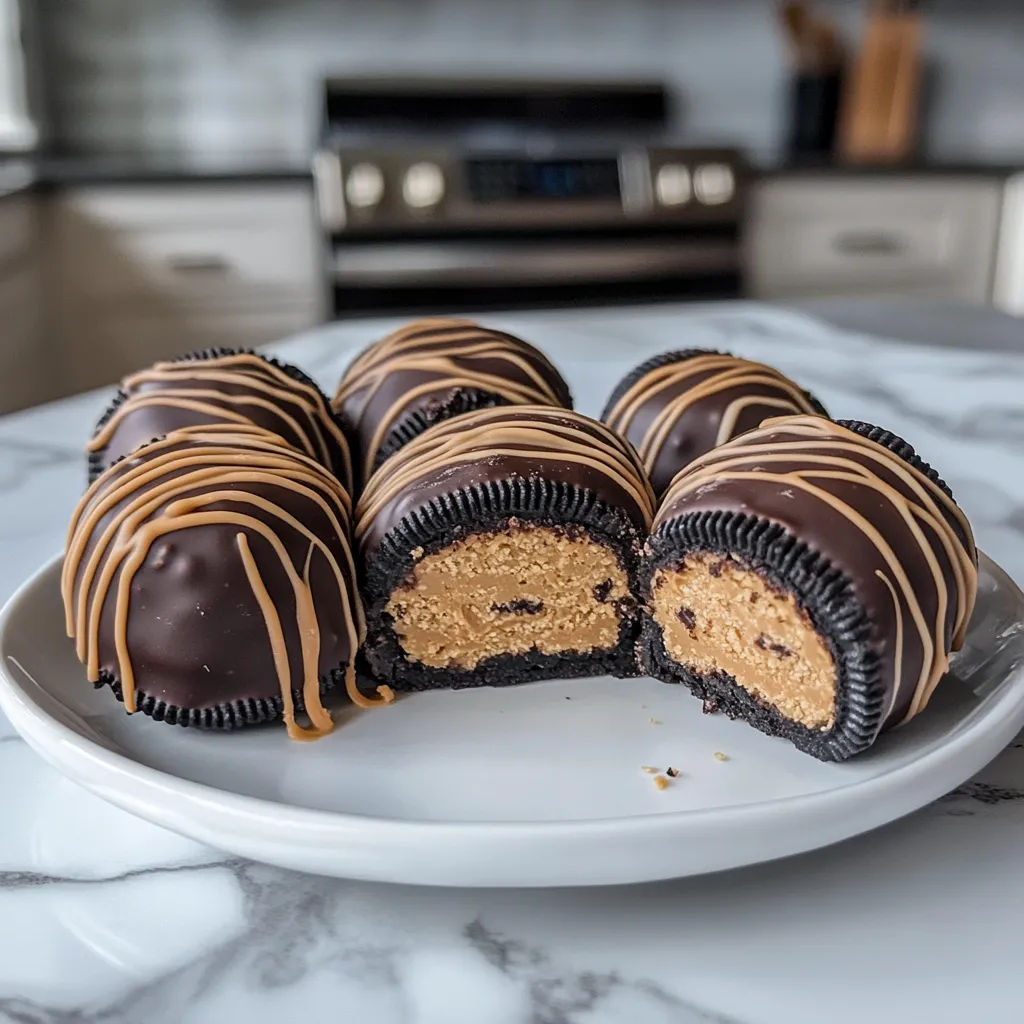
These 3-Ingredient Peanut Butter Oreo Cookie Balls are a super easy no-bake snack when you're craving something sweet without any fuss. They mix the bold taste of Oreos with smooth peanut butter and a yummy chocolate shell, creating tiny treats that take minutes to make but get eaten in seconds. I stumbled on this idea when I needed a quick dessert for surprise visitors, and it's now my favorite emergency sweet fix.
The other day, I took these to our block party and returned with nothing but an empty dish and several neighbors asking how to make them. There's something about the mix of crushed Oreos and peanut butter that makes people want to grab another one every time.
Key Ingredients and Helpful Pointers
- Oreo Cookies - Regular ones work nicely; don't scrape out the filling as it helps bind everything
- Peanut Butter - Creamy, store-bought types blend best; natural kinds might not mix well
- Chocolate for Coating - Melting discs or chips in white, milk, or dark varieties
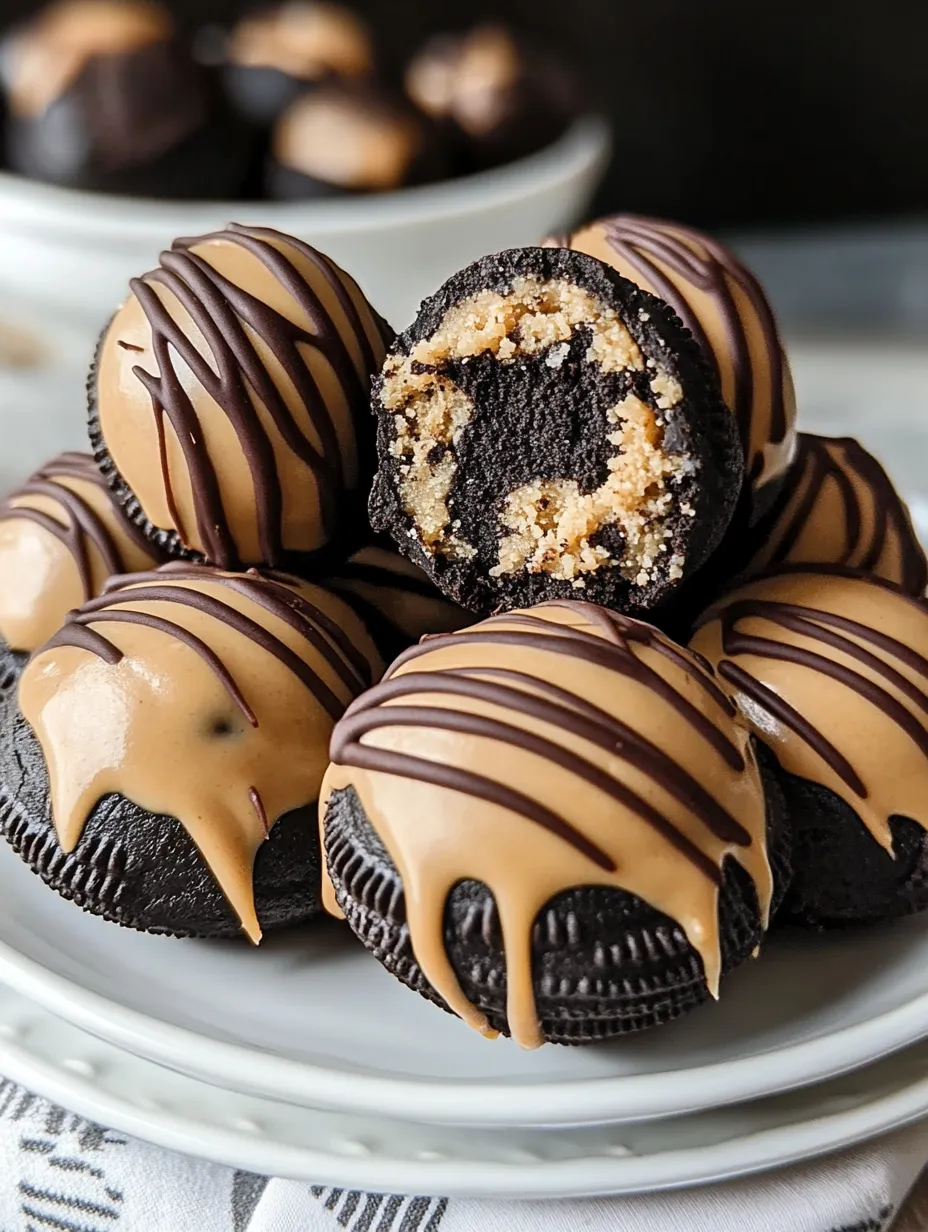
The real wonder happens when you mix smashed cookies with peanut butter and end up with a playable mixture that's just right for shaping into tiny, mouthwatering balls.
Step-by-Step Making Process
- Step 1: Smash the Oreos
- Drop Oreos (filling and all) into a food processor and blend until they turn to fine bits. Or put them in a ziplock bag and smash with a rolling pin until powdery.
- Step 2: Mix in Peanut Butter
- Put crushed Oreos in a bowl and add peanut butter. About ½ cup peanut butter works well for every 20 crushed Oreos.
- Step 3: Blend Everything
- With a spoon or your hands, mix the Oreo crumbs and peanut butter until you get a sticky dough that stays together when squeezed.
- Step 4: Roll into Balls
- Take about 1 tablespoon of mixture and roll it between your hands to make a ball. Set it on a baking sheet lined with parchment paper.
- Step 5: Cool the Balls
- Stick the formed balls in the fridge for at least 30 minutes (or pop in the freezer for 15-20 minutes if you can't wait). This step helps them keep their shape when dipped.
- Step 6: Prepare the Chocolate
- While balls are cooling, melt your chocolate in a microwave-safe bowl. Heat for 20 seconds at a time, stirring after each round, until smooth.
- Step 7: Coat with Chocolate
- Using a fork, dunk each cooled ball into the melted chocolate. Tap the fork lightly on the bowl to let extra chocolate drip off.
- Step 8: Sprinkle Extras
- While chocolate is still wet, add optional toppings like Oreo bits, chopped nuts, or colorful sprinkles if you want.
- Step 9: Let Harden
- Put the chocolate-covered balls back on the parchment paper and refrigerate until the outer layer hardens completely, about 15-20 minutes.
- Step 10: Enjoy or Save
- Eat right away or keep in a sealed container in the fridge for up to seven days.
 Pin it
I found out how important cooling is when my first try turned into a sloppy mess in the warm chocolate. Now I always give them extra time in the fridge for perfectly shaped, easy-to-dip treats.
Crowd-Pleasing Snacks
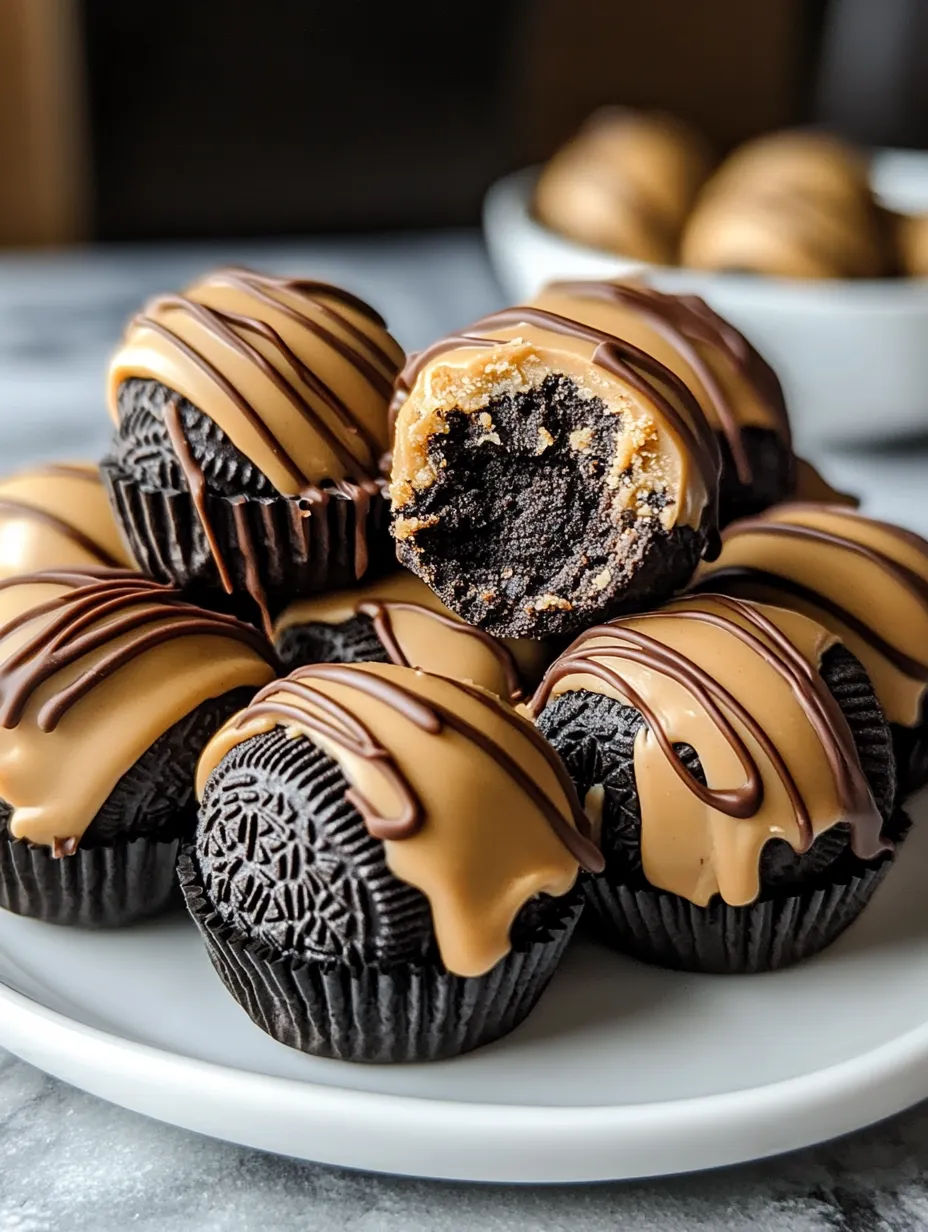
These treats have become what everyone expects me to bring to get-togethers, from casual TV nights to fancy holiday parties. They look fancy enough to make folks think you slaved away in the kitchen, but they're so simple that cooking beginners can nail them every time. Their small size makes them great for snack platters, and they're so rich that just one or two will fix a sweet tooth craving. I've noticed both kids and grown-ups love them equally, making them popular across all age groups.
 Pin it
Amazingly Flexible
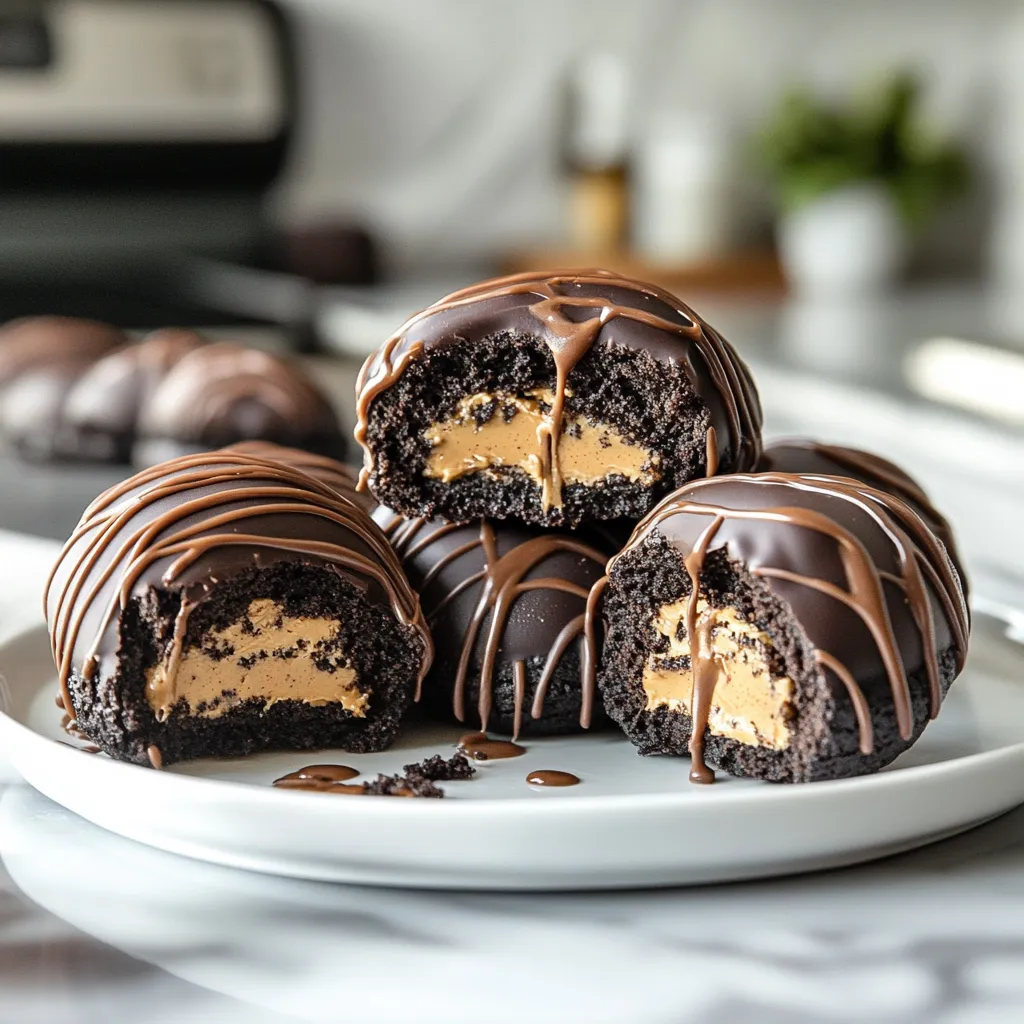
What really makes these cookie balls stand out is how easily you can change them up. While the basic recipe is fantastic, I've tried tons of different versions. You can swap in golden Oreos with white chocolate for a lighter look, or try mint Oreos with dark chocolate for a cool taste twist. Instead of peanut butter, you might use cookie butter, Nutella, or almond butter if someone has allergies. Each change still follows the simple three-part formula but gives you a totally new flavor experience.
Prep-Ahead Wonder
As someone who's always rushing around before having people over, I love desserts I can make way before the event, and these cookie balls fit the bill perfectly. You can make them a week ahead and keep them in the fridge, or freeze them for up to two months before you need them. I often make twice as many as needed, eating some right away and freezing the rest for surprise visitors or when I just want something sweet. The chocolate coating actually helps lock in freshness until you're ready to serve them.
Pro Cooking Advice
- Use a small ice cream scoop for equally sized balls
- When your fingers get sticky while rolling, wash them in cold water
- Adding a tiny bit of coconut oil to your melting chocolate makes it flow better
- Shape the balls twice if you want them perfectly round
- Let them sit out about 10 minutes before eating for the tastiest results
I've gotten better at making these over time, especially after learning that slightly damp hands make rolling much smoother and create better-looking balls.
These 3-Ingredient Peanut Butter Oreo Cookie Balls show that amazing desserts don't need fancy recipes or tons of prep time. This simple combo of everyday items turns into something way better than you'd expect - a treat that tastes fancy but takes minimal work.
 Pin it
Whether you need a quick sweet for unexpected company, a make-ahead treat for busy holidays, or just want to satisfy a chocolate-peanut butter urge, this recipe always turns out great and makes everyone happy.
Bonus Suggestions
- Put them in mini cupcake papers for a fancier look at parties
- Add a zigzag of contrasting chocolate on top for eye appeal
- Create tiny versions using half a tablespoon for smaller bites
- Always mention the peanut butter when serving due to allergy concerns
- Package in small paper-lined boxes for a thoughtful homemade gift
Frequently Asked Questions
- → Why skip natural peanut butter?
- It’s harder to shape since it’s not as thick as regular peanut butter.
- → Are other Oreo flavors okay?
- Sure, but plain Oreos let the peanut butter pop.
- → What’s the best way to melt chocolate?
- Microwave briefly and stir after every interval to avoid burning.
- → Can these be prepped earlier?
- Yep! They’ll stay fresh in the fridge for a week.
- → Do I scrape out the Oreo filling?
- Nope, leave it in. It’s part of what holds it all together.