
 Pin it
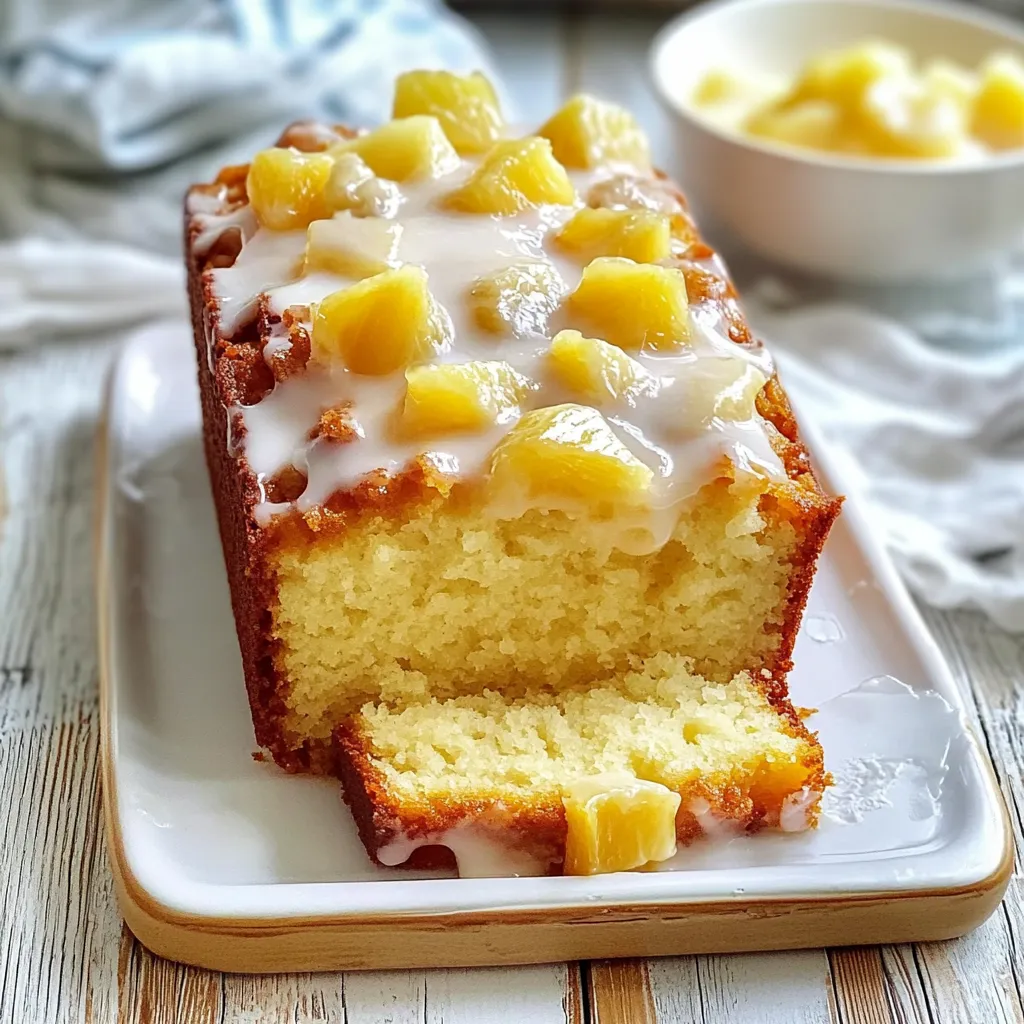
A divine Pineapple Cake that transports your tastebuds to a sunny island getaway. Every bite offers the perfect sweet-tart balance with chunks of succulent pineapple, wrapped in a soft, juicy cake that dissolves instantly. This isn't just a sweet treat - it's a mini vacation on a plate, adding brightness to any day.
I stumbled upon this gem at a backyard party, and now it's my favorite cake for brightening up dreary days. The way pineapple turns slightly golden while baking creates an amazing smell that gets everyone wandering into the kitchen. My friend down the street now wants me to bring it to every community dinner!
Key Ingredients
- All-Purpose Flour: Gently measured to avoid packing
- Unsalted Butter: Softened completely for smooth mixing
- Large Eggs: Brought to room temp for better blending
- Fresh Pineapple: Mashed and drained thoroughly to keep cake from getting wet
- Sour Cream (Full-fat): Adds amazing softness and tender texture
- Pure Vanilla Extract: Brings out the island flavors
- Powdered Sugar: Run through a sifter for a smooth topping
- Baking Powder: Check that it's not expired for good lift
HOW TO MAKE IT
- 1. Get Everything Ready:
- Warm your oven to 350°F. Coat a 9x13 baking dish with butter and flour, or use parchment paper for easy cake removal. Make sure everything's at room temperature. Smash fresh pineapple into small bits but not too fine, drain off extra juice and save it for your topping.
- 2. Mix Dry Stuff:
- In a bowl, stir together your carefully measured flour, baking powder, and salt. This makes sure everything spreads out evenly. Run it through a sifter if you see clumps - this helps avoid flour pockets in your finished cake.
- 3. Work the Butter:
- In your stand mixer with the paddle, beat butter and sugar for 4-5 minutes until it looks fluffy and pale. It should double in size. Don't forget to scrape down the sides. This step puts air in your cake for softness.
- 4. Add Wet Stuff:
- Drop in eggs one by one, mixing well each time. Stir in vanilla and sour cream just until they blend in. Don't worry if it looks a bit separated - that's totally normal. Add your drained pineapple chunks, folding them in gently to keep the air bubbles.
- 5. Put It All Together:
- Slowly add your flour mix in three batches, gently folding after each. Stop mixing as soon as you don't see flour anymore. Pour into your pan and spread it out evenly. Lightly tap the pan on your counter to get rid of big air bubbles.
 Pin it
FLAVOR STORIES
- Island Dreams:
- This cake came from memories of beachside breakfasts in Hawaii, where fresh pineapple started every day. I struggled to get that perfect mix of sweet-tart flavors in cake form. After many tries, this version brings that beach feeling straight to your dining table.
- Getting It Just Right:
- The trick is in how you handle the pineapple. Too juicy and your cake turns mushy; too dry and you lose the fruit's goodness. I learned this the hard way, finally finding that crushing by hand gives the best results.
- Year-Round Options:
- While fresh pineapple works best, I've made this cake in winter with canned fruit too. Just make sure to drain it really well and fold it in carefully. Both ways taste great, but fresh pineapple adds something special.
- Making Memories:
- This cake has become our summer birthday tradition. My little girl helps crush the pineapple chunks, while my boy checks if the topping is the right thickness. These cooking moments together mean more than the cake itself.
- Keeping It Fresh:
- I've found this cake actually tastes better the next day when the flavors mix together. It'll stay good on your counter for three days, though it never lasts that long at my house. For longer storage, freeze pieces without topping wrapped up separately.
 Pin it
Important Notes
- Everything must be room temperature or your cake won't mix properly
- Don't stir too much after adding flour or your cake will get tough
- Make sure your pineapple isn't too wet or it'll make soggy patches
- Wait until the cake is totally cool before adding topping
- Your glaze should pour like thick honey
Coming from a big family of bakers, I learned early that pineapple in cakes needs careful handling. My grandma always told me, "Let the fruit shine, but don't let it drown the cake." This recipe nails that balance - you get loads of pineapple flavor in every bite without the sogginess.
Handy Tricks
- Push crushed pineapple through a strainer to get the right moisture
- Check your cake about 5 minutes before time's up
- Pour glaze on when cake is still slightly warm for better soaking
- Keep the extra pineapple juice to adjust your glaze thickness
- Put a slice of bread in your storage container to keep cake moist
 Pin it
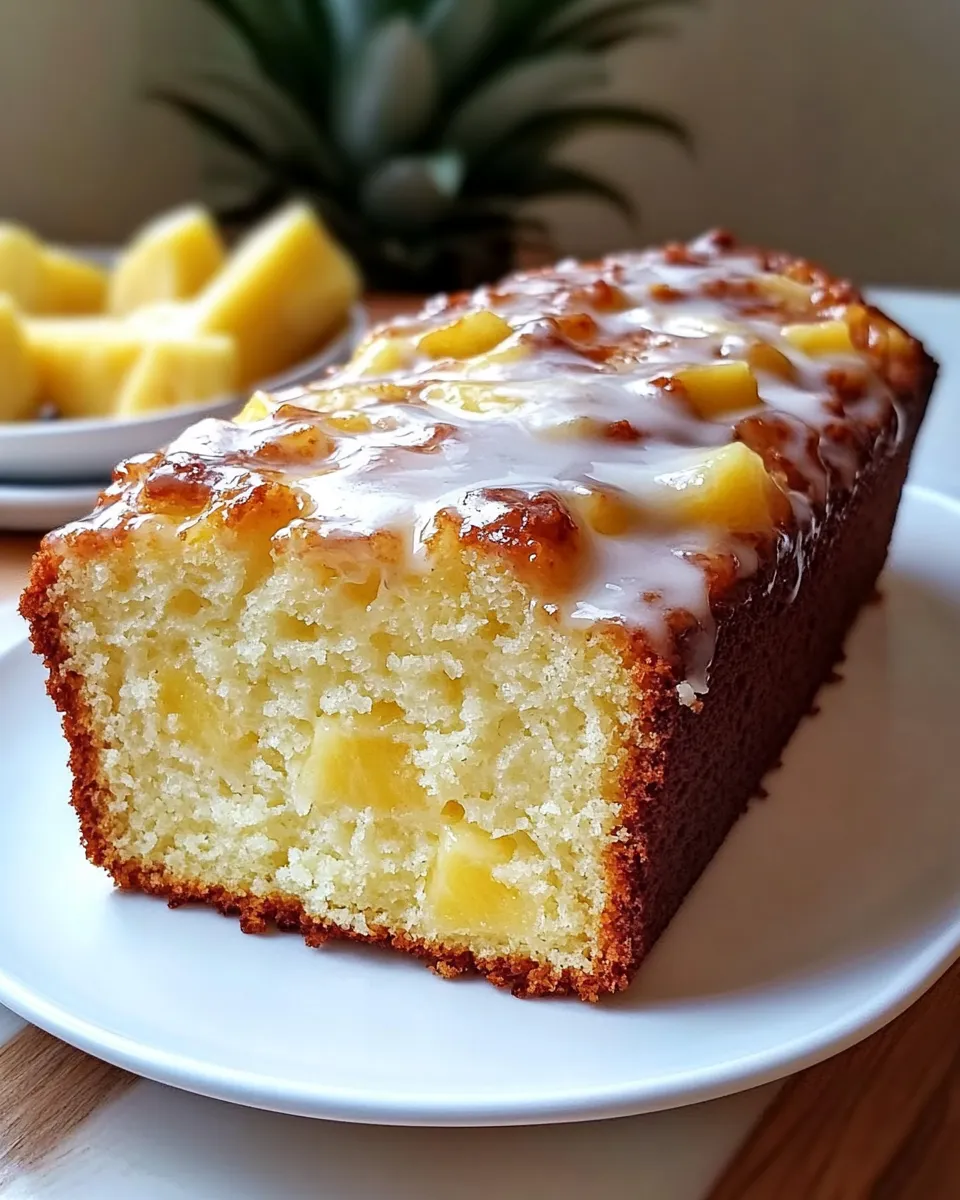
Making this Pineapple Heaven Cake has shown me that basic ingredients often make the most unforgettable treats. Success comes from respecting each element - from properly whipped butter to well-drained fruit. It's now my go-to dessert for sharing, and friends have nicknamed it the "sunshine cake" because they want it at every get-together.
Frequently Asked Questions
- → What happens if you don't drain pineapple?
- Too much liquid can ruin the texture, but you’ll want to save that juice for the glaze.
- → Can fresh pineapple work?
- Canned pineapple is better due to its consistent moisture levels.
- → What's the best way to keep it fresh?
- Seal it in an airtight container for 3 days on the counter or up to a week in the fridge.
- → Is freezing an option?
- Definitely. Just wrap the non-glazed cake tightly and freeze for up to 3 months. Add the glaze after thawing!
- → Why mix wet and dry parts separately?
- This trick helps everything blend right and ensures you’ll get a soft, fluffy bite every time.