
 Pin it
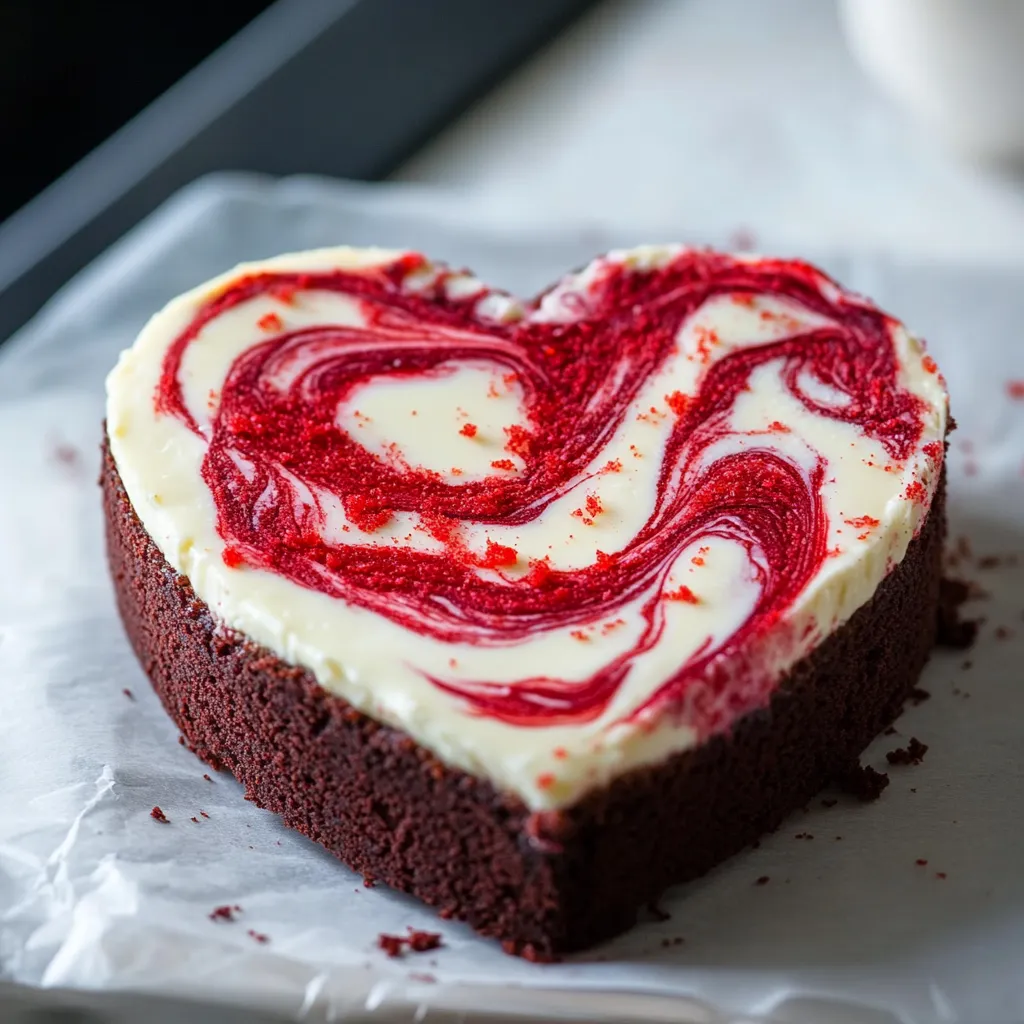
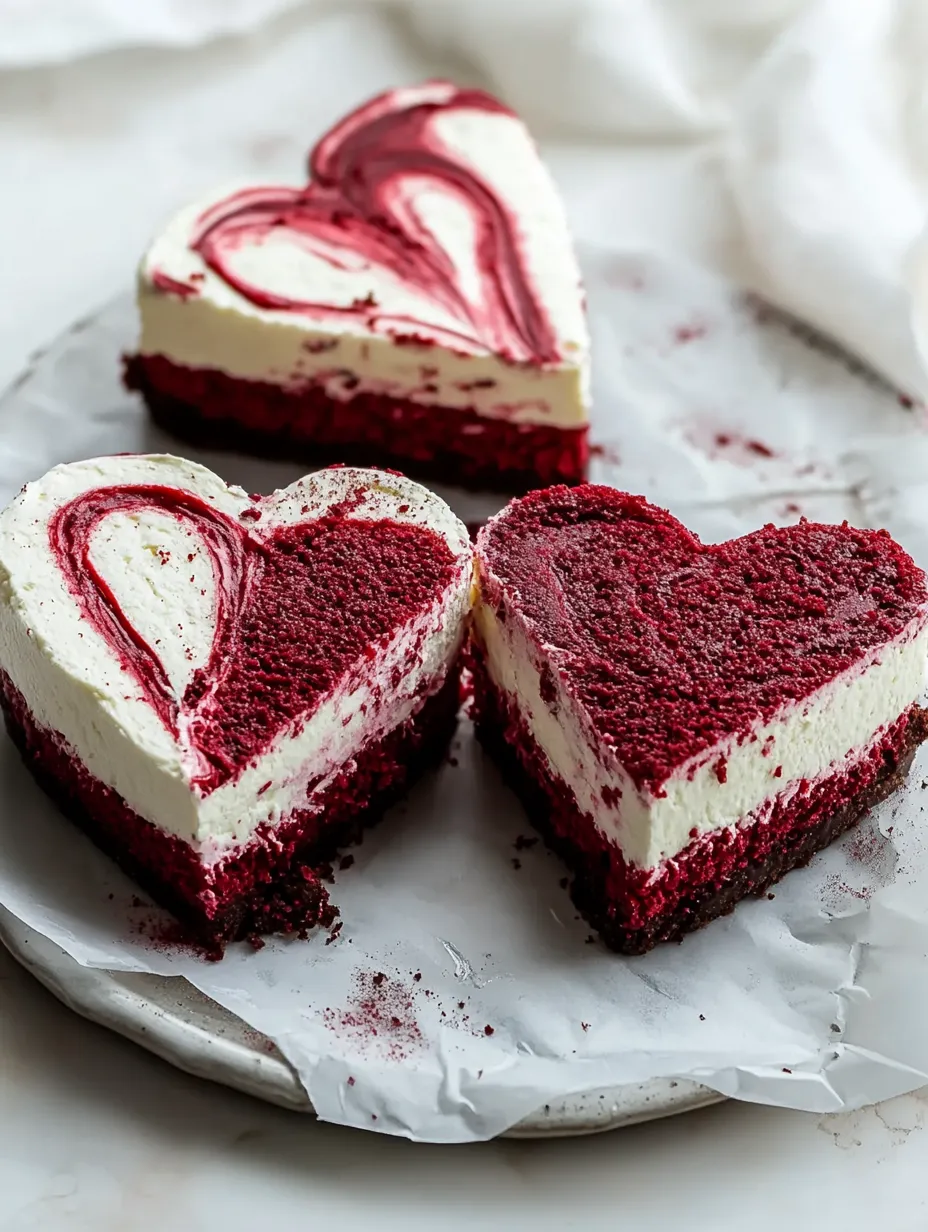
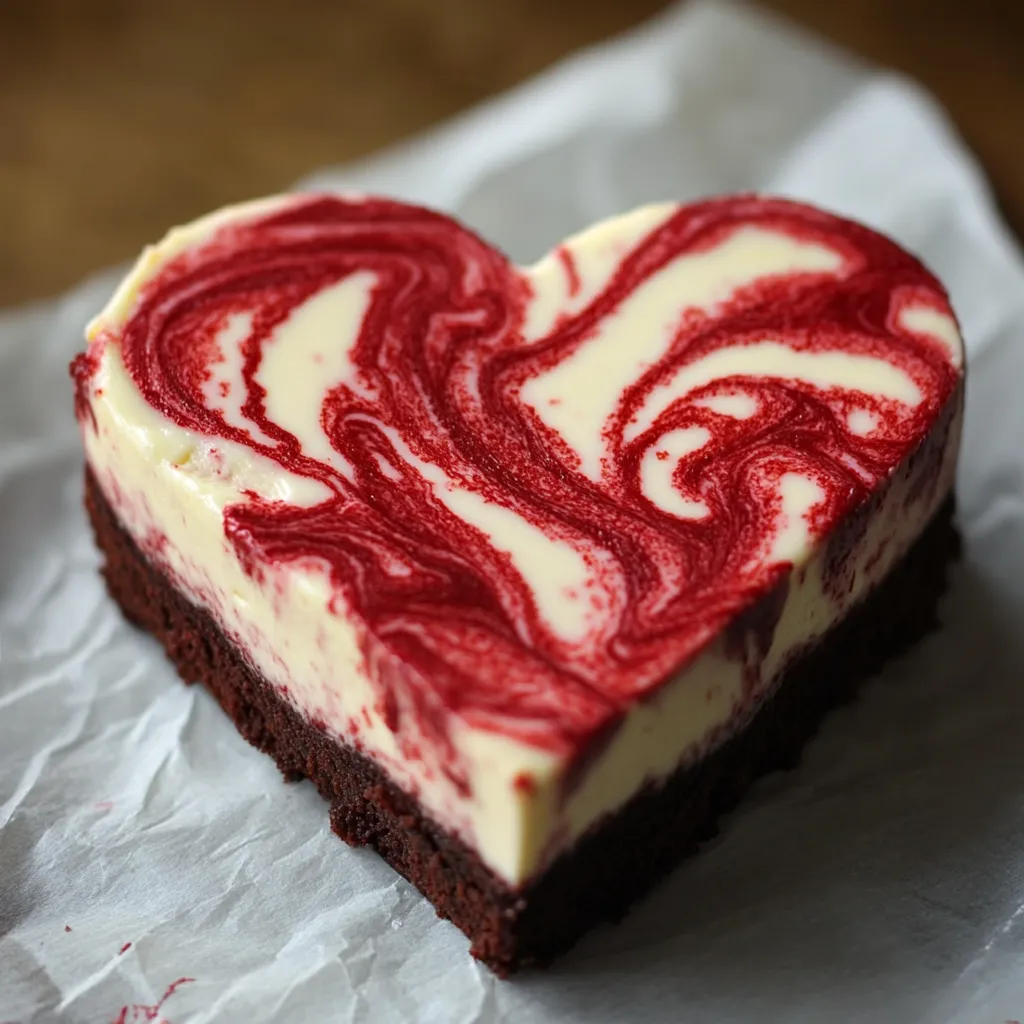
A decadent Red Velvet Cheesecake melds two favorite treats into one eye-catching masterpiece. Every portion showcases distinct layers - a vibrant red velvet foundation topped with velvety cheesecake, delivering a lavish dessert that's both visually captivating and impossible to resist.
When I first whipped up this cheesecake for my kid's birthday party, the amazed reactions as I sliced into it made all that careful prep totally worth it. The striking difference between the deep red base and creamy white top looks so pretty that everyone reaches for their cameras before they grab a fork.
Key Ingredients
- Cream Cheese: Full-fat, left out to soften for ultimate smoothness. Philadelphia brand works best for reliable outcomes
- Unsalted Butter: Pick fancy European kinds for extra rich taste
- Large Eggs: Don't use cold ones - room temp eggs mix way better
- Semisweet Chocolate: Go for real chocolate chunks, not baking chips
- All-Purpose Flour: Gently scoop and level off for right measurements
- Pure Vanilla Extract: Skip the fake stuff for the best flavor
- Red Food Coloring: The gel type gives bold color without watering down your batter
- Greek Yogurt: Use the full-fat kind for tang and moisture
MAKING IT STEP BY STEP
- 1. Getting Ready:
- Put oven rack in middle and heat to 325°F. Let ingredients sit out to warm up. Grease a 9-inch springform pan and put parchment on the bottom. Wrap outside twice with heavy foil. Set up your kitchen with different stations: one for melting, one for mixing, and one for putting it all together. Measure everything out before you start.
- 2. Red Velvet Base:
- Make a homemade double boiler with simmering water. Mix butter and chocolate together, stirring now and then until smooth. While that's happening, mix your dry stuff in another bowl. With your stand mixer, beat butter and sugar until fluffy, around 3-4 minutes. Add eggs one by one, scraping down the sides between each.
- 3. Getting The Batter Just Right:
- Switch between adding dry ingredients and buttermilk to your butter mixture, starting and finishing with the dry stuff. Just mix until things come together after each addition. Drop in vanilla and slowly add red coloring until you get that rich red shade you want. Scrape the bowl well so everything's mixed evenly.
- 4. Cheesecake Layer:
- Whip cream cheese until totally smooth with no lumps, about 3-4 minutes. Slowly add sugar while mixing. Drop in eggs one at a time, making sure each one's fully mixed in. Stir in vanilla and lemon zest. Beat until it's super smooth but don't go overboard.
- 5. Putting It Together and Baking:
- Dump red velvet batter into your pan and smooth the top. Carefully pour cheesecake mix over the red velvet base. Set this in a bigger roasting pan, then fill with hot water halfway up the springform. Bake for 1 hour 15 minutes until the edges look set but the middle still jiggles slightly.
 Pin it
EXTRA TIPS AND TRICKS
- My Texture Secret:
- During my dessert training, I picked up the real secret to amazing cheesecake texture - it's all about taking your time. Room temp ingredients, gentle mixing, and cooling slowly give you that silky feel. My teacher always said, "If you rush it, everyone will taste your hurry in every bite."
- Why Water Baths Work:
- Finding out how water baths actually work changed my cheesecake game completely. The damp heat stops cracks and cooks everything evenly. I figured this out after tons of fails - now I always use one. It's basically like giving your dessert a protective steam treatment.
- Getting Temperatures Right:
- How you handle temperatures can make or break this dessert. I learned from watching my grandma, who would touch the cream cheese - if it felt cool at all, she'd wait longer. This patience helps everything blend together perfectly for that famous smooth texture.
Important Reminders
- Keep that oven door shut while baking - cold air makes cracks
- Your cheesecake should still have a tiny wiggle in the middle when done
- You've got to cool it down slowly to avoid cracks on top
- Don't even think about using cold ingredients - they must be room temp
In our house, the best part is always when we cut into this cheesecake. The way my daughter smiles when she sees those perfect red and white layers makes all the careful work feel totally worth it. It's now become our go-to special occasion treat.
 Pin it
Clever Baking Shortcuts
- Double-wrap your springform pan with thick foil so water can't sneak in
- For clean cutting, use cream cheese straight from the fridge
- Let your red velvet layer firm up a bit before adding the cheesecake mix
- Tuck a vanilla bean into your sugar container for extra flavor
- Stick with gel food coloring for bright red color without messing up the texture
Making this Red Velvet Cheesecake taught me that often the most wow-worthy desserts come from mixing classics in surprising ways. Whether it's a holiday party, birthday bash, or just because you want something fancy, this treat always brings smiles around the table. What makes it work isn't just the stuff that goes in it, but the care and patience you put into each part. My grandma used to say, "You can't rush a good cheesecake" - and she was spot on with every perfect slice.
Frequently Asked Questions
- → Can I prep these in advance?
- Sure, you can prepare them up to 3 days earlier. Cut the hearts right before serving to keep them fresh.
- → What do I do with extra pieces?
- Don’t toss them—snack on them or crumble over your favorite ice cream!
- → Can I freeze the sweets?
- Absolutely, freeze them whole or in heart shapes for 2 months max. Let them thaw in the fridge overnight.
- → What’s yogurt’s role in cheesecake?
- It adds a hint of tang while keeping the texture creamy and smooth.
- → Can I use other coloring options?
- Yes, though gel food color gives the best deep red without affecting the texture.