
 Pin it
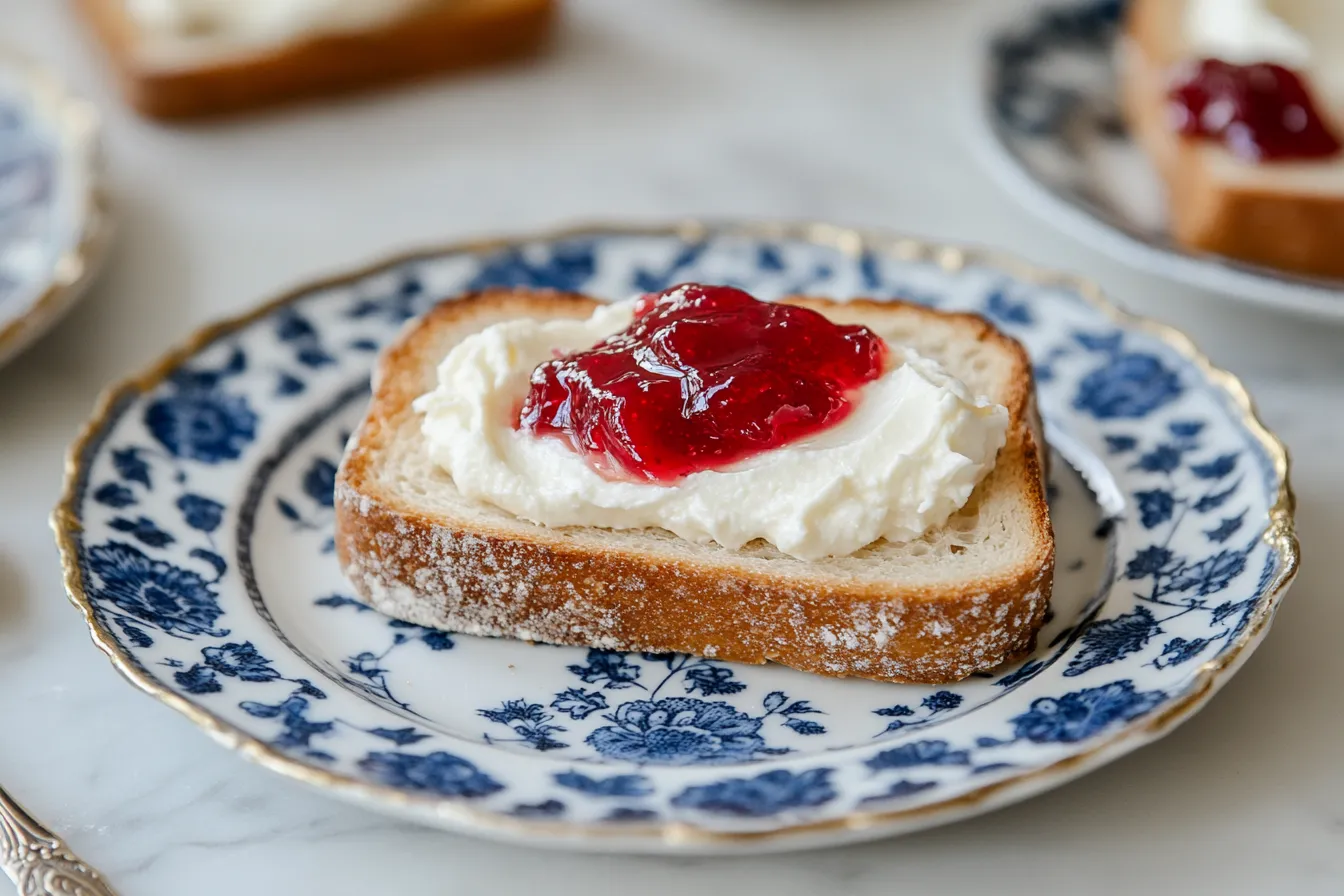
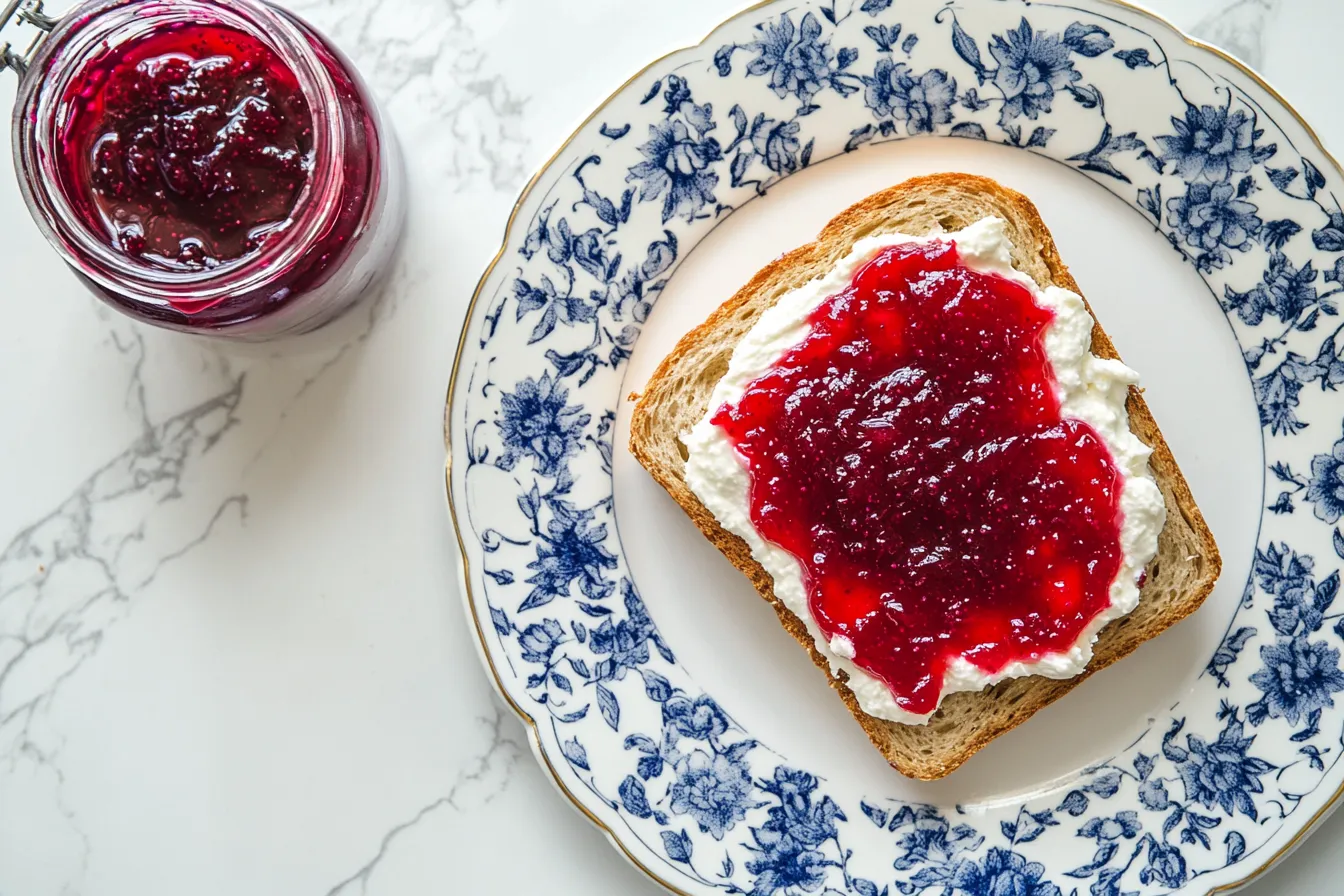
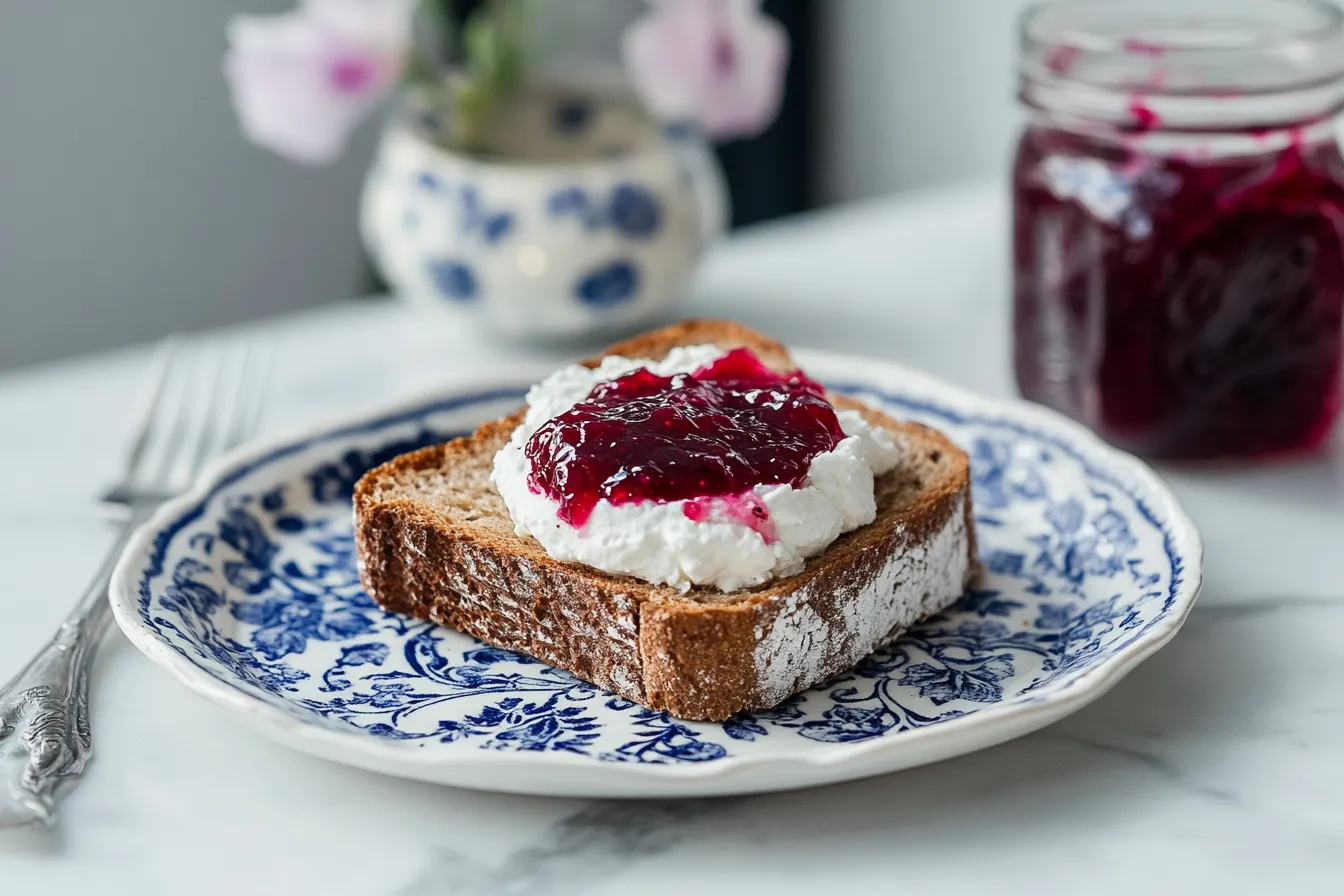
This stunning seedless raspberry rose jelly delivers incredibly pure berry taste without any seeds—ideal for folks who enjoy raspberries but don't want the texture getting in the way. A light touch of rose water actually boosts the raspberry's own flavor, making it taste even more vibrant and rich!
I whipped up a batch of this jelly last summer and gave small containers to my friends. I couldn't believe when three of them asked me for the instructions right away! You just can't ignore that bright color and clean taste.
Key Ingredients and Smart Selection
- Raspberries - Pick the juiciest, most colorful ones for maximum flavor
- Rose Water - A tiny amount highlights the fruit without making it taste flowery
- Lemon Juice - Adds natural thickening power and cuts the sweetness
- Sugar - Helps it set properly and keeps it fresh longer
- Water - Just a bit helps pull out all the berry goodness
The real trick happens when you strain everything, taking out all the seeds and pulp to get that pure raspberry flavor that makes your jelly clear and bursting with taste.
Step-by-Step Preparation Guide
- Step 1: Pull Out the Raspberry Flavor
- Cook raspberries with water until they totally break down. This first cooking step gets all the flavor and natural thickeners out of your berries. Keep stirring so nothing burns and everything heats evenly.
- Step 2: Careful Straining
- Put wet cheesecloth in layers over a fine strainer and pour your berry mix through. This key step gets rid of all seeds and pulp. Let gravity do its job—don't push or squeeze or your jelly won't be clear.
- Step 3: One More Strain for Perfect Clarity
- Run the juice through fresh cheesecloth again. This extra work makes sure your jelly will have that beautiful see-through look that makes it so pretty.
- Step 4: Mix with Sugar and Add Flavors
- Put the strained juice in a clean pot and add sugar, lemon juice, and rose water. Getting these amounts right helps it set properly and taste balanced. Bring everything to a boil and cook until it's ready to gel.
- Step 5: Check If It's Done
- Use a thermometer to see when it hits 220°F, which means it'll set up right. You can also put a small amount on a cold plate—it should wrinkle when you push it with your finger.
- Step 6: Pack and Keep
- Pour into clean containers while hot and close them tight. Keep in the fridge for freshness and the best soft texture. The jelly will firm up more as it cools down.
 Pin it
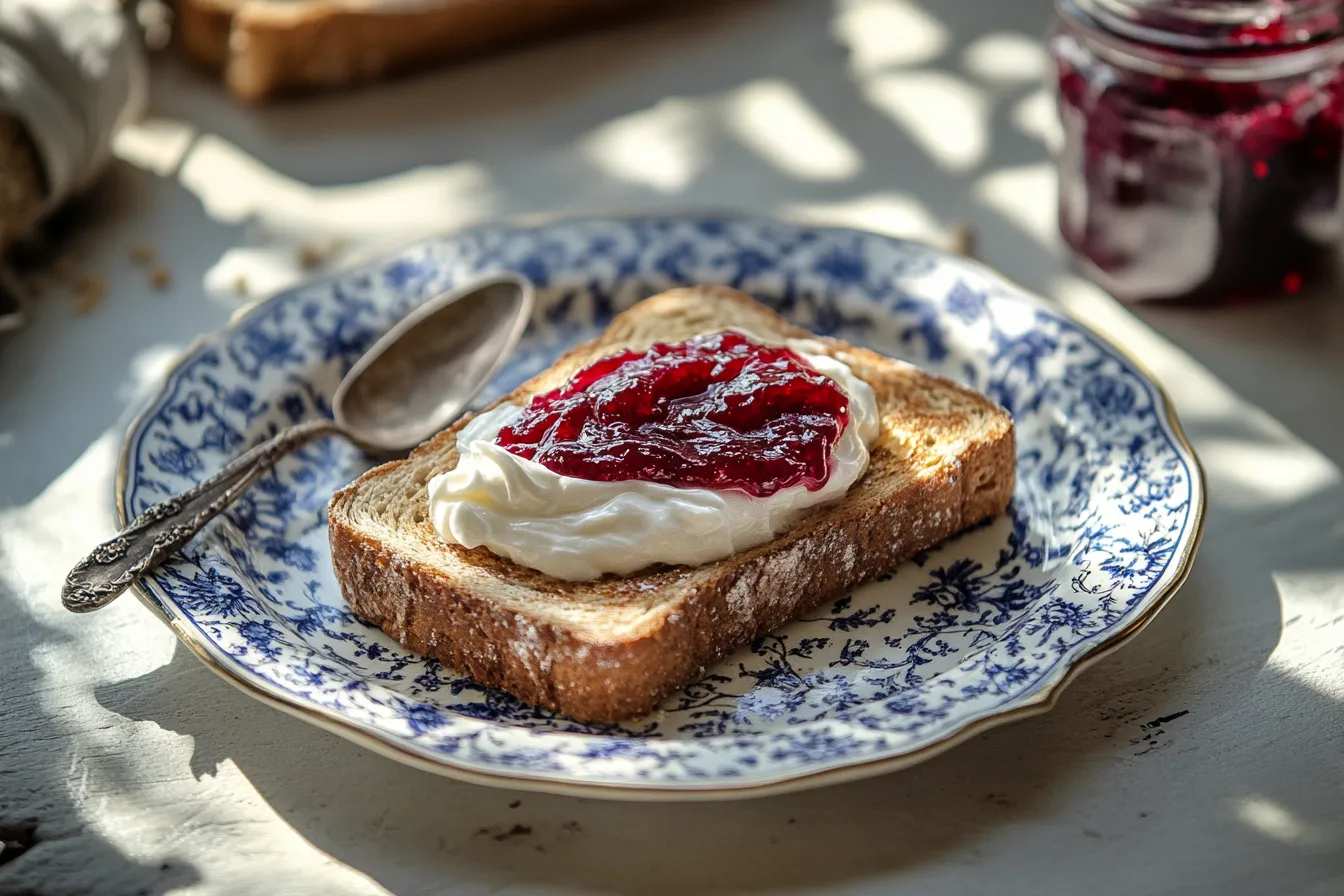
Luxurious Spreading Consistency
This approach gives you a more relaxed set than store-bought jellies, creating a rich feel that just melts away as you eat it. Unlike the stiff, bouncy stuff with added pectin, this version glides smoothly over warm toast without tearing it up. The gentle texture also makes it fantastic for mixing into yogurt or using between cake layers.
More Than Just Breakfast Fare
Sure, it's great on toast with cream cheese or labneh, but this jelly can do so much more. Warm it up a bit for a fancy topping on vanilla ice cream. Drop a spoonful on your cheese plate next to sharp cheddar. Stir some into your champagne for a fancy drink, or mix it with olive oil and white wine vinegar for a tasty salad dressing.
 Pin it
Outstanding Homemade Gift
Nothing beats seeing this ruby-red jelly in pretty glass jars where light shows off its clear, glowing color. Pair it with a fresh loaf of good bread and some fancy butter or labneh for a wonderful host gift. Tiny jars work great for wedding or baby shower presents with custom tags - the rose connection fits perfectly with romantic celebrations.
Year-Round Possibilities
Summer raspberries straight from the garden give you the brightest flavor, but frozen berries work really well during winter too. The jelly-making process actually pulls out tons of flavor from berries that might be too soft to eat fresh but still taste amazing, so it's a smart way to use up fruit at the end of the season.
Important Reminders
- Let gravity strain the berries or your jelly won't be clear
- Straining twice makes it look way better
- This jelly isn't as firm as the stuff from stores
- Keeping it cold helps it get just the right thickness
- Better wear something you don't mind staining - raspberry spots don't come out easy!
I found out how important it is to be patient with straining when my first try came out cloudy with bits of seeds. Now I take my time and let gravity handle it for the clearest, seed-free results.
Pro Kitchen Secrets
- Wet the cheesecloth first so it won't soak up your precious juice
- Stack several cheesecloth layers for the clearest result
- Wash your pot thoroughly between steps to keep seeds out
- Scoop off any foam for the prettiest clarity
- Wait until jars cool completely before putting them in the fridge
 Pin it
This Raspberry Rose Jelly has become my go-to summer creation. It captures what's best about raspberry season without a single seed getting in the way. The rose water touch is so subtle most people can't name it, but they always mention how the raspberry flavor seems stronger and deeper.
Handy Finishing Advice
- Try to use it within a year for top flavor, though it often lasts longer in the fridge
- For pantry storage, use proper canning methods
- Make some in tiny jars for gifts or trying different ways to serve it
- Don't toss the leftover pulp - use it in smoothies or baking
- Serve it with crusty bread and labneh for a simple but amazing snack
Frequently Asked Questions
- → Is extra pectin required?
- Nope, the berries and lemon juice have enough natural pectin.
- → Why skip rinsing raspberries?
- It keeps their taste and natural flavor intact.
- → Do I need to seal jars?
- Not if keeping them in the fridge; they’ll last for months.
- → What’s a substitute for rose water?
- Leave it out for plain jelly or use orange blossom water instead.
- → How can I tell it’s done?
- Look for 220°F on a thermometer or try the plate test.