
 Pin it
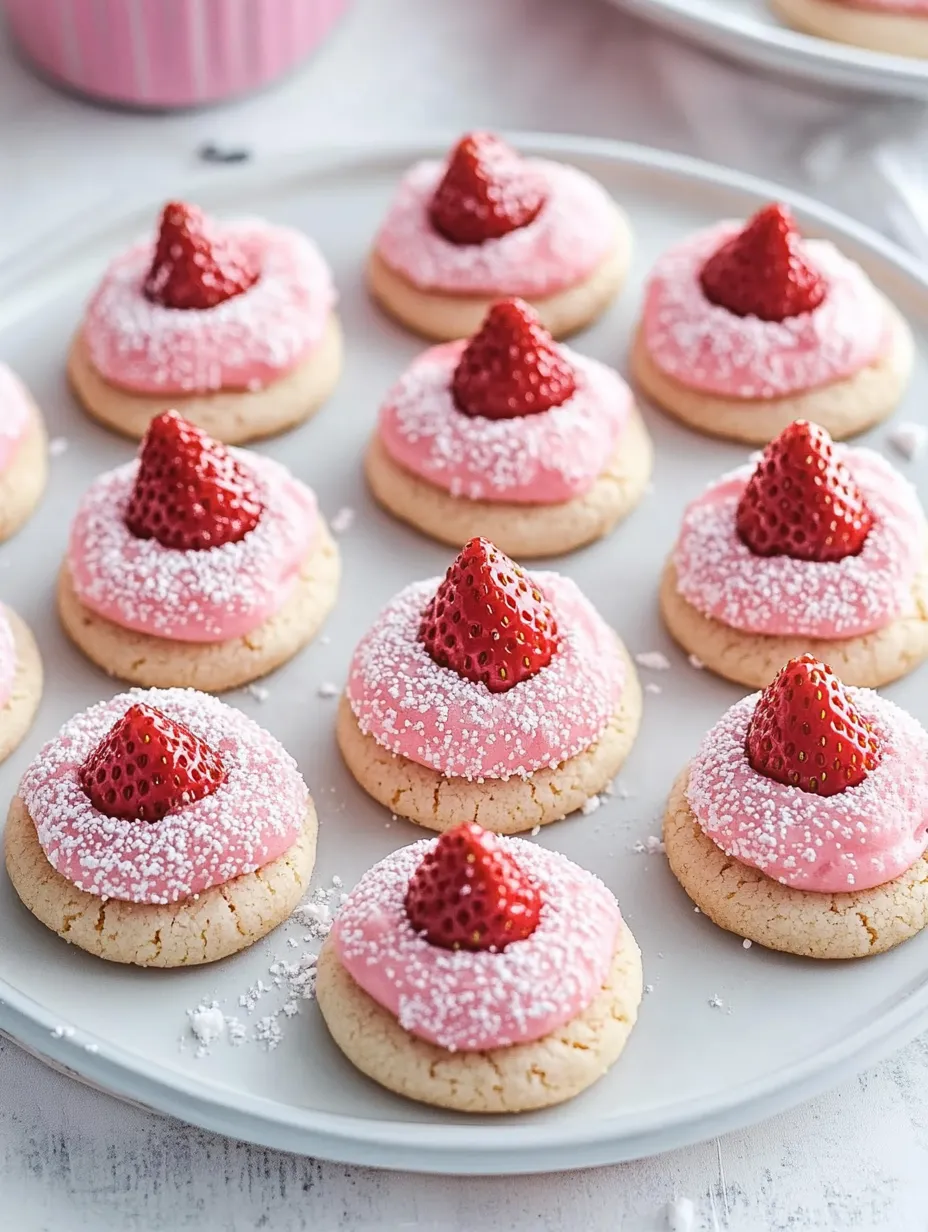
These Strawberry Kiss Cookies bring pure happiness to my home cooking. The way the buttery shortbread base mingles with sweet strawberry notes and decadent chocolate creates something truly special—a treat that feels both familiar and fancy. Their gentle pink color adds a fun touch, while the chocolate kiss nestled in each one makes every bite perfectly balanced.
I showed my niece how to make these treats last Sunday. When I saw her excitement as she pushed chocolate kisses into the warm cookies, I remembered why this recipe has become such an important part of my baking collection.
Key Ingredients and Shopping Advice
- Butter: Pick good quality unsalted butter that's softened. Fancy European butter with extra fat makes cookies that practically melt away. I let mine sit out exactly 60 minutes before starting
- Strawberry Gelatin: Stick with regular gelatin, not sugar-free kinds—it adds both taste and helps with texture. Keep leftover gelatin in a sealed container if you're making several batches
- Flour: Any all-purpose flour works fine, but measure carefully. I always spoon it into the cup then level it off for best results
- Chocolate Kisses: Store them in your fridge until you need them. Cool kisses stay prettier when pushed into warm cookies
Getting everything ready first makes these Strawberry Kiss Cookies turn out amazing. When ingredients reach room temp and your workspace is tidy, you're set up to win. The dough comes together quickly, so having everything lined up makes baking more fun and less stressful.
 Pin it
Creating Dreamy Cookie Dough
Get your butter super fluffy first—give it a good 3-4 minutes with your mixer. Don't try to save time here; properly whipped butter gives you that melt-in-your-mouth feel we want. Add sugar bit by bit, letting each addition mix in completely. You'll know it's ready when the mix looks almost cream-colored and feels airy.
 Pin it
Adding Dry Ingredients
Mix in your dry stuff slowly with your mixer on low. Stop right when you can't see flour anymore—mixing too much makes tough cookies nobody wants. Your dough should feel soft but hold together when you roll it into balls.
Forming Perfect Cookies
Make tablespoon-sized dough into nice round balls. This gives you the prettiest finished cookies. When you make the little dent for chocolate, gently twist your thumb as you press down—this stops cracks and creates just the right spot for your chocolate kiss.
Baking Know-How
Keep an eye on your cookies while they bake. They're done when the edges look set but the middles seem slightly underdone. This timing trick gives you that wonderful melt-away texture. Let them cool on the pan for exactly 5 minutes before adding chocolate.
Adding the Chocolate Kiss
Put your chocolate kisses in while cookies are warm but not hot. The remaining heat will secure the chocolate without turning it to goo. If your kitchen runs warm, cool the kisses in the fridge before using them.
Changing with the Seasons
These cookies can change with the calendar. Try strawberry kisses in springtime. Summer calls for white chocolate versions. Fall is perfect for caramel-filled kisses, and winter works well with dark chocolate or minty options.
Keeping Them Fresh
Stack cookies between pieces of wax paper in a sealed container. They'll stay good at room temperature for about 5 days, though at my house they vanish much faster. When giving as gifts, pack them in see-through boxes with ribbon—their pretty pink color makes them naturally appealing.
Closing Thoughts
Making fantastic Strawberry Kiss Cookies means finding the sweet spot between following steps and trusting your gut. Everything builds on what came before, from whipping the butter to that final dusting of powdered sugar. After years of making these treats, I've found success comes not just from following directions, but from noticing little clues that show you're on track—how the dough feels, when your oven has baked them just right, and the perfect moment to add chocolate.
My Cookie Journey
I first learned about these cookies during holiday baking with my grandma, who always said the tastiest cookies come from taking your time and watching the details. What began as a basic thumbprint cookie grew into this signature treat that everyone asks me to bring to gatherings. Each batch reminds me of kitchen chats, shared memories, and the happiness of making something lovely to share.
Where These Cookies Come From
Thumbprint cookies started as Swedish Hallongrotta or raspberry caves, but Americans put our own spin on them. Adding strawberry flavor and chocolate kisses shows how mid-1900s home bakers got creative with new convenient ingredients. These cookies tell the story of how home baking has changed—keeping old techniques while welcoming new flavors and ingredients.
Giving as Gifts
These cookies make wonderful presents, but packaging matters. Layer them carefully in pretty tins with parchment paper between, arranging them so the chocolate kisses don't get squashed. For holiday giving, I've found that shiny boxes with clear lids show off how pretty they are while keeping them fresh during travel.
Holiday and Event Ideas
Different celebrations call for fun changes. For Valentine's Day, try making heart-shaped dents instead of round ones. Easter looks great with pastel white chocolate kisses. At Christmas, sprinkle red and green sugar on top before adding powdered sugar.
Fixing Common Problems
If your cookies spread too much while baking, cool the dough balls in the fridge for 15 minutes before making dents and baking. If the edges crack when you make thumbprints, let the dough warm up a bit first. These little fixes make a big difference in how your cookies look.
 Pin it
Weather Matters
Your kitchen temperature really affects these cookies. On hot days, keep dough in the fridge between batches and work fast when adding kisses. In cold weather, you might need to bake them a little less time since butter sets up quicker in cooler rooms.
Prep Ahead Options
You can make the dough up to two days ahead and keep it in the fridge. Let it warm up a bit before shaping. You can also freeze shaped unbaked cookies for up to a month—just add about a minute to baking time when cooking from frozen.
Baking with Kids
These cookies work great for baking with children. The simple but fun steps—rolling balls, making thumbprints, adding kisses—naturally teach kitchen skills while creating sweet memories. Kids stay interested because they can see the cookies change with each step.
Frequently Asked Questions
- → Can I swap out the gelatin flavor?
- Of course! Strawberry works best, but raspberry or cherry can be fun too.
- → Can I make the dough ahead of time?
- Yep, you can make the dough in advance. Pop it in the fridge and let it warm up before baking.
- → Can I use another kind of chocolate in the center?
- Absolutely. Try any chocolate candies or even a little Nutella or ganache if you'd like.
- → What’s the best way to store them?
- Keep them in an airtight container at room temp for about 5 days. The chocolate might soften, but they’ll still taste great.
- → Is freezing these cookies an option?
- Sure thing. Freeze them without the chocolate laid on top for up to 3 months. Add the chocolate after thawing.