 Pin it
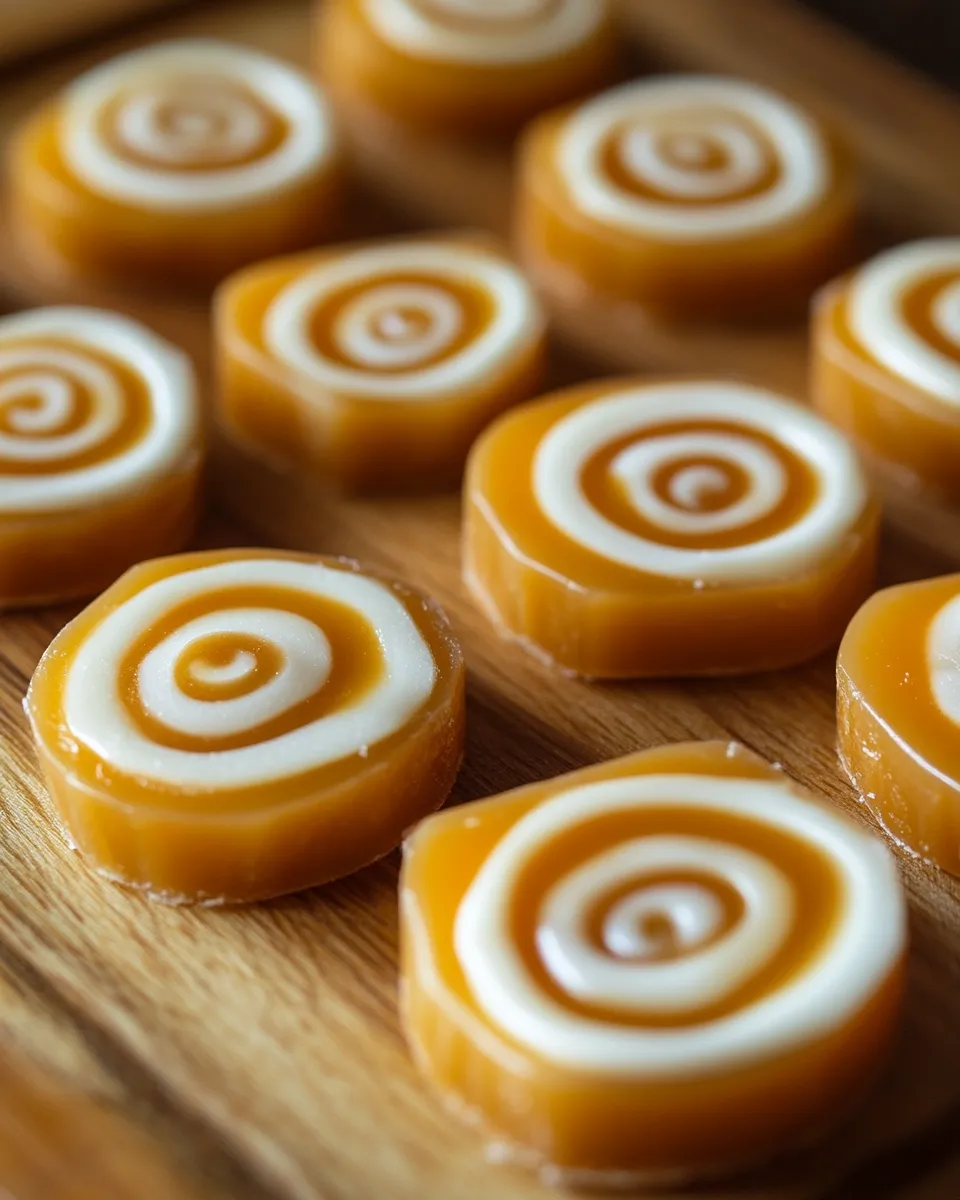
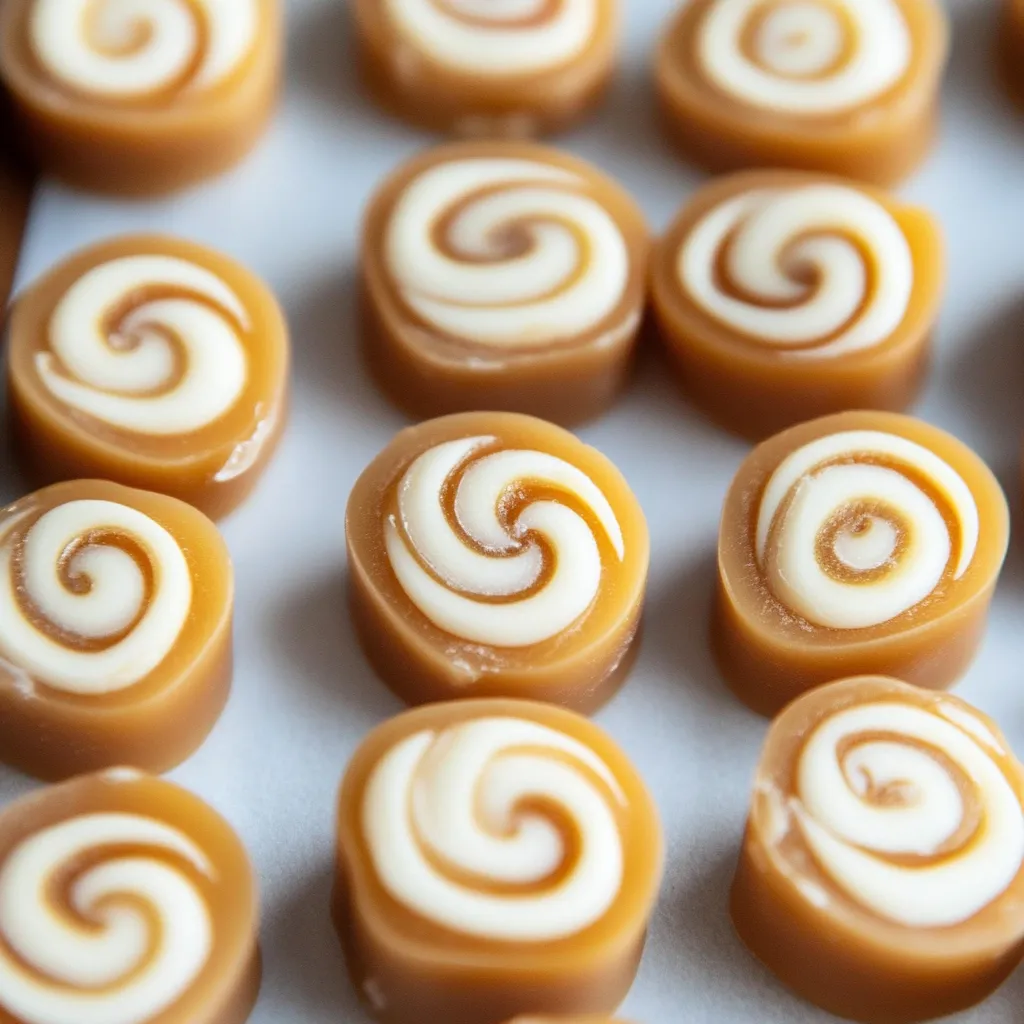
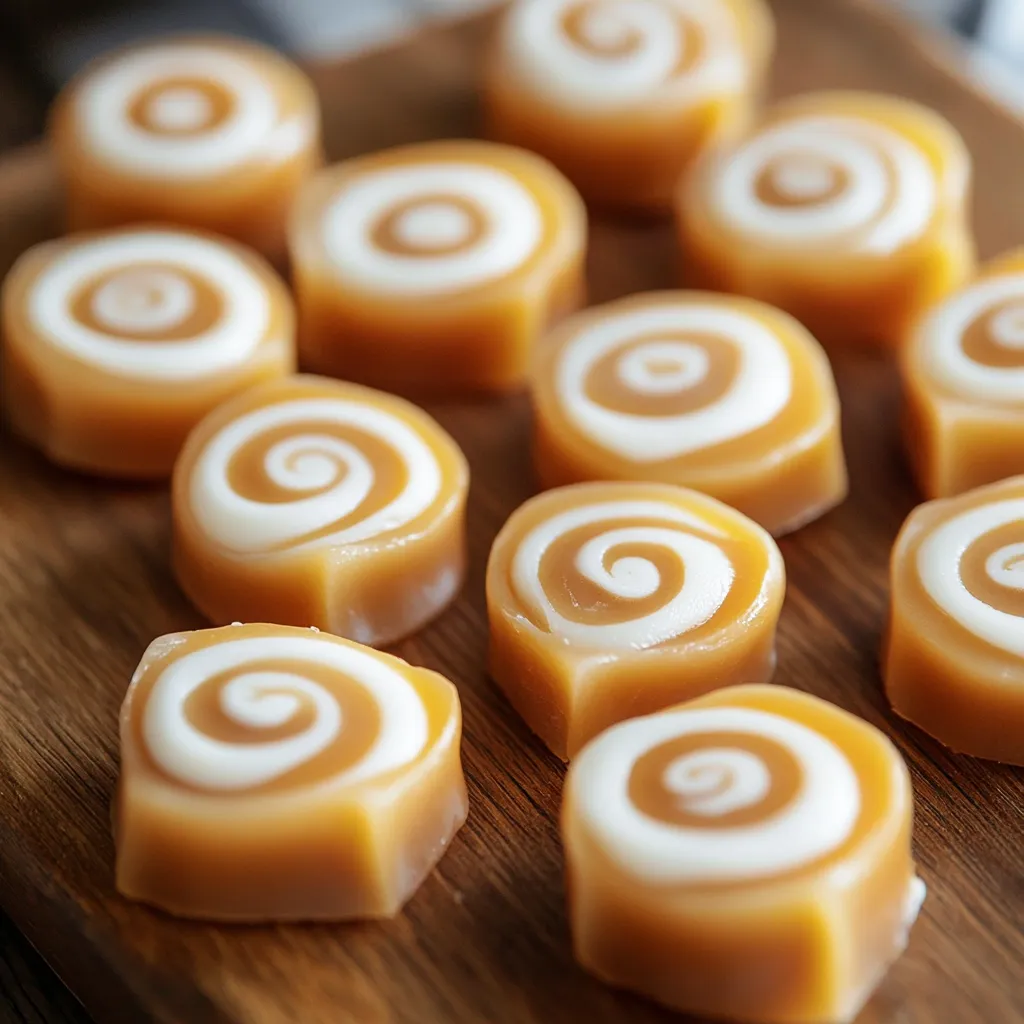
Turn ordinary items into fancy cream-filled caramels that'll beat anything from a candy shop. These handcrafted goodies wrap buttery caramel around a creamy vanilla center, giving you that wonderful mix of chewy outside and smooth inside.
After making batch after batch, I've found that watching your temperatures and timing things just right gives you that perfect caramel chew.
Key Ingredients
- For Caramel:
- European-Style Unsalted Butter: Gives extra richness
- Soft Light Brown Sugar: Make sure it's fresh
- Evaporated Milk (Full-Fat): Don't try other kinds
- Light Corn Syrup: Keeps sugar from going grainy
- Pure Vanilla Extract: Skip the fake stuff
- For Filling:
- Sifted Powdered Sugar: Measure after sifting
- Vegetable Shortening: Shouldn't be cold
- Vanilla Bean Paste: For stronger taste
- Salt (just a pinch): Makes vanilla pop
Step-By-Step Guide
- 1. Making The Caramel Base:
- Mix butter, brown sugar, evaporated milk, and corn syrup in a large heavy-bottomed pot. Cook on medium heat, always stirring with a rubber spatula until you hit 241°F (soft ball stage). Take off heat, add vanilla and mix. Spread into a parchment-lined 9x13 dish, smoothing with a flat spatula.
- 2. Creating The Filling:
- Mix your sifted powdered sugar, room temperature shortening, vanilla bean paste, and salt until it's fluffy and light. Your mix should keep its shape but still spread easily. Wait for caramel to cool until barely warm.
- 3. Putting It Together:
- Spread your vanilla cream over the warm caramel, leaving a small border around the edge. From the long side, roll it up tight using the parchment paper to help. Roll once more to push the filling in nicely. Wrap in plastic and cool for 2 hours.
- 4. Slicing Your Creation:
- Use a sharp knife with a bit of oil on it to cut your log into 1-inch pieces. Wipe your knife between cuts for the neatest results.
- 5. Wrapping Each Piece:
- Wrap each candy in food-safe clear wrap, twisting the ends closed. Let your wrapped candies sit out for 24 hours so they get that perfect texture.
 Pin it
Keeping And Enjoying Your Treats
Keep your wrapped candies in a sealed container at room temp for up to 3 weeks. If you want them to last longer, stick them in the fridge for up to 2 months. Just let them warm up before eating to get the best chew.
Great Combinations
- Fancy chocolate treats
- Sweet glazed nuts
- Buttery cookies
- Hot chocolate packets
- Fresh roasted coffee
- Pretty containers or boxes
Tasty Twists
Make them your own with:
- A bit of coffee flavor in the middle
- Melted chocolate center
- Sprinkle of fancy salt on top
- Touch of maple flavor
- Hint of orange
- Bits of candy cane
 Pin it
These homemade treats show that making candy isn't just for the pros. Your success comes down to taking your time, watching temps carefully, and wrapping them right. They're perfect for gifts or just treating yourself to something that shows off your kitchen skills.
 Pin it
Closing Thoughts
Making candy needs a bit of science and creativity. Don't rush the steps and pay attention to how things look and feel. You'll end up with caramels that make everyone smile from the first bite.
Frequently Asked Questions
- → Why do I need a candy thermometer?
- Caramel’s texture depends on hitting the right temperature, so accuracy is key.
- → Can I make this by hand?
- The vanilla cream needs strong mixing, so a stand mixer works best.
- → What’s the best way to store them?
- Individually wrap and keep them at room temperature for no more than two weeks.
- → Why roll the caramel log?
- It keeps the filling secure and makes clean slices for an even look.
- → Can I switch up the flavors?
- Sure, change the extract in the filling—try maple or almond for fun variations.
