
 Pin it
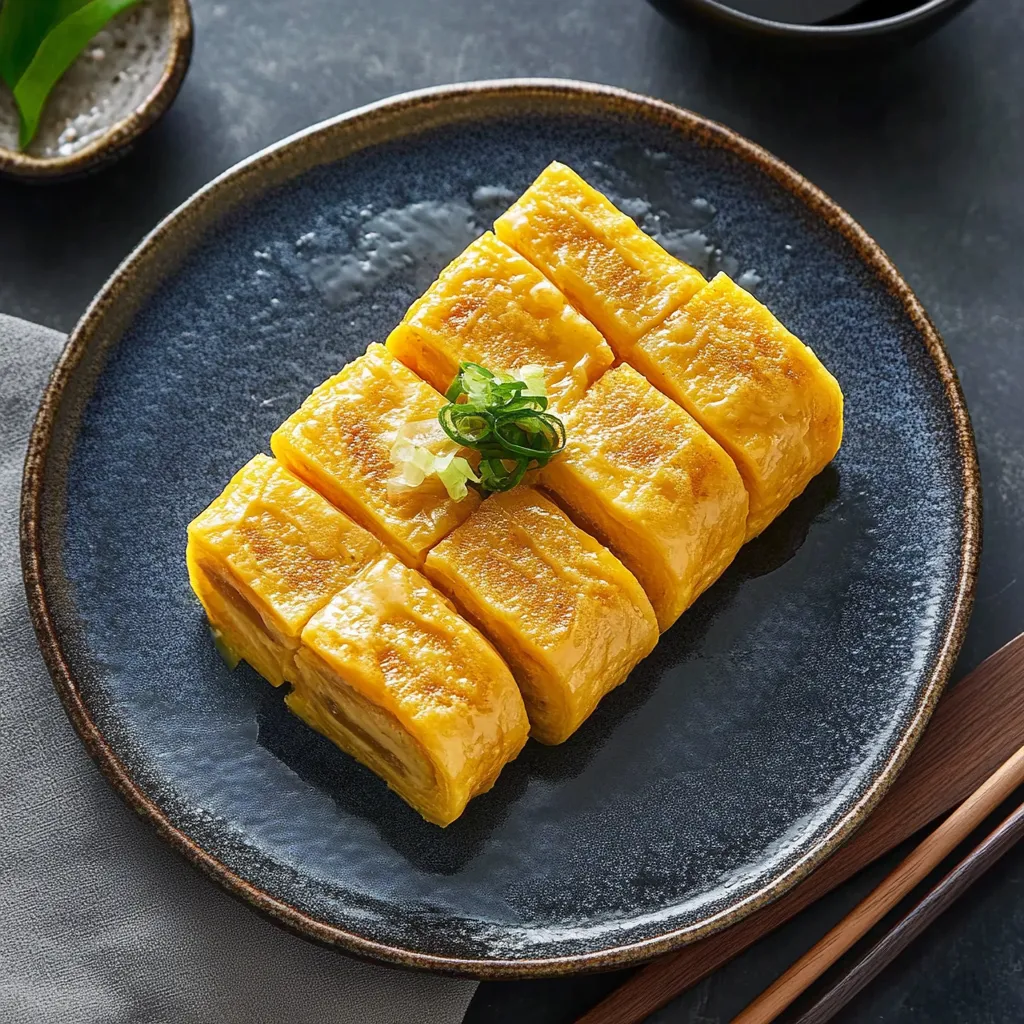
Making tamagoyaki is all about getting the right mix of heat, timing, and method. After spending countless hours perfecting this Japanese rolled omelet, I've found that its real charm isn't just what goes into it, but the peaceful rhythm of building those beautiful, sunny layers. Every fold adds to what came before, making something that looks amazing and tastes even better.
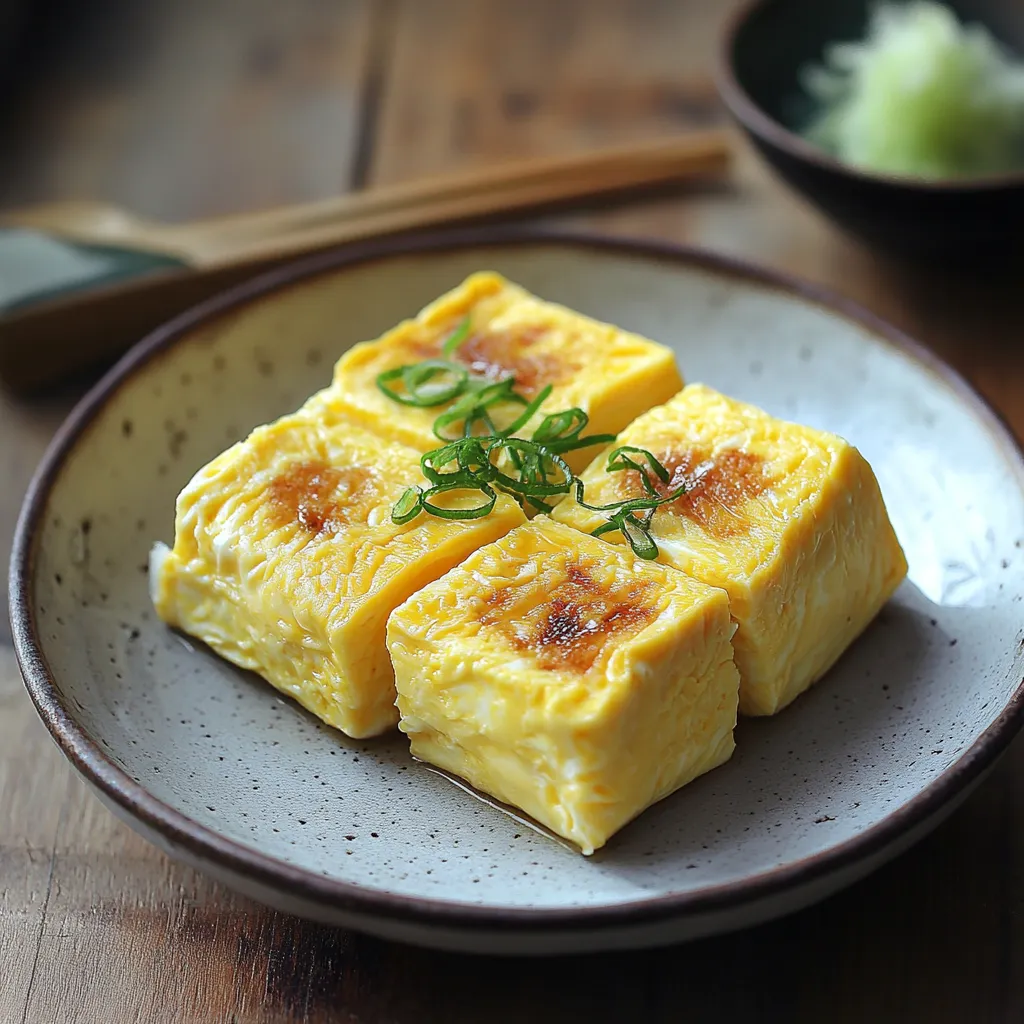
Just last week, I made this for a Japan-themed morning feast, and my friends couldn't take their eyes off how each layer came together. What's my trick? Knowing exactly how heat and timing work as a team to make those soft, custardy folds.
Key Ingredients and Smart Picking Advice
- Eggs: Go with eggs that aren't cold from the fridge for smoother mixing and cooking.
- Mirin: Grab a nice bottle of mirin to get that real Japanese taste.
- Dashi: Nothing beats making your own dashi, but the quick stuff works when you're in a hurry.
- Soy Sauce: Pick up Japanese soy sauce for that perfect mix of saltiness and umami goodness.
 Pin it
The Creative Process
- Mix the eggs:
- Break eggs with care and stir softly using chopsticks or a fork until just mixed. Slowly add sugar, mirin, and soy sauce while cutting through the mixture.
- Run it through a strainer:
- Pour the egg mix through a fine mesh for that super smooth finish.
 Pin it
Getting the Heat Just Right
The pan's heat can make or break your dish. Go with medium-low and check by letting a tiny bit of egg hit the pan - it should sizzle softly without cooking too fast. Keep tweaking the heat as you cook.
Building One Fold at a Time
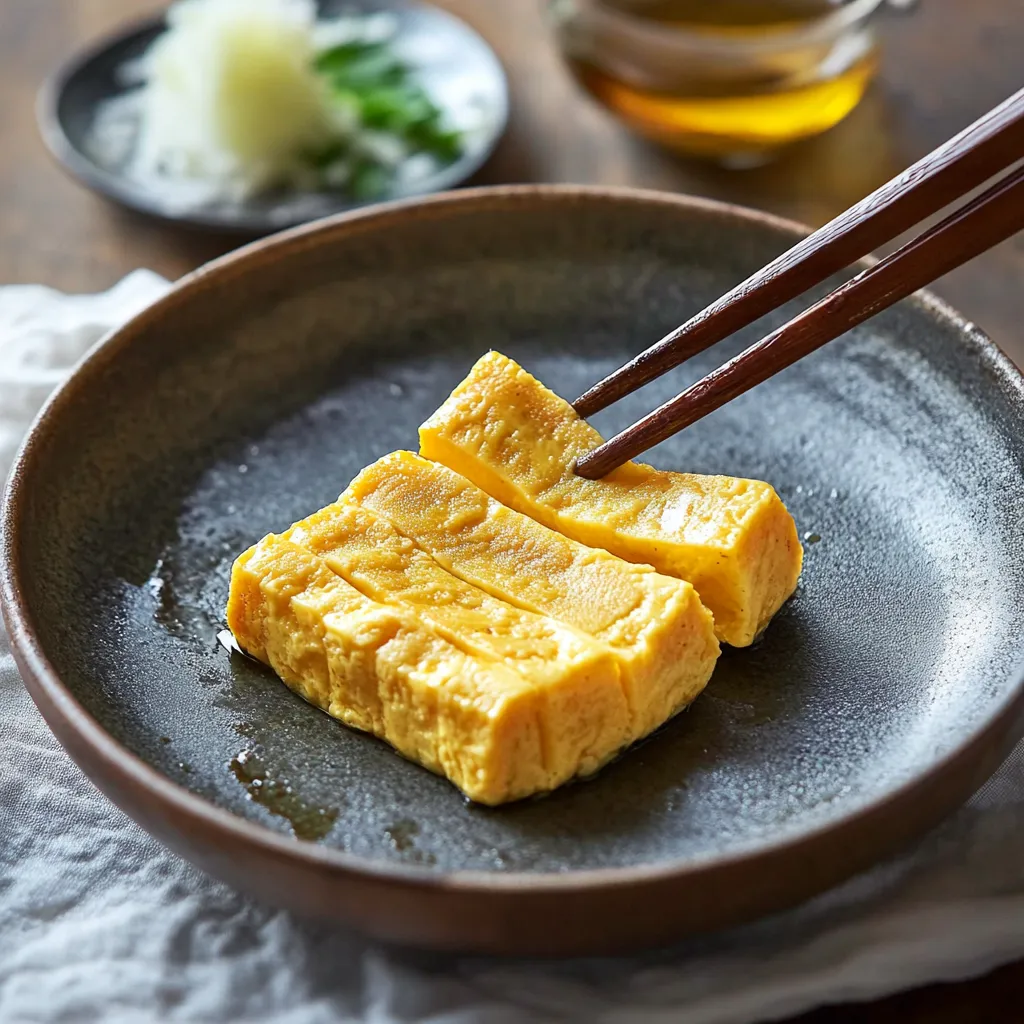
Add a thin stream of egg mix to your pan. When it starts to firm up, softly grab one edge with chopsticks or a spatula and fold it over. Move the roll back to where you started and go again with more egg, making sure each new layer sticks to the last one.
Pro Cooking Tricks
Background and History
In Japan, tamagoyaki shows up everywhere from morning meals to fancy sushi spots. It's seen as a way to judge how good a cook really is, since it needs so much care and focus. Different parts of Japan make it differently - some like it sweeter, others go for more savory notes.
Ways to Enjoy It
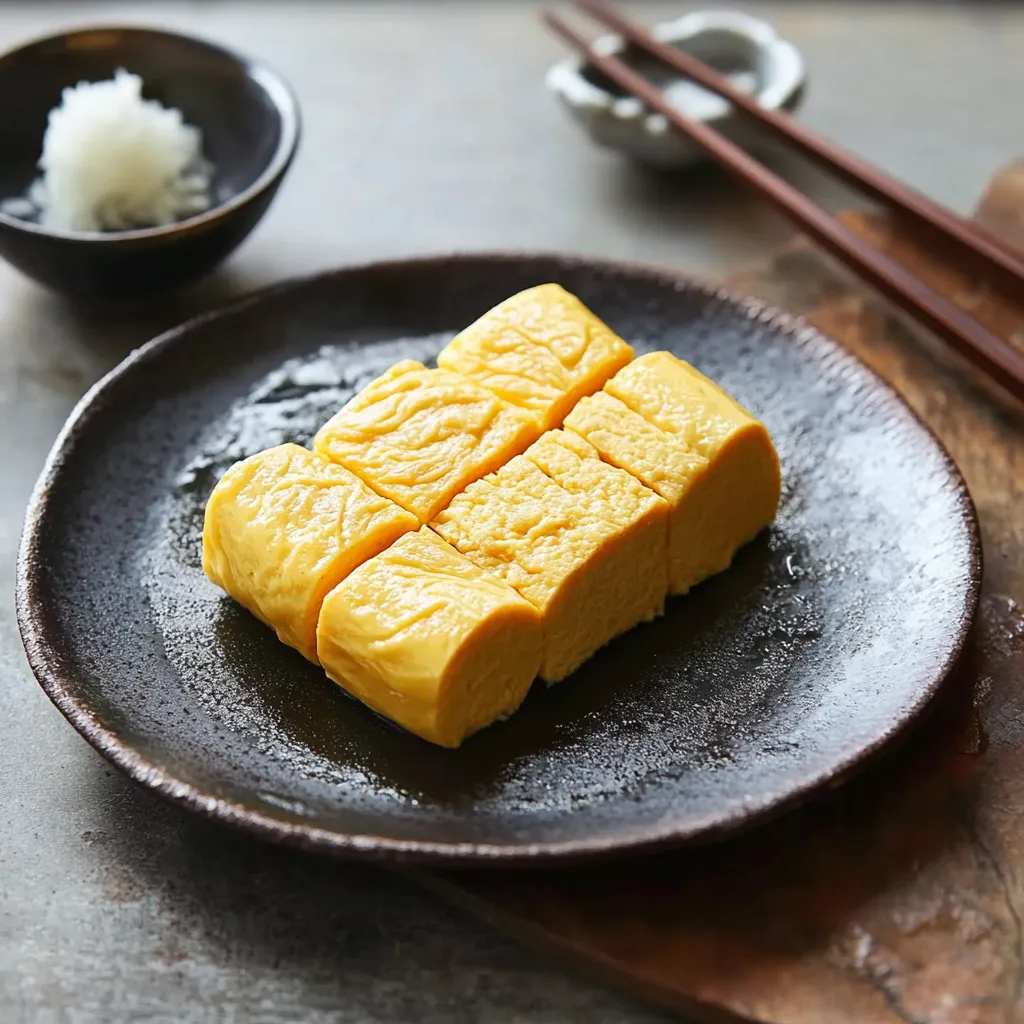
- Put it next to some rice, miso soup, and pickles for a classic Japanese breakfast.
- For something more now, cut thin slices and arrange them at an angle on a long plate with grated daikon and a splash of soy sauce.
Getting Heat and Timing Down Pat
Keep the heat low enough to avoid browning but hot enough that each layer sets quickly. Give each layer about 30-45 seconds to firm up, and let the whole roll sit for five minutes after cooking. Enjoy it warm or room temp for the best taste and feel.
Changing with the Seasons
- Spring: Throw in some fresh shiso leaves.
- Summer: Mix in chopped tomatoes or sweet corn kernels.
- Fall: Add some mushrooms or chrysanthemum greens.
- Winter: Mix in some spinach or nori sheets for deeper flavors.
Learning Opportunities
 Pin it
Making tamagoyaki teaches you cooking basics like managing heat, understanding how eggs set up, and training your hands through doing the same moves over and over. These skills make you more confident and capable throughout your kitchen adventures.
Stocking Up on Japanese Basics
- Get some Japanese soy sauce, mirin, and sake for those true flavors.
- Have kombu and katsuobushi on hand to make your own dashi.
- Try different seaweeds to garnish and boost flavors.
Final Thoughts and Reflections
What makes tamagoyaki so special is how basic yet exact it is. Each roll builds up flavors and tests your skills, showing off what makes Japanese cooking so elegant. Whether it's part of your breakfast or mixed into fusion dishes, tamagoyaki teaches you to slow down, get your technique right, and love simple ingredients.
After making it countless times, I've realized tamagoyaki isn't just food - it's a way to understand cooking better. Getting good at this doesn't just add one more dish to your list, it changes how you see the peaceful art of making truly fantastic food.
Frequently Asked Questions
- → Do I need to own a tamagoyaki pan?
- A rectangular tamagoyaki pan works best, but a small round nonstick pan can do the job too.
- → Is dashi necessary to make tamagoyaki?
- No, dashi adds a deep rich flavor, but feel free to skip it for a simpler version.
- → Why does tamagoyaki sometimes turn brown?
- Keep the heat on medium-low and avoid overcooking to keep the color bright yellow.
- → How can I make tamagoyaki less sweet?
- Just cut back on the sugar or leave it out completely for a more savory taste.
- → What’s the best way to store tamagoyaki?
- Pop it into an airtight container and keep in the fridge for up to four days. Eat after it's back to room temp.