
 Pin it
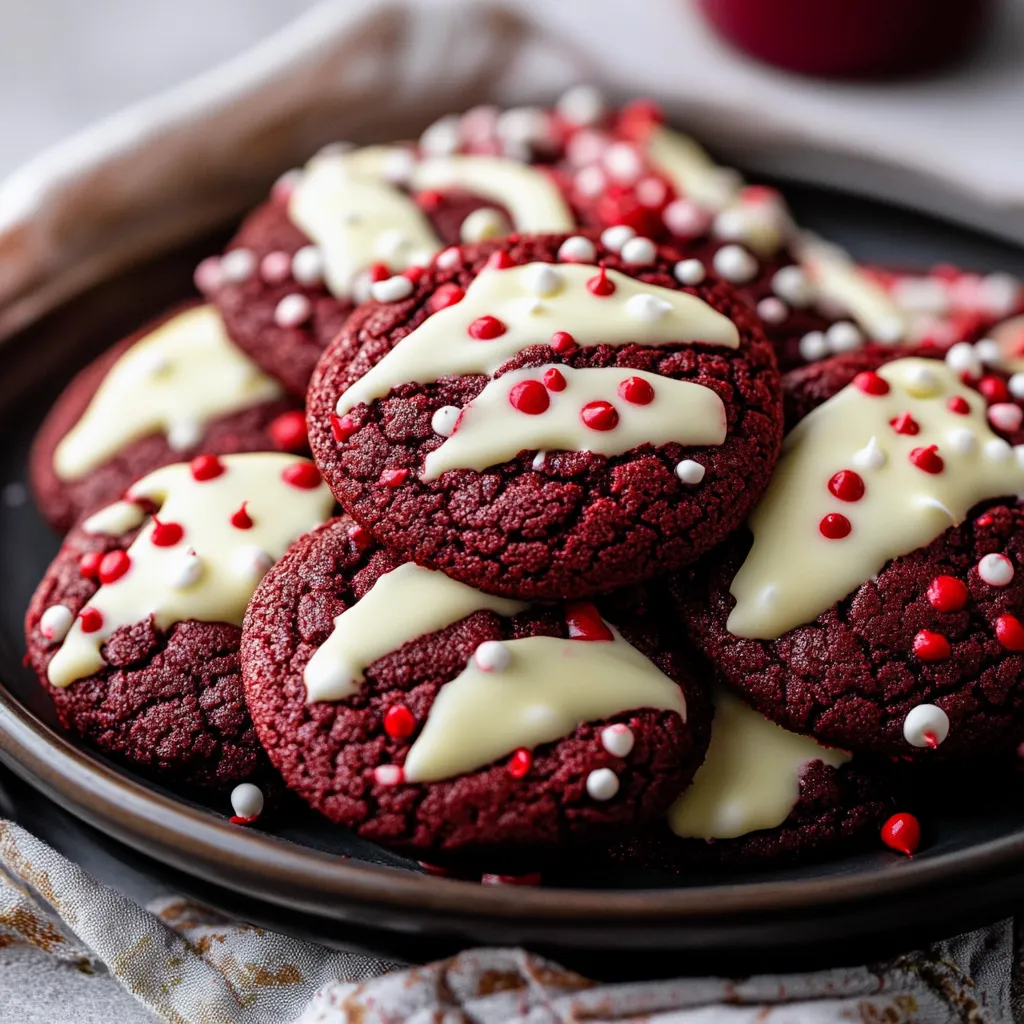
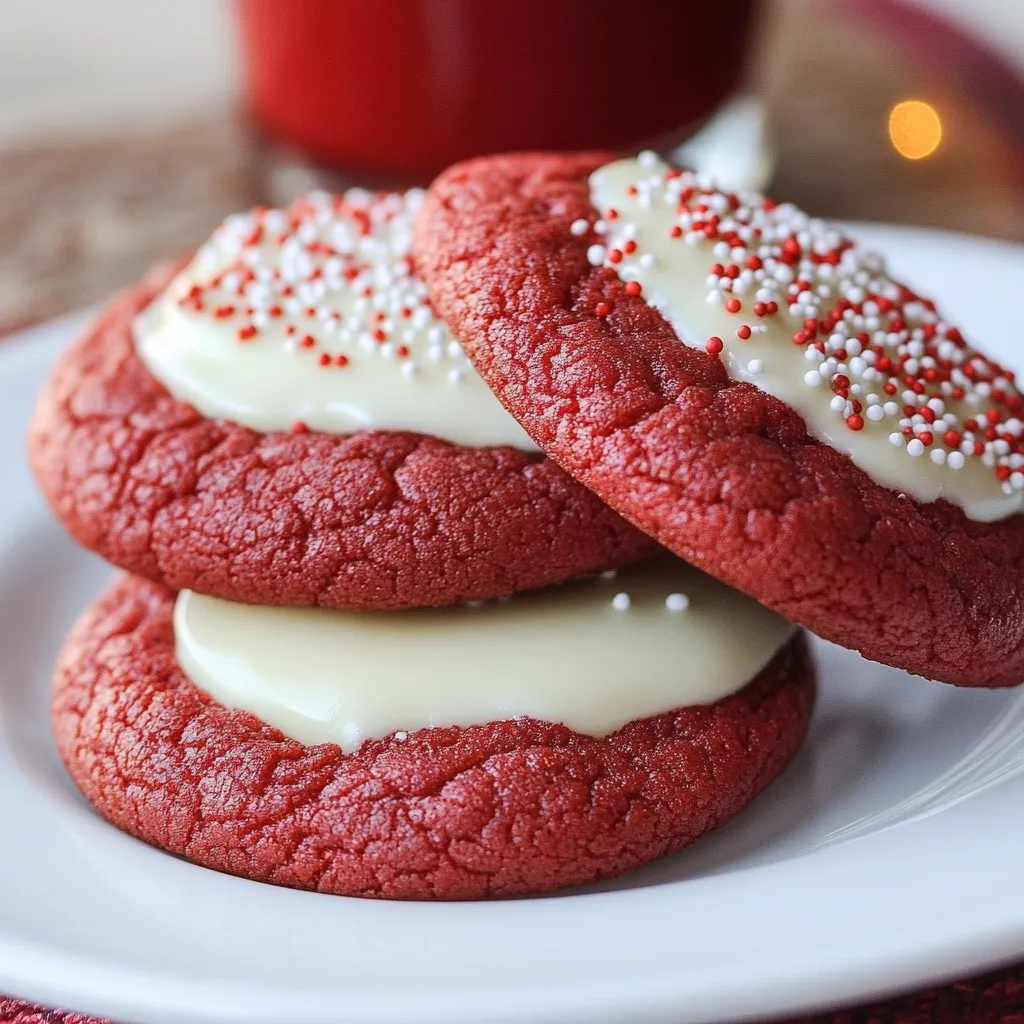
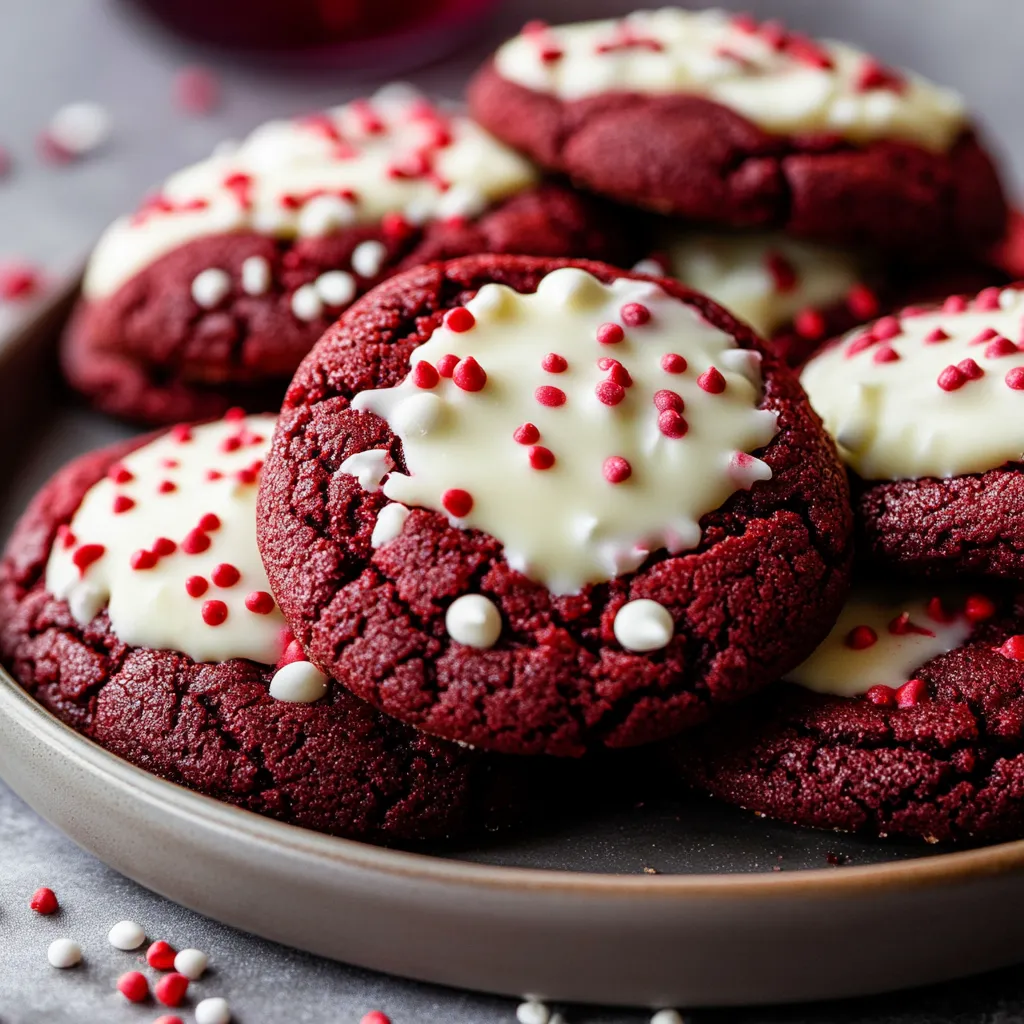
The magic of these cookies comes from the way vanilla and chocolate flavors blend inside a bright ruby treat - that's exactly what makes these White Chocolate Red Velvet Cookies so memorable. Every mouthful brings that familiar red velvet taste we all crave, while the generous coating of white chocolate adds that touch of class that transforms them from basic cookies into something really special. When you bite through the firm white chocolate layer into the tender, chewy middle, you get a mix of textures that'll have you reaching for another one right away.
When we had our Christmas cookie swap last year, these treats stole the show. Their bright red color and fancy white chocolate dip had all my friends begging me to share how I made them. The trick? I don't rush the chilling time and I'm picky about using good white chocolate for coating.
Key Ingredients and Smart Shopping Advice
- White Chocolate - Stick with pure baking bars such as Baker's or Ghirardelli. Don't use chips - they've got additives that stop them from melting properly
- Cocoa Powder - Regular unsweetened cocoa gives you that true red velvet flavor
- Food Coloring - Go with gel colors for the brightest look without messing up the cookie texture. Americolor Super Red works great
- Brown Sugar - Either light or dark is fine, but dark makes cookies moister with a richer taste
After making batch after batch, I can tell you this isn't just talk - getting your ingredients to room temp first really does change how your cookies turn out.
Step-by-Step Baking Guide
- Setting Up Success
- 1. Start off by mixing your dry stuff together. This isn't just combining things - you're putting air into the flour and cocoa for the right texture. Grab a whisk to break down any cocoa clumps.
- Mixing Magic
- 2. Whip your room temp butter with sugars until it looks fluffy - give it a good 3-4 minutes. This puts tiny air bubbles in your dough that help the cookies rise. You'll notice the mix gets lighter as you go.
- Making the Foundation
- 3. Throw in your egg, milk, and vanilla. That splash of buttermilk isn't just for wetness - it gives a nice tang and works with the baking soda. Don't overmix or you'll end up with tough cookies.
- Getting the Right Look
- 4. Here's where it gets fun. Slowly add gel coloring until you hit that perfect red velvet shade. Keep in mind the color will get a bit deeper when they bake.
- Patience Pays Off
- 5. Don't try to skip chilling the dough! You need those two hours minimum so the flour can soak up moisture and the butter can firm up. This stops your cookies from spreading too thin. The dough should feel cool but you can still scoop it.
 Pin it
I figured out last week that arranging all my dipped cookies on one tray in the fridge helps the chocolate set up with a nice glossy finish.
Creative Finishing Touches
Making your cookies look amazing isn't just about the white chocolate dip. Try adding extra white chocolate drizzled in fancy patterns, or play around with different kinds of sprinkles. Match your sprinkle colors to whatever holiday you're celebrating. The way the deep red cookie looks against that bright white chocolate really makes them pop on any plate.
 Pin it
Clever Prep-Ahead Strategies
These cookies work great for planning ahead. You can keep the dough in your fridge up to 3 days, or throw the shaped dough balls in the freezer for up to 3 months. The finished cookies freeze really well too, even with their chocolate coating - just put wax paper between layers in a sealed container.
Smartly Managing Chocolate Temperature
Getting white chocolate right means watching the heat carefully. I've learned that melting it at half power in short 30-second bursts keeps it from burning and gives you that smooth texture. If your chocolate seems too thick for dipping, a tiny bit of coconut oil will thin it out nicely. Your chocolate should be warm enough to coat easily but not so hot it starts melting your cookie. If you have a candy thermometer, aim for around 88-90°F.
Tricks for Better Color Results
Getting that classic red velvet color takes a bit of practice. The cocoa powder can change how the final color looks, so I usually add my food coloring bit by bit. Start with just half what you think you'll need, then slowly add more till you like what you see. The color will get a little deeper during baking. For an extra rich red, sometimes I mix in a tiny dot of brown gel coloring to add some depth.
Best Ways to Store and Serve
These cookies actually taste better after a day, when the vanilla and cocoa flavors have had time to mix together. Keep them in a sealed container at room temp, with wax paper between layers so the chocolate stays pretty. When it's hot outside, stick them in the fridge so the chocolate doesn't get soft. Just remember to let them warm up before serving for the best taste and texture.
Pro Baker's Top Advice
- Cut white chocolate into tiny pieces so it melts without problems
- Shake off extra chocolate after dipping to avoid messy puddles
- Put your sprinkles on right after dipping each cookie while the chocolate is still wet
After making these cookies for years, I've found that taking your time - both with chilling and with the dipping part - gives you the prettiest cookies every time.
 Pin it
Wrapping Up
These White Chocolate Red Velvet Cookies aren't just tasty treats - they're little celebrations all on their own. Whether you're baking them for Valentine's Day, Christmas, or just because you want something special, their bright color and fancy white chocolate coating make them stand out. The way the vanilla, cocoa, and white chocolate flavors come together creates a cookie that looks as good as it tastes.
Frequently Asked Questions
- → Why chill the dough?
- It’s the key to soft cookies, so don’t skip it!
- → What white chocolate is best?
- Go for baking bars, like Ghirardelli—not chips.
- → How about natural coloring?
- Swap food color for 2 teaspoons of beet powder.
- → Can I freeze them?
- Totally! Freeze with or without chocolate for up to 3 months.
- → Why’s my chocolate clumpy?
- Mix in a teaspoon of veggie oil if it’s too thick.