 Pin it
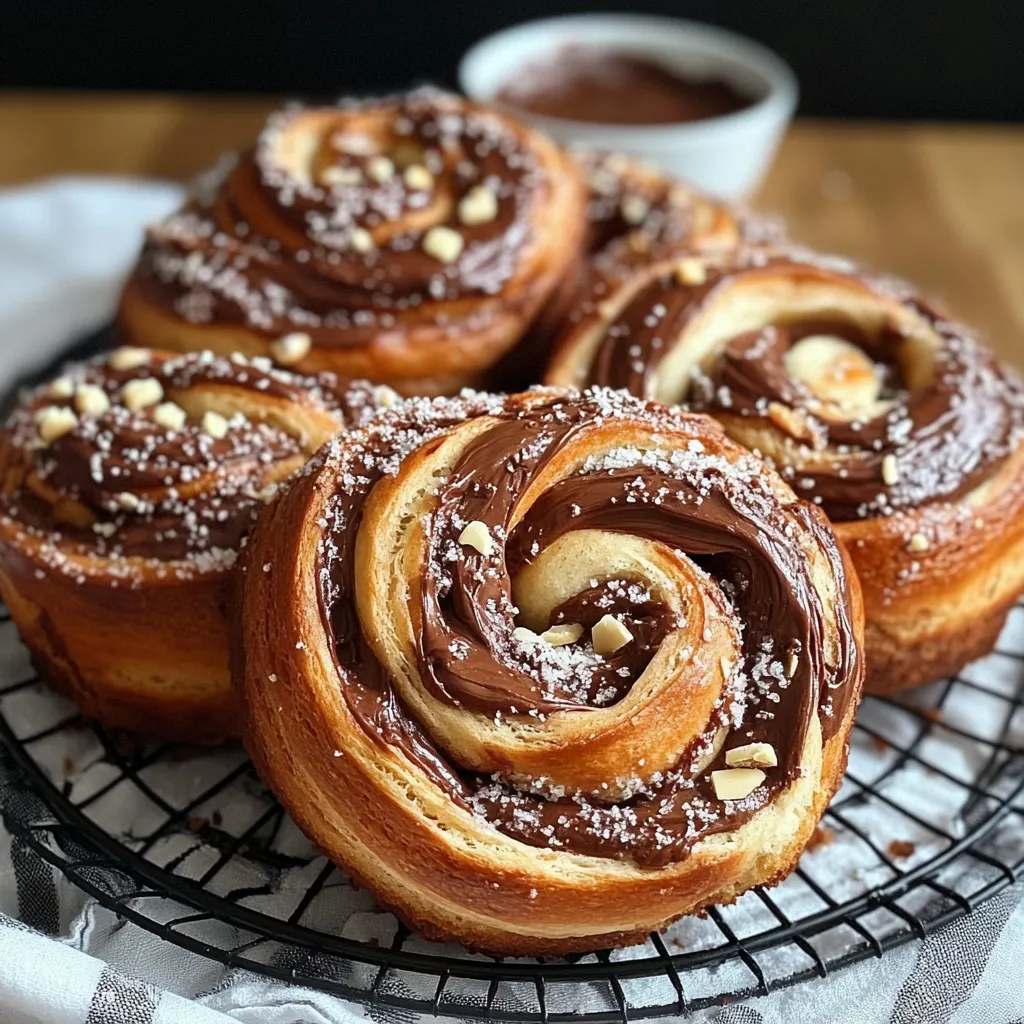
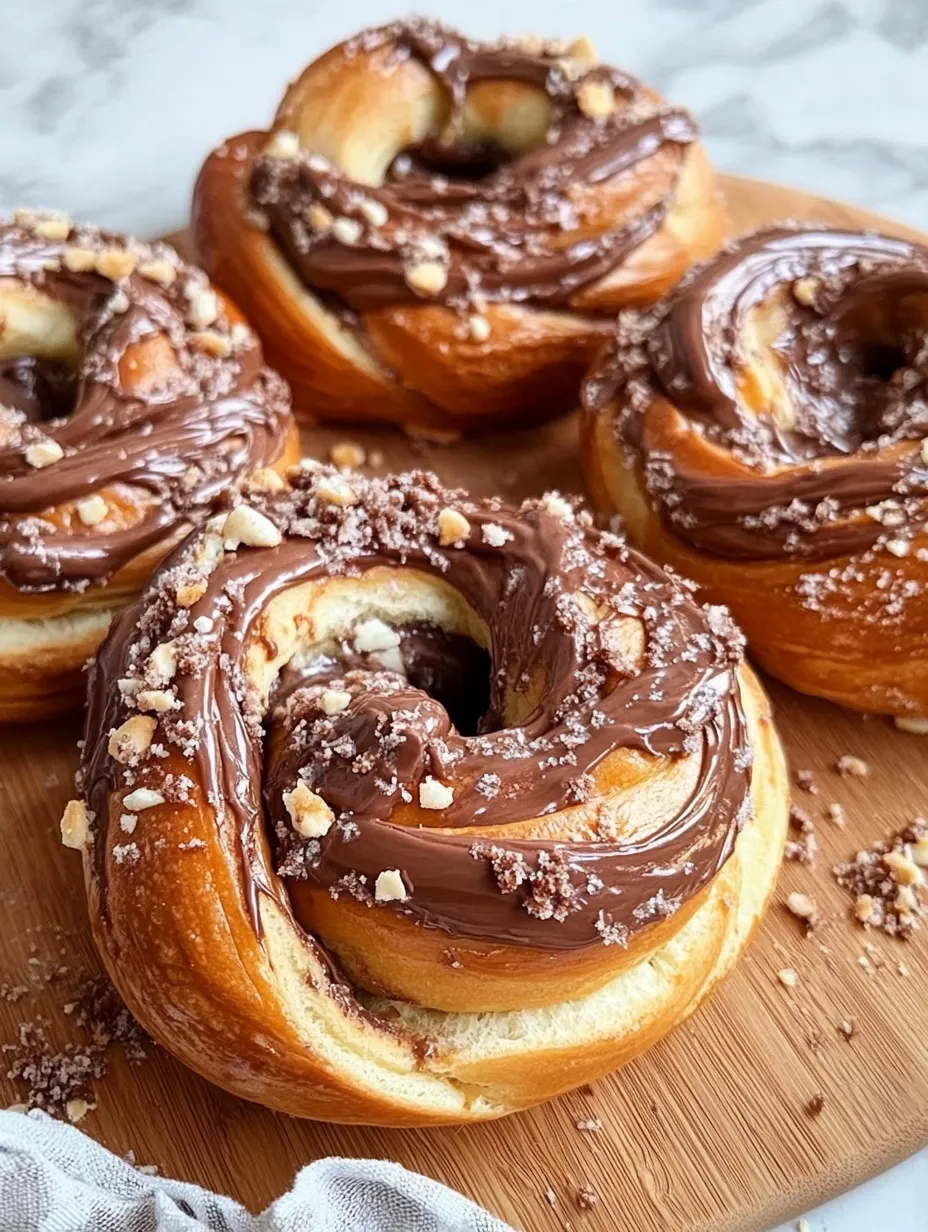
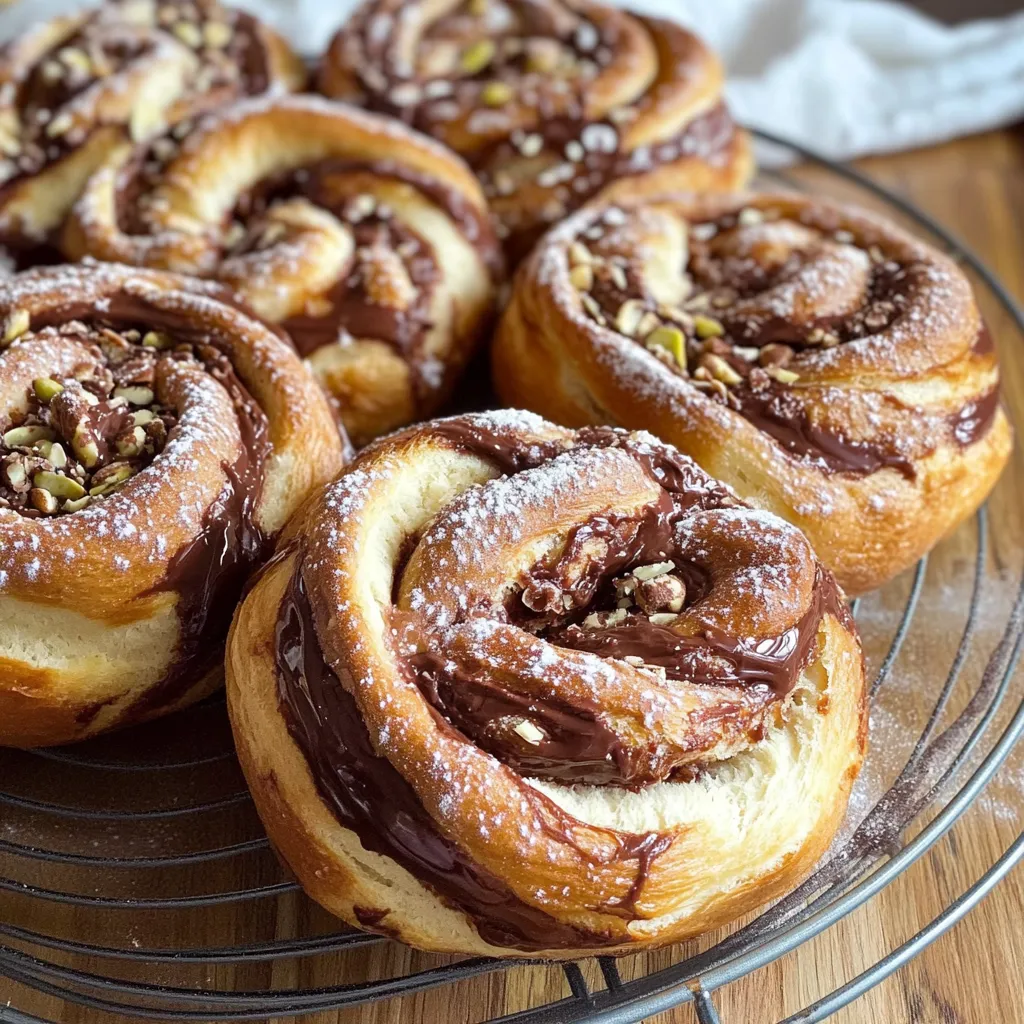
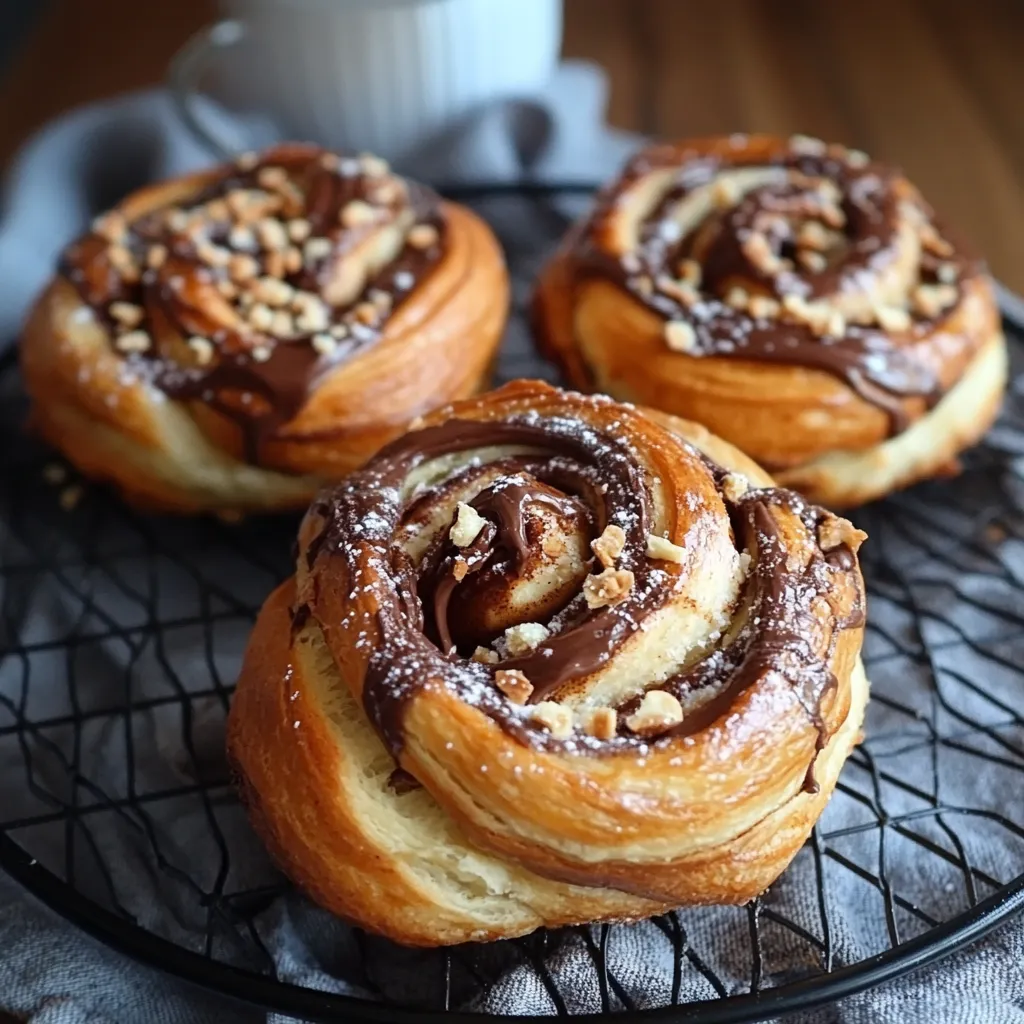
Mix chocolate hazelnut spread, crumbled halva, and fluffy bread dough to create an amazing breakfast treat. These babka rolls show off the perfect balance between soft, risen dough and rich, nutty fillings. Each twist reveals layers of Nutella, pistachio halva, and melted chocolate chunks, making a wonderful experience that's all about contrasting textures and flavors.
Last weekend, these rolls totally stole the show at our family breakfast. The mix of Middle Eastern halva with Italian Nutella created such an interesting flavor combo that everyone started talking about baking traditions from around the world.
Key Components
- Active Dry Yeast: Make sure it's fresh for proper rising
- Room Temperature Butter: Soft but not melted
- Warm Milk: Around 110-115°F to wake up the yeast
- Pistachio Halva: Look for one that's fresh and breaks apart easily
- Quality Nutella: Keep it at room temp so it spreads smoothly
- Vanilla Bean: You can skip it, but it adds an extra fancy flavor
After making these many times, I've found that room temp ingredients and getting the kneading just right are the big secrets to perfect dough texture.
Step-by-Step Guide
- 1. Dough Making:
- Get your milk to the right warmth (110-115°F) - too hot kills yeast, too cool won't wake it up. Mix all dry stuff first so salt and sugar spread evenly. Cut butter into small chunks so it mixes in better. After adding eggs, mix at medium speed for exactly 2 minutes - this helps develop the gluten. Knead until you can do the windowpane test - stretch a small piece until it's see-through without tearing. For the first rise, be patient - wait until it doubles and barely holds a fingerprint when poked gently.
- 2. Filling Preparation:
- Warm up your Nutella slightly so it spreads easier - just 10 seconds in the microwave usually works. Break up the halva by hand for different sized pieces. Don't crush it too fine or you'll lose texture, but too chunky means uneven spreading. Plan your filling layers carefully - start with a thin Nutella layer, then scatter halva and chocolate pieces evenly. Leave some empty space at the edges for sealing. Room temp fillings spread better and won't tear your dough. Don't overdo it - too much filling makes messy rolls that bake unevenly.
- 3. Shaping Technique:
- Roll dough to even thickness - this helps everything bake at the same rate. When cutting filled rolls lengthwise, use a sharp knife and one clean cut to keep edges neat. Twist with the cut sides facing up to show off those pretty filling patterns. When coiling, handle gently - too tight and they can't rise, too loose and they'll unravel while baking. Tuck the ends underneath securely. Space rolls at least 2 inches apart so they have room to grow during the second rise.
- 4. Baking Process:
- Heat your oven fully before baking starts. Put the rack in the middle for even heat. Look for golden-brown tops, but don't just trust your eyes - bottoms should be deep golden too. Check doneness by lifting a roll - the bottom should be firm and colored. Pour sugar glaze on while rolls are still hot so it soaks in better. Cool on a wire rack so bottoms don't get soggy.
- 5. Troubleshooting Guide:
- If dough feels too sticky, add flour slowly - just one tablespoon at a time. When dough fights back, let it rest 10 minutes before kneading again. Filling leaking out usually means you overfilled or didn't roll tight enough. Rolls unraveling during baking? You probably didn't tuck the ends well. Pale crust means your oven was too cool; dark crust means too hot. Dough not rising? Check if your yeast is fresh and your milk was the right temp.
- 6. Serving Suggestions:
- Serve rolls slightly warm - a quick 10-second microwave brings back that fresh-baked feel. Pair with Turkish coffee or chai tea for a true Middle Eastern food experience. For brunch, serve with fresh seasonal fruit and whipped cream. For fancy presentation, dust with powdered sugar and add fresh mint sprigs. These rolls work great on a pastry board alongside seasonal fruits and nuts.
- 7. Storage Solutions:
- Keep rolls at room temp in an airtight container up to 3 days. For longer storage, freeze unglazed rolls up to 3 months. Thaw overnight in the fridge, then warm before eating. If you plan to freeze, wait to add the sugar glaze until after reheating. Refresh day-old rolls by warming and brushing with melted butter. Store leftover halva separately in a cool, dry place to keep its crumbly texture.
 Pin it
Personal Thoughts: These babka rolls really bring together the best of Middle Eastern and European baking traditions. Every time I make them, I think about my first taste of halva in a Jerusalem market. The mix of textures - fluffy dough, smooth Nutella, and crumbly halva - makes something truly special.
 Pin it
Delightful Serving Ideas
Show off these rolls on a rustic wooden board or fancy tiered cake stand. For morning meetings, cut rolls vertically in half to display the pretty spiral pattern. Pair with:
- Fresh strong espresso or Arabic coffee
- Sweet whipped labneh with honey drizzle
- Fresh seasonal figs or berries when available
- Extra crumbled halva for garnish
Keeping Fresh and Planning Ahead
Make your dough the night before and stick it in the fridge after the first rise. The slow fermentation actually makes the flavor even better. Shape your cold dough in the morning, just allow extra time for the second rise. They're best eaten the same day they're made, but rolls can be kept in airtight containers for up to three days. Warm them briefly in a 350°F oven before serving.
 Pin it
These babka rolls have become my go-to brunch specialty, mixing old techniques with new flavor combos. The recipe rewards your care and attention with amazing results that always wow guests.
Frequently Asked Questions
- → Can the dough be prepared early?
- Sure, leave the dough in the fridge after the first rise overnight. Then bring it to room temperature when you’re ready to shape it.
- → What if pistachio halva isn’t available?
- Use another kind of halva, or swap it for crushed pistachios along with extra chocolate chips.
- → Why did I need to add more flour?
- Humidity and local weather affect flour. Just keep adding a little at a time until your dough isn’t sticky anymore.
- → Are these buns freezer-friendly?
- Yep, just freeze them after baking for up to 3 months. Let them thaw overnight and heat briefly before digging in.
- → Do I have to add the glaze?
- Nope, the glaze is optional. It just gives extra sweetness and makes them look shiny. You’ll love the buns either way.
