 Pin it
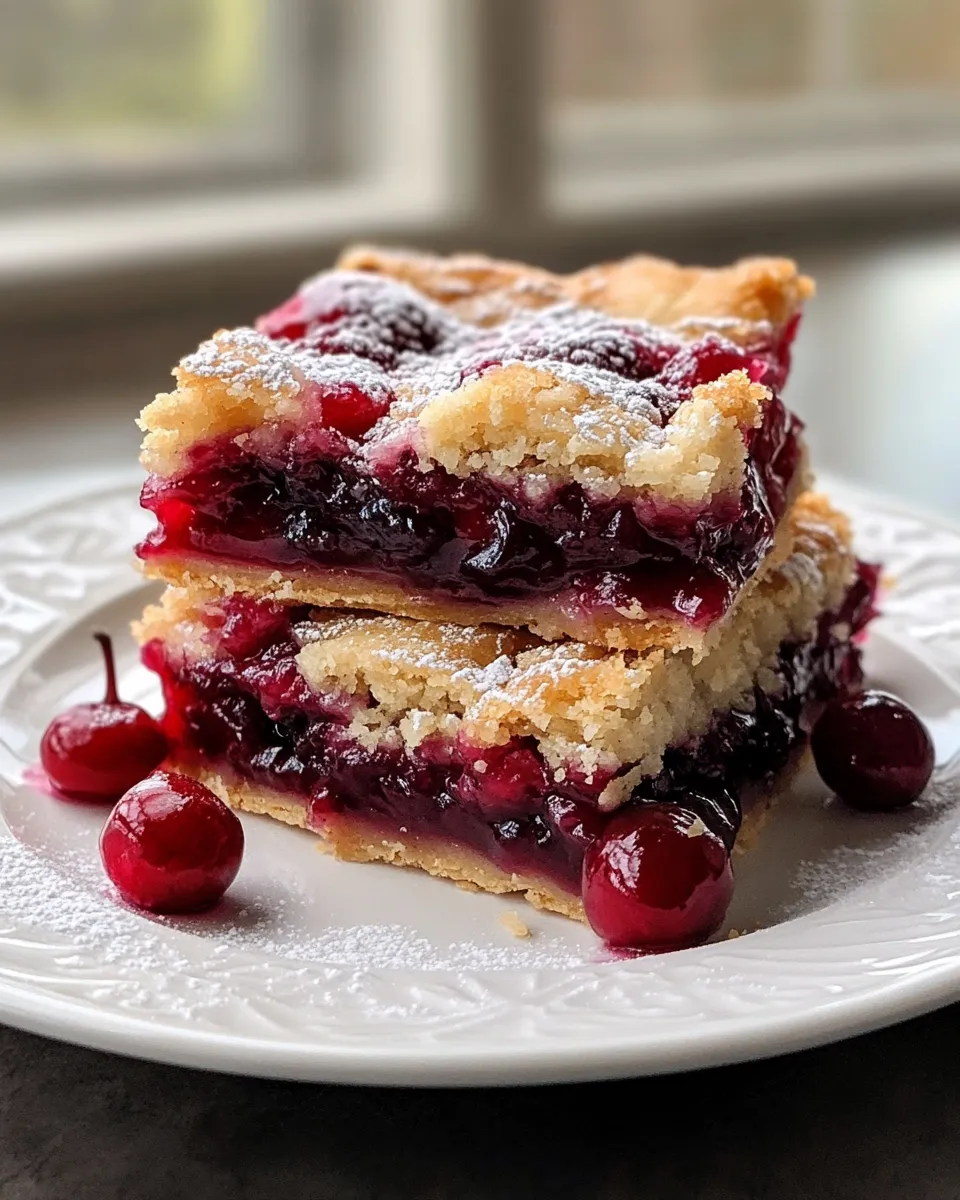
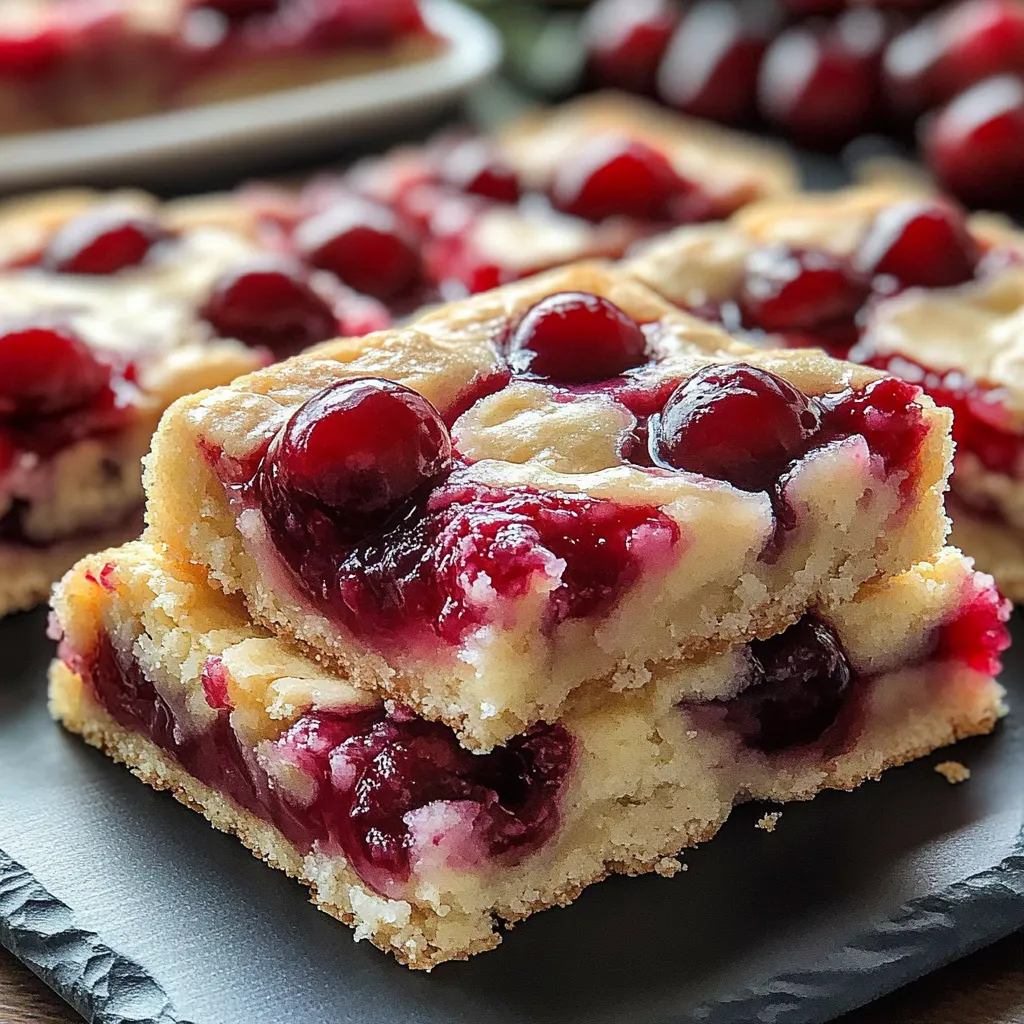
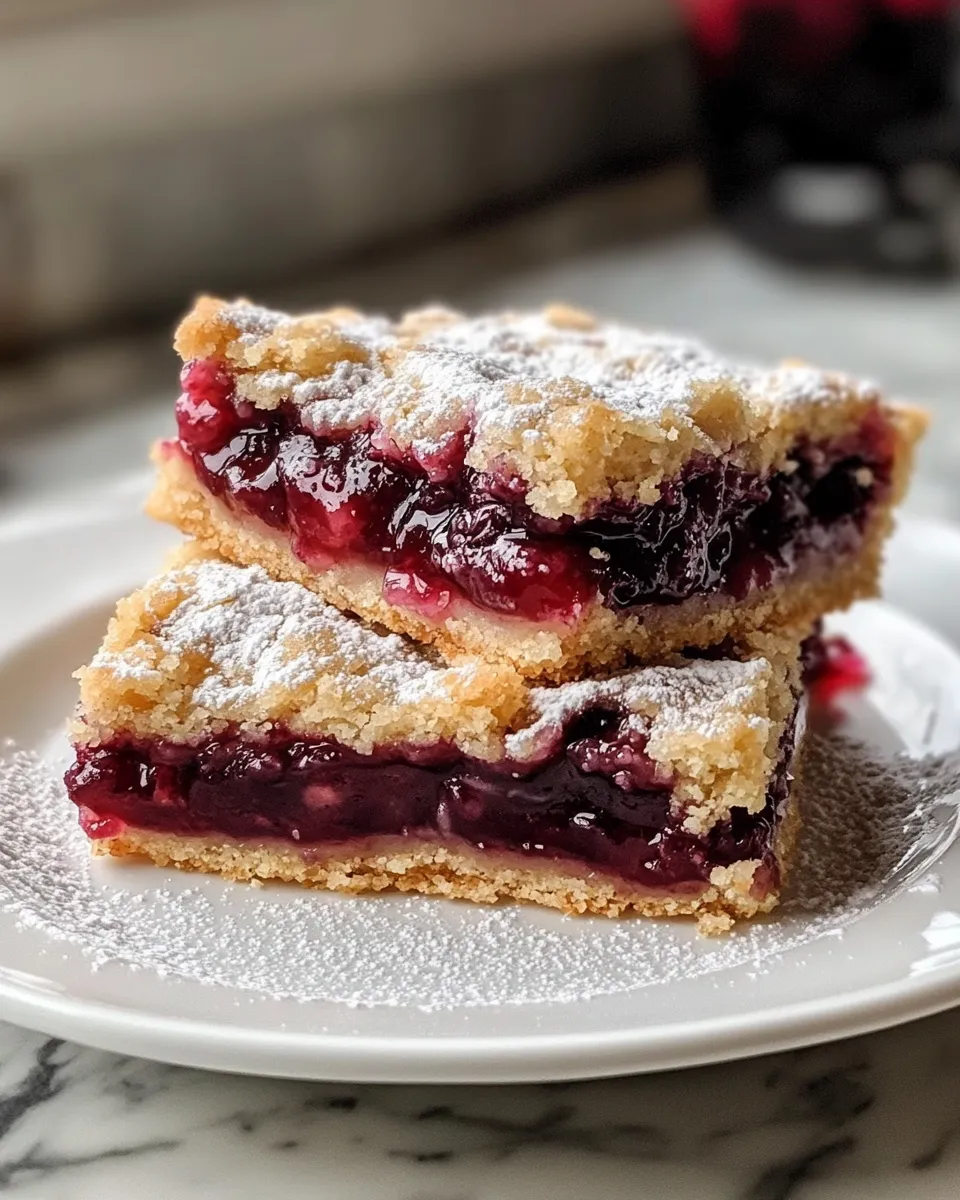
The perfect mix of buttery base and tangy-sweet cherries makes an addictive treat that's actually easier than making a regular pie. These cherry bars blend old-fashioned comfort with grab-and-go convenience. They're just right for gatherings, outdoor meals, or enjoying with your morning cup of joe. The light almond drizzle on top takes them from simply tasty to completely mind-blowing.
Cherry season at my grandma's house brings back the sweetest memories. The kitchen always smelled amazing as she baked these bars, often using cherries she'd saved from her backyard trees. This family favorite has shown up at countless get-togethers over the years, and while we've made it easier for modern kitchens, it still has that same heartwarming taste that takes me right back to childhood.
Key Components
- Butter: Go with unsalted butter that's properly softened. Getting both the salt level and temperature right makes a huge difference in how your crust turns out.
- Cherry Pie Filling: Don't skimp here! Your bars will only be as good as what you put in them. Look for filling packed with whole, juicy cherries for the best taste and texture.
- Almond Extract: This tiny addition works magic! Just a little bit brings out the natural cherry flavor and adds depth that makes everything taste more interesting.
- All-Purpose Flour: The backbone of your bars. It creates just enough structure for that perfectly tender, slightly crumbly crust that makes these bars so satisfying.
- Eggs: Like your butter, make sure these aren't cold from the fridge. Room temp eggs mix in better and help create that wonderful tender texture in the finished bars.
Making truly outstanding cherry bars comes down to nailing a few simple techniques and not rushing the process. I'll walk you through each step so you end up with perfectly golden, cherry-packed treats that'll have everyone asking for seconds.
Step-by-Step Guide
- 1. Crust Preparation:
- Start with properly softened butter—it should dent easily when pressed but not look oily or melted. Mix it with your sugar and a bit of salt, then beat until it looks fluffy and turns lighter in color. This usually takes around 5-7 minutes—don't cut corners here! This step creates that dreamy, tender crust. Next, add your room temperature eggs one at a time. Make sure each egg completely disappears into the mixture before adding the next one. This keeps everything smooth and well-blended.
- 2. Dough Management:
- Take 3 cups of your mixture and press it evenly into your parchment-lined pan. Use your fingers to spread it all the way to the edges and corners, keeping the thickness consistent. Wrap up the leftover dough in plastic and pop it in the fridge while you work on the next part. Chilling makes it easier to handle when you need to drop it on top of the filling later—otherwise it gets too sticky and messy.
- 3. Cherry Layer:
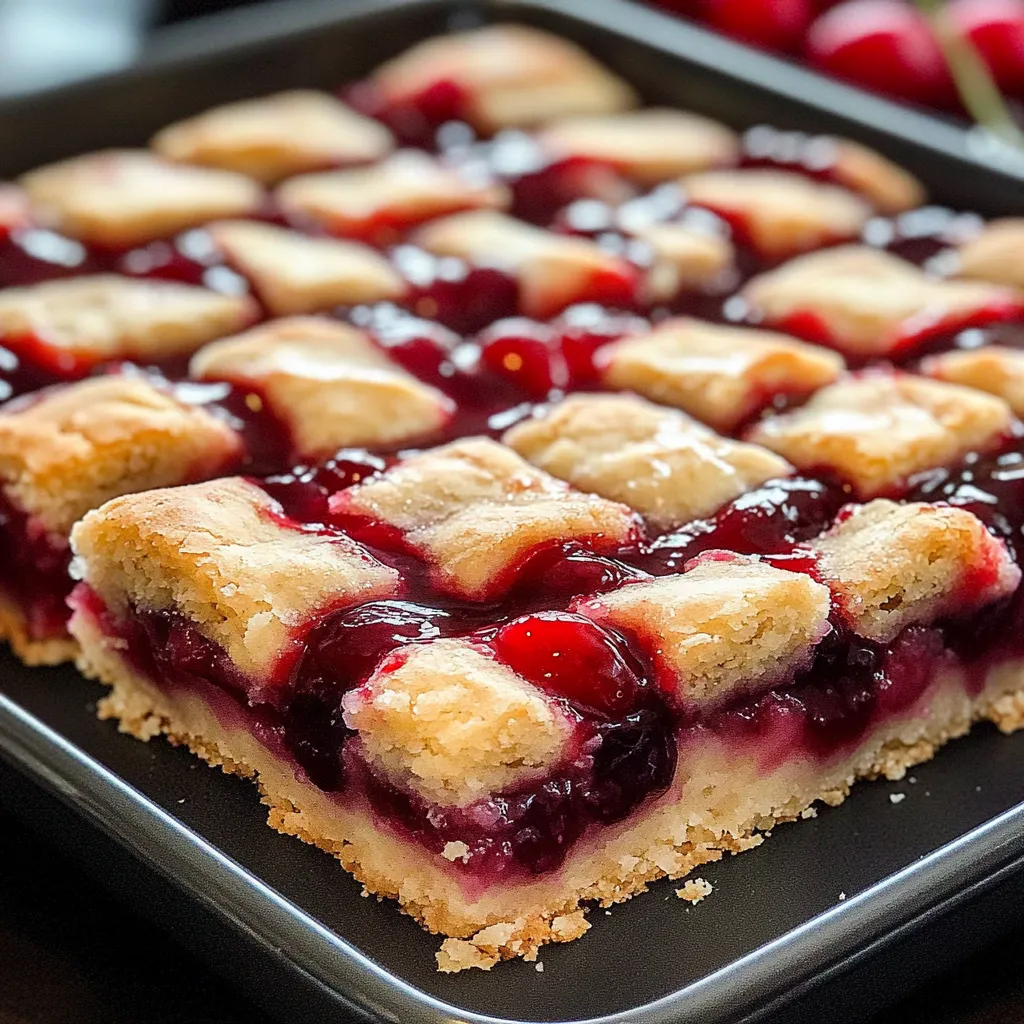
- Spread your cherry filling evenly across the bottom crust, leaving about half an inch empty around the edges. This keeps the edges clean and stops the filling from burning against the pan. If you're using canned filling, break up any huge cherry clusters for more even distribution. Take your chilled dough from the fridge and drop small spoonfuls randomly over the cherries. Don't try to cover everything—leave gaps so the bright red filling peeks through. This creates a prettier finished look and adds nice texture contrast.
- 4. Baking Process:
- Put your oven rack in the middle position for even heat flow. Heat your oven to the exact temperature listed in the recipe, then put your pan in. Watch for the edges to turn golden brown. The middle might still look a bit puffy, and that's fine—it means the filling is hot and the bottom crust is cooking nicely. Don't leave them in too long! They'll keep setting up after you take them out. As soon as they're golden, pull them from the oven and set the pan on a wire rack right away. This lets air flow underneath, keeping the bottom from getting soggy.
- 5. Glazing Technique:
- Here's where patience pays off: wait until the bars are completely cool before adding the almond glaze. Glazing warm bars makes a runny mess that won't look or taste right. Mix confectioners' sugar with about 2 tablespoons of milk to start. Add more milk very slowly—literally drop by drop—while stirring constantly. This careful approach gives you perfect control over the thickness. Keep adjusting until your glaze is just right—thick enough to hold its shape but fluid enough to drizzle nicely. You want it to ribbon off your spoon but still stay put when it lands on the bars.
 Pin it
After making countless batches of these cherry bars over the years, I've learned that taking your time during the butter creaming stage and being patient during cooling really matters. When you don't rush these two crucial steps, you'll get that melt-in-your-mouth crust and perfectly set cherry filling that tastes like pure summer.
 Pin it
Keeping & Serving
For the freshest taste, store unglazed bars in an airtight container at room temperature where they'll stay good for about 5 days. If you're stacking them, put parchment between layers to stop them from sticking together. When it's really humid, store your container in the fridge instead to keep the bars from getting too soft. These freeze beautifully if you want to save them longer. Just wrap each piece tightly in plastic wrap, then wrap again in foil to block freezer smells and ice crystals. They'll keep for 2-3 months this way. When you want to eat them, let frozen bars thaw overnight in your fridge. For the best look, wait to add the almond glaze until right before serving rather than glazing before storing or freezing.
Great Combinations
Make these cherry bars even more special by serving them with complementary flavors. They taste great slightly warm when the filling gets extra gooey, or at room temperature when the texture is just right. Try these tasty combinations:
- Classic Vanilla Bean Ice Cream
- Fresh Whipped Cream
- Hot Coffee or Tea
- Cold Glass of Milk
- Sprinkle of Toasted Almonds
Something worth mentioning: these bars often taste even better the day after baking. Letting the flavors from the crust, filling, and almond glaze mingle overnight creates a more complex, satisfying taste experience.
Changing With The Seasons
What's great about this recipe is how easily you can switch things up to match whatever time of year it is. Feel free to play around with different ingredients as the seasons change:
- Summer: Go with fresh cherries simmered with sugar
- Fall: Switch to apple filling with cinnamon
- Winter: Toss dark chocolate chips into the cherry mix
- Spring: Add fresh lemon zest for brightness
Temperature Matters
Getting the texture just right depends a lot on watching ingredient temperatures throughout the recipe. Using room temperature butter and eggs isn't just a suggestion—it's crucial for the best results. Room temp butter blends properly with sugar to create that light, fluffy mixture that gives you a tender crust. If your butter's too cold, it won't cream right and your bars will end up dense. Too warm and greasy, and your dough gets hard to handle, making for tough crust. You want that middle ground—when butter gives slightly to your finger without feeling oily. It's just as important to let the baked bars cool completely before cutting them. Trying to slice warm bars leads to messy, crumbly pieces. Cooling fully lets them firm up so you can get those clean, picture-perfect slices.
These cherry bars have become our family's favorite dessert for so many occasions. They perfectly bridge the gap between classic cherry pie comfort and the convenience we all need nowadays. Each time I bake them, I'm taken back to those sunny afternoons in my grandma's kitchen where she taught me so much about cooking and life. She showed me that the very best recipes are always the ones shared with love.
 Pin it
Closing Thoughts
These cherry bars aren't just a recipe—they're a way to create moments of joy and connection through baking. They show that amazing flavor and comfort can come from simple techniques and quality ingredients. Anyone can make them! From casual summer cookouts to cozy winter gatherings, these versatile treats fit any occasion. They deliver homemade goodness that everyone appreciates. So embrace the simplicity, enjoy the process, and share these delicious cherry bars with people you care about. You'll be making sweet memories with every bite.
Frequently Asked Questions
- → Can fresh cherries replace canned filling?
- Absolutely! Use around 4 cups of pitted cherries mixed with sugar and cornstarch—cook until thick. Canned versions are easier for consistency though.
- → How do I keep these bars fresh?
- Store them in an airtight container. They last 3 days at room temperature or a week in the fridge.
- → Are these bars freezer-friendly?
- Totally! Wrap them tightly and freeze for up to 3 months. Just thaw them overnight in the fridge before enjoying.
- → Why is room temperature butter important?
- Softened butter blends better with other ingredients, resulting in the smoothest dough and perfect texture.
- → Can almond extract be skipped?
- Sure thing! You can swap it for vanilla extract. The bars will still be tasty but won't have that signature almond flavor.
