 Pin it
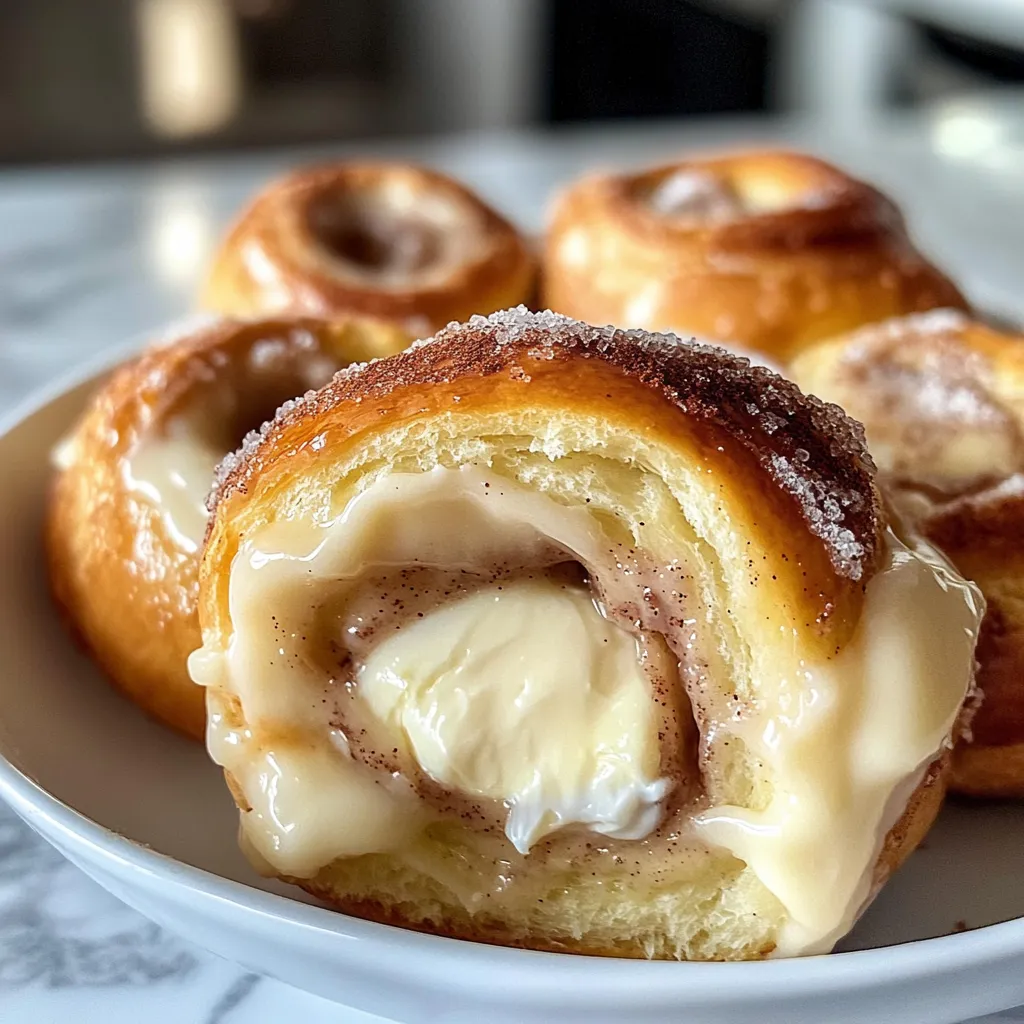
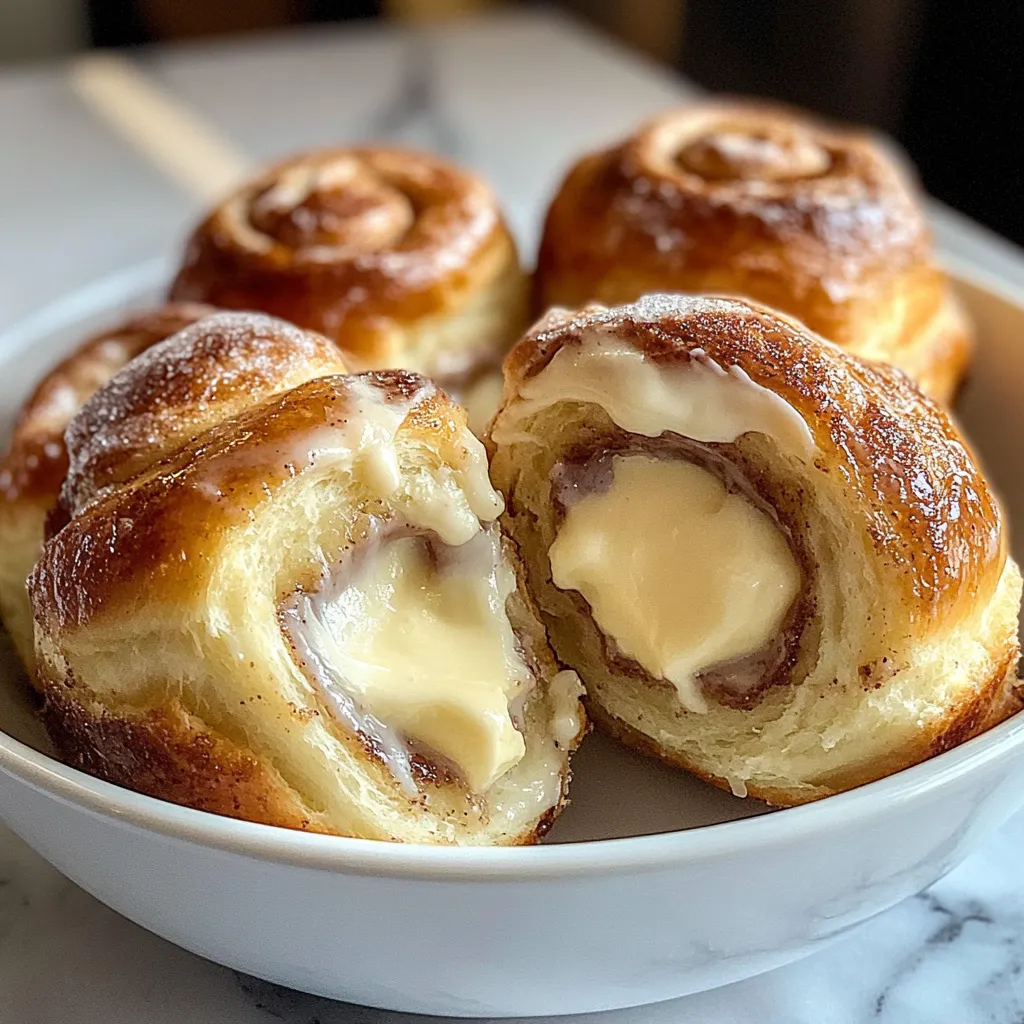
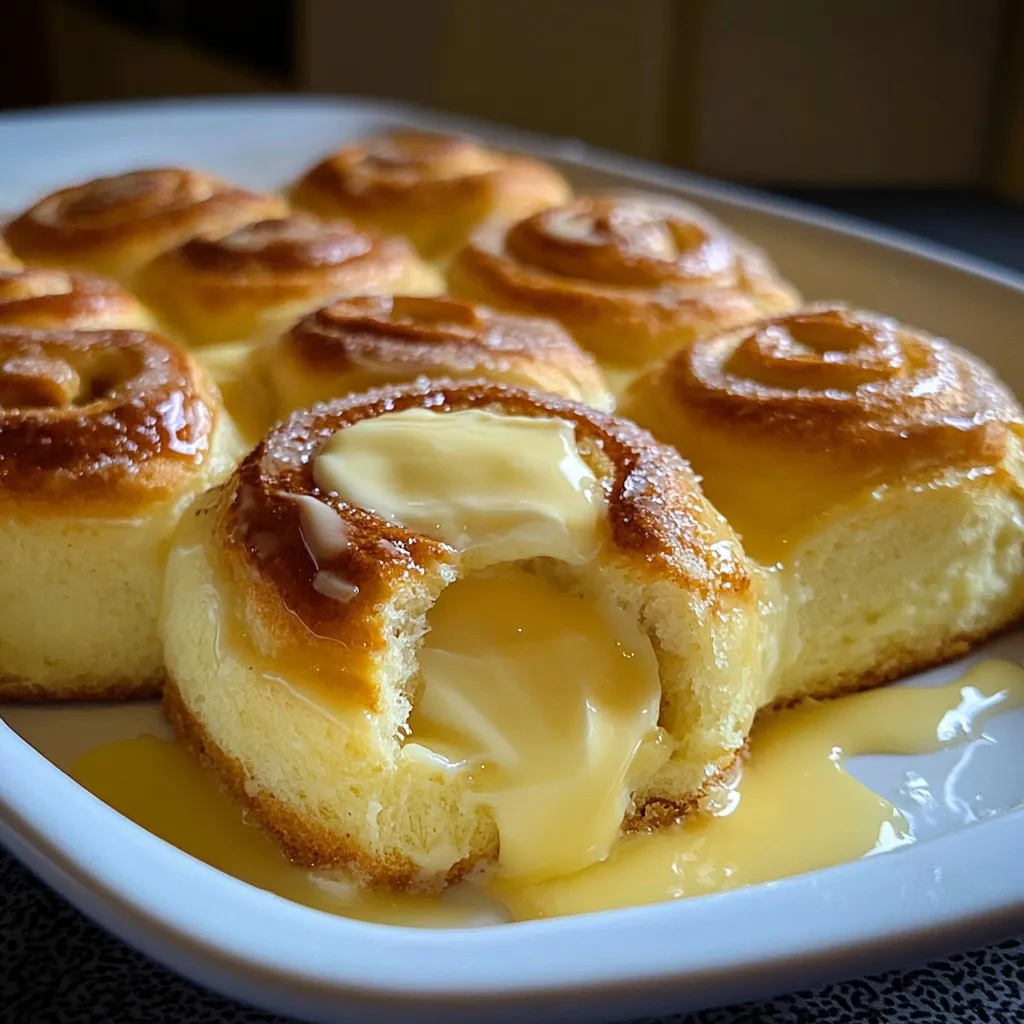
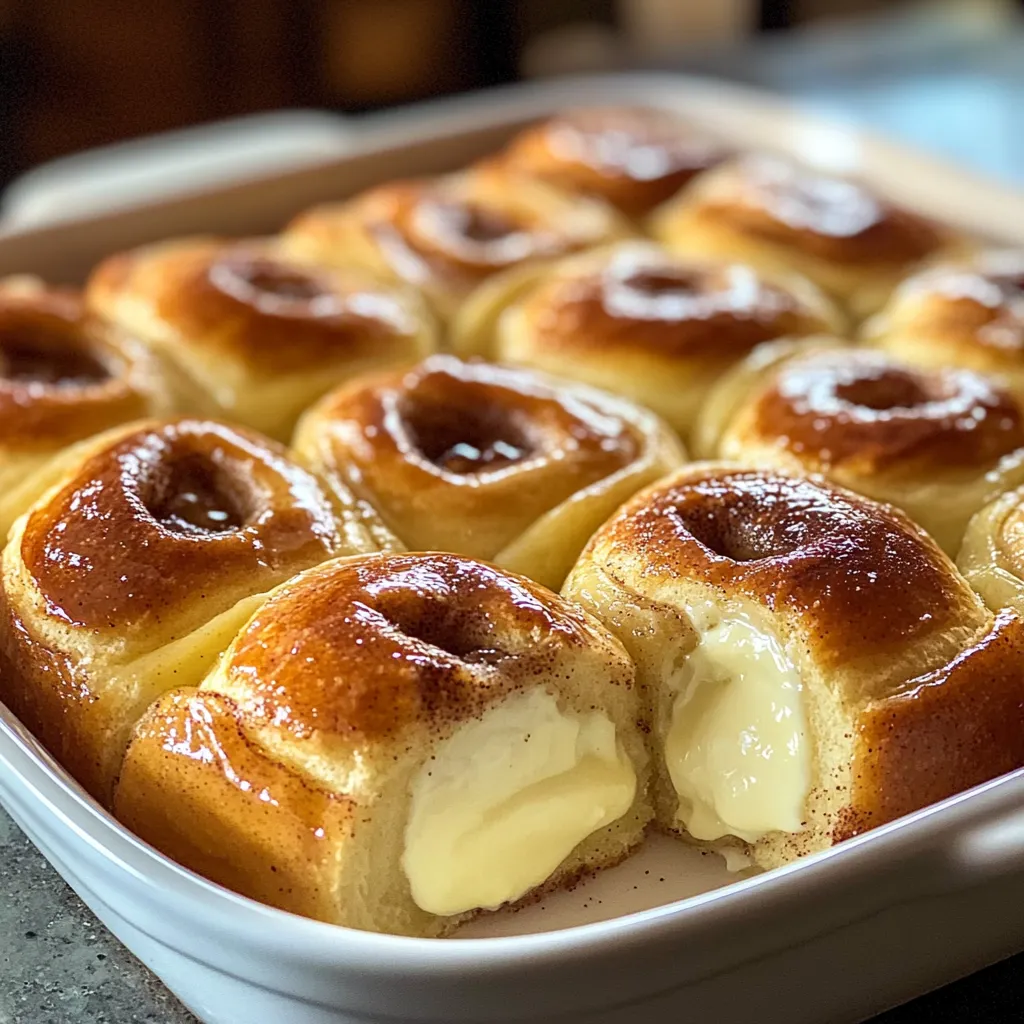
Turn plain sweet rolls into an amazing breakfast treat with this clever shortcut. These cream cheese-stuffed cinnamon buns mix the soft, pillowy texture of Hawaiian bread with a smooth cream cheese center and the warm hug of cinnamon spice. They're your perfect solution when you're craving homemade cinnamon rolls but don't have much time, giving you fantastic flavor without the fuss.
Last weekend, I brought these rolls to our family brunch, and everyone thought they came from a fancy bakery. The secret, I've found, is getting the filling method just right and watching the baking time like a hawk.
Key Ingredients
- Kings Hawaiian Rolls: Their built-in light sweetness makes the perfect base for these quick cinnamon roll wonders.
- Full-Fat Cream Cheese: You can't skip this for that thick, smooth, and totally creamy filling that makes these rolls special.
- European-Style Butter: Go for the European kind; it's got more fat which adds tons of flavor and makes everything taste better.
- Dark Brown Sugar: Adding this to your cinnamon mix brings a deep, almost caramel-like sweetness that makes everything taste richer.
- Fresh Ground Cinnamon: The cinnamon quality really matters here. Try grinding whole sticks right before cooking to get the strongest scent and flavor possible.
After trying batch after batch, I've found that using ingredients at room temp and carefully hollowing out the rolls are the two biggest game-changers for making these treats turn out amazing every time.
Step-By-Step Guide
- 1. Roll Preparation:
- Start by getting each Hawaiian roll ready. Use a small sharp knife to hollow out the middle, making a hole while keeping a ½-inch edge all around. Press the insides gently to make room, but don't tear the bread. Save the bread you remove – these little bits work great for homemade breadcrumbs in other recipes.
- 2. Glaze Creation:
- Make your butter-cinnamon glaze by slowly melting butter on low heat so it doesn't separate. Add dark brown sugar and freshly ground cinnamon to the melted butter, stirring hard until it's completely smooth with no sugar lumps left. The glaze should be warm enough to spread easily but not so hot that it melts your cream cheese filling when they touch.
- 3. Filling Technique:
- Get your cream cheese filling ready by beating room-temp cream cheese by itself until it's totally smooth with no lumps – this texture matters! Next, mix in sugar and beat at medium speed until the mixture gets lighter in color and fluffy, about 3 minutes. Last, add an egg and pinch of salt, mixing just until they're combined – don't overmix now. Your finished filling should hold its shape when spooned up, showing it's ready to go into the rolls.
- 4. Assembly Process:
- Now put everything together. First, brush your butter-cinnamon glaze inside the hollowed rolls and around their top edges. Then fill each hollow about ¾ full with your cream cheese mix. Don't overstuff them – the filling grows during baking. Place all your filled rolls close together in your baking pan so they bake as one group.
- 5. Baking Method:
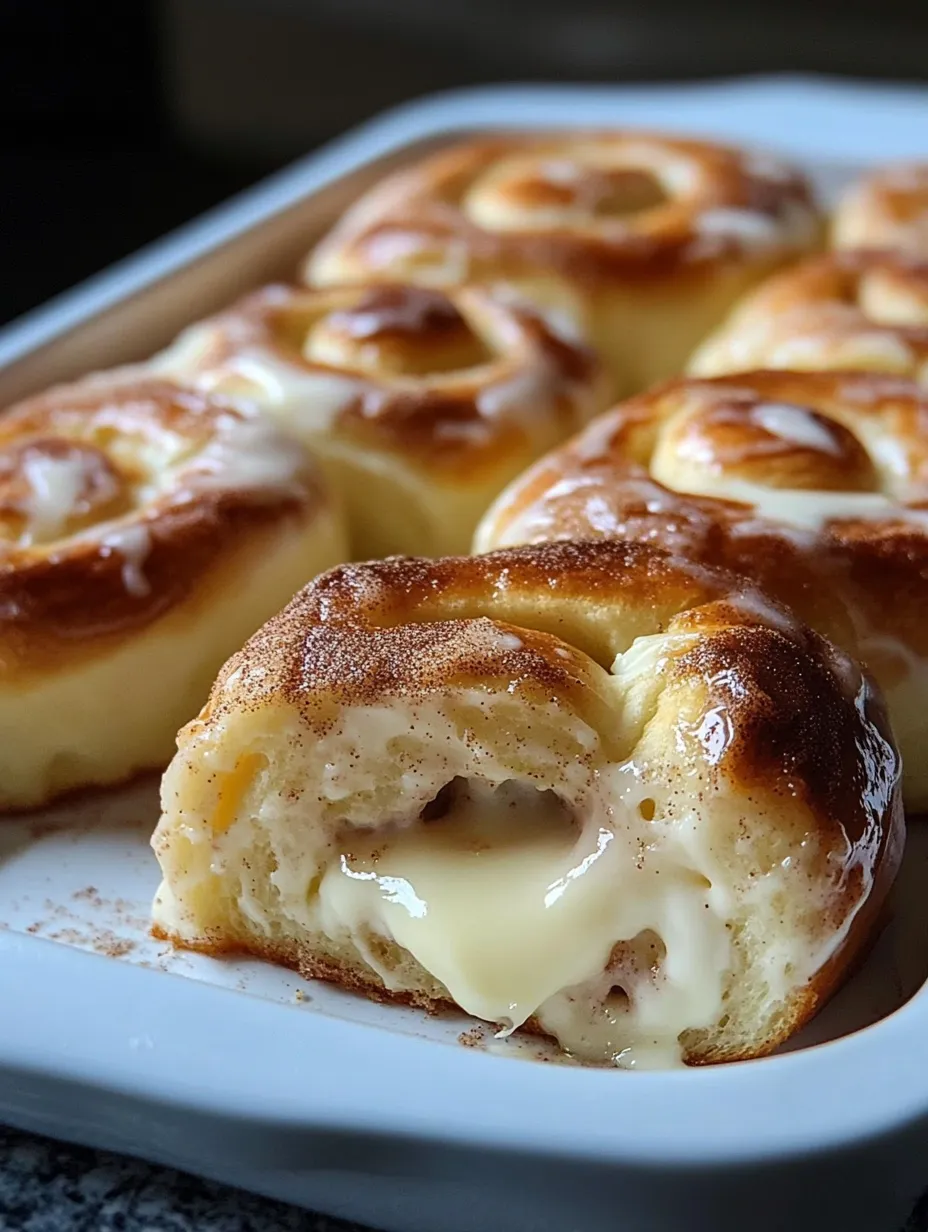
- Place your pan in the middle of a preheated oven for even heat. Start checking them after 12 minutes. The tops should turn lightly golden – not dark or burnt. When done right, the cream cheese centers will still jiggle slightly when you move the pan, but they'll firm up nicely as they cool down after baking.
 Pin it
Tasty Serving Ideas
Make these rolls look extra special by setting them out on a wooden board or pretty cake stand. Serve them slightly warm for that cozy feeling. Try pairing them with:
- Fresh Coffee or Espresso
- Hot Chocolate topped with Whipped Cream
- Warm Berry Sauce
- Bacon with Maple Glaze
- Mix of Fresh Fruits
- Vanilla Ice Cream for a dessert twist
 Pin it
Temperature Tricks
Getting temperatures right makes all the difference:
- Room Temp Cream Cheese is Critical: Leave cream cheese out about 2 hours to get perfectly soft and avoid lumps.
- Warm But Not Hot Butter: Melt your butter gently so it's warm but won't burn when mixed with sugar.
- Keep Prepped Rolls At Room Temp: Don't put hollowed rolls in the fridge before baking or they won't cook evenly.
- Cool Down Time Matters: Let rolls sit 10 minutes after baking; the filling needs this time to set up right.
- Warm Is Best For Eating: If you make them ahead, let them sit out 30 minutes before serving.
Fun Flavor Twists
Mix things up with these tasty variations:
- Add Citrus Kick: Mix in grated orange or lemon peel to brighten the filling.
- Go Crunchy: Sprinkle toasted pecans or almonds on top for extra texture.
- Add Fruit Swirls: Mix some strawberry or raspberry jam into the cream cheese for fruity pops.
- Chocolate Upgrade: Toss in mini chocolate chips before baking for chocolate lovers.
- Caramel Touch: Pour some salted caramel on the finished rolls for extra richness.
- Maple Nutty Version: Switch the cinnamon glaze for maple syrup and top with chopped pecans.
 Pin it
Do-Ahead Options
Make your morning easier by doing some prep work the night before:
- Mix Filling Early: Make your cream cheese filling the night before and store in the fridge.
- Prep Rolls Ahead: Hollow out your rolls the evening before and wrap them tight to stay fresh.
- Pre-Mix Dry Stuff: Combine your brown sugar and cinnamon ahead of time.
- Let Things Warm Up: On baking day, bring everything to room temperature first.
- Bake Fresh: Put it all together and bake that morning for the best warm breakfast.
This prep-ahead method cuts your morning work in half while still giving you fresh, warm treats without rushing.
Keeping Leftovers Fresh
- Counter Storage: Best eaten same day they're made
- Fridge Storage: Keeps up to 3 days in sealed container
- Don't Freeze: Not good for texture of these rolls
- Warm each roll 15-20 seconds in microwave
- Drizzle with fresh glaze after warming if wanted
Over the years perfecting this recipe, I've learned that the magic happens when you prep carefully and pay attention to small details. What started as a quick shortcut has become our family's favorite tradition for lazy Sundays and special celebrations. There's something truly magical about the combo of fluffy Hawaiian bread, rich creamy filling, and warm cinnamon that brings smiles to everyone at the table.
 Pin it
Wrapping Up
These Kings Hawaiian Cream Cheese Cinnamon Rolls hit that sweet spot between quick convenience and homemade satisfaction. They show that sometimes the best recipes come from thinking outside the box. Whether you're a kitchen pro or just starting out, you'll get impressive results people will rave about. Just remember, the magic is in the details—from properly softened cream cheese to watching your baking time. Have fun with the process and enjoy the happy faces when you serve these!
Frequently Asked Questions
- → Can these be prepared ahead?
- Yes, assemble and refrigerate before baking. Pop them in the oven fresh in the morning.
- → What if Hawaiian rolls aren’t available?
- Soft dinner rolls work too, but the sweetness in Hawaiian rolls makes them extra special.
- → Can I customize the toppings?
- Absolutely! Add fruits, nuts, or drizzle caramel before serving for more flavor.
- → How should leftovers be stored?
- Keep them in a sealed container in the fridge for up to 3 days. Warm before eating.
- → Can these be frozen?
- Yes, you can freeze them without frosting for a month. Thaw in the fridge before reheating.
