
 Pin it
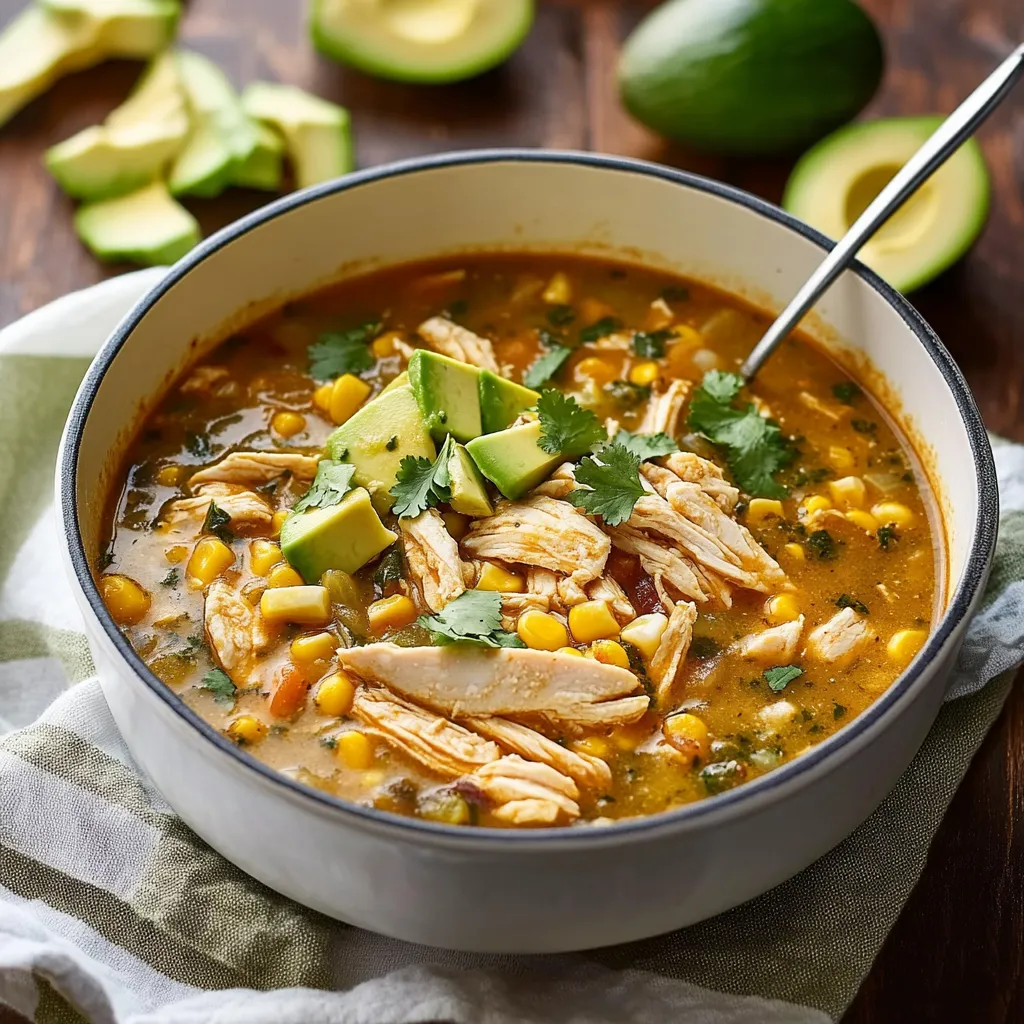
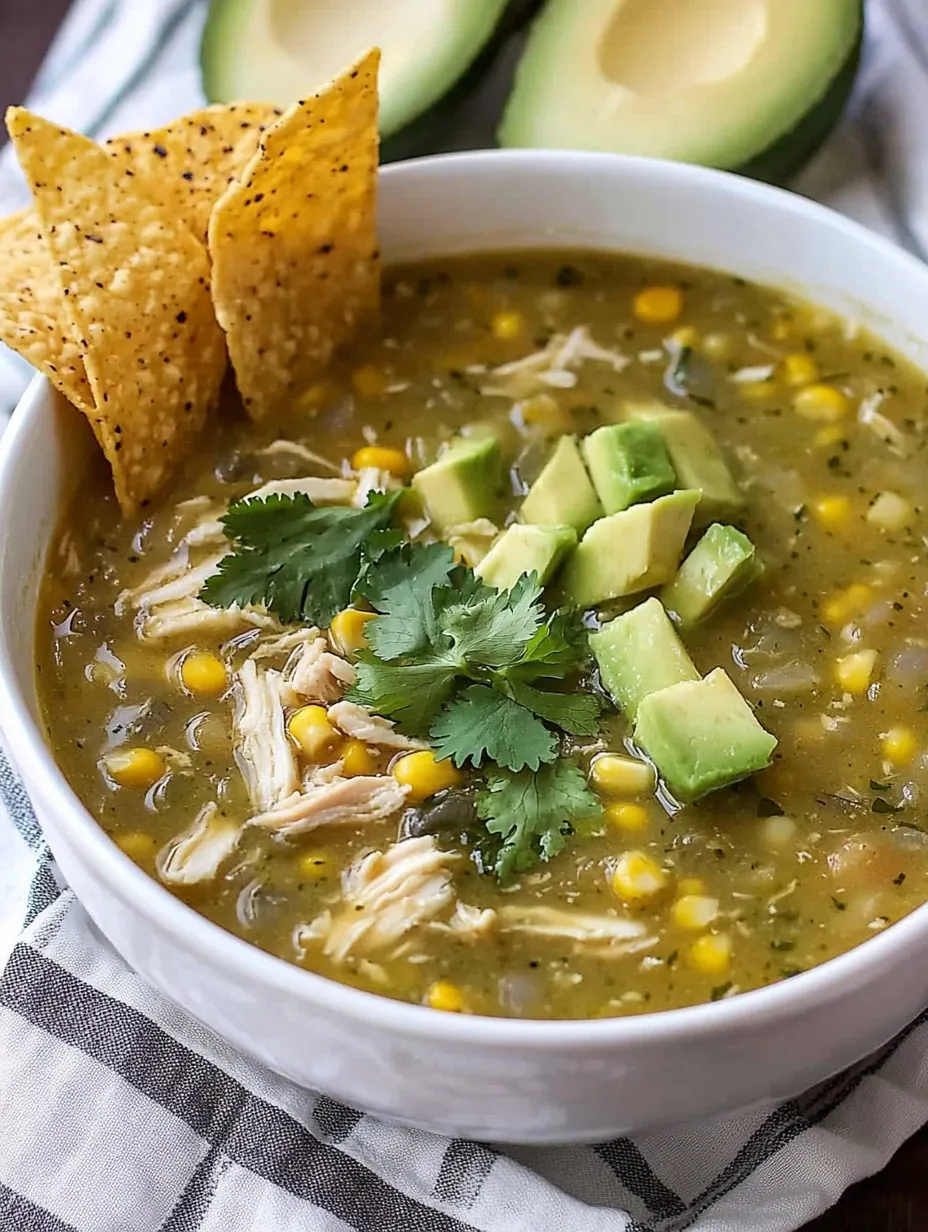
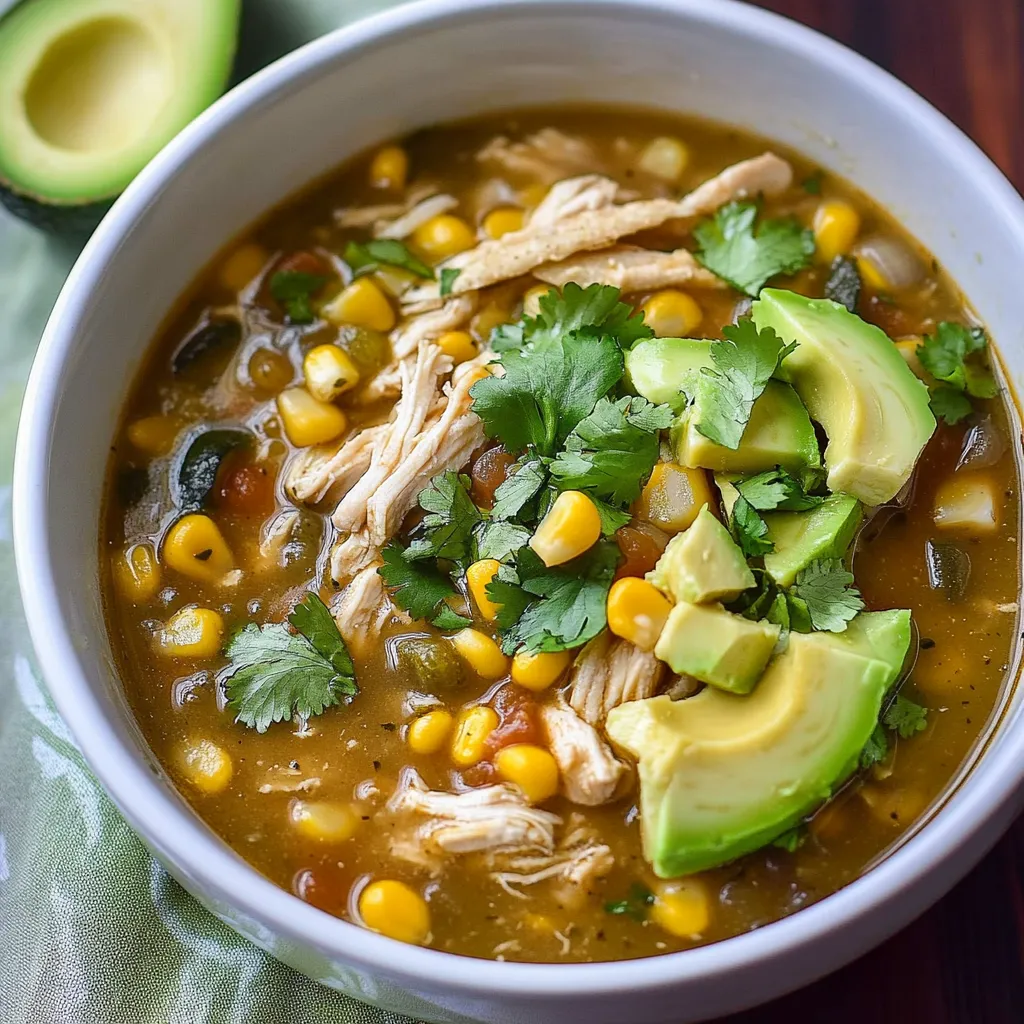
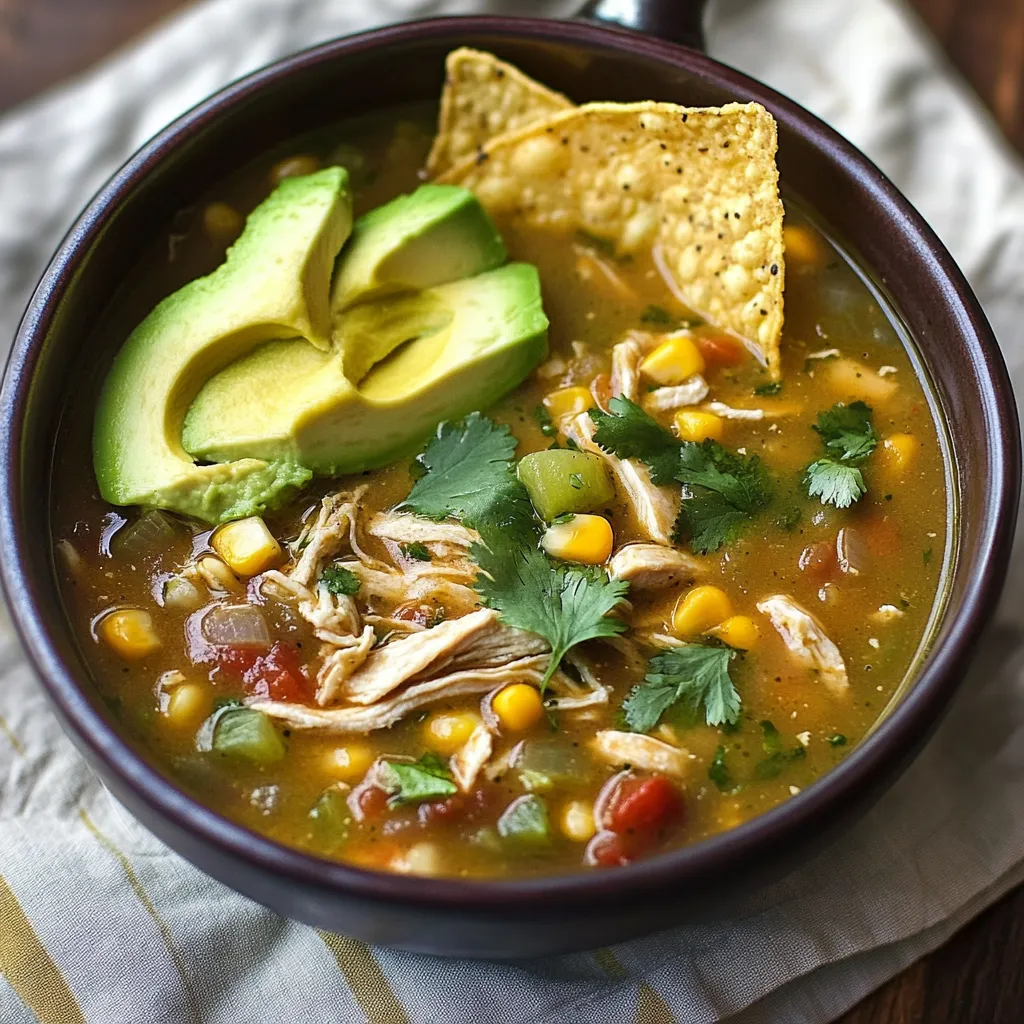
When the temperatures drop or you're simply longing for something substantial yet light, a hot bowl of green chicken chili hits the spot. I've tweaked my approach many times to match what I loved at my favorite local spot, and this version nails the balance between the robust flavor of Hatch chiles, juicy chicken, and smooth beans. The real win? You can whip it up in less than 60 minutes, perfect for those evenings when you want something from scratch but can't spend forever cooking.
I cooked this for my sick neighbor just last week. She phoned me the following day wanting to know how I made it, saying it struck just the right balance between cozy and zesty. What made the difference? Taking enough time to slowly cook down the onions and garlic before mixing in the chiles.
Must-Have Items for Success
- Hatch Green Chiles: They're the heart of this dish. Freshly roasted ones are ideal, but quality canned versions do the job well. Try to get ones showing some blackened edges
- Rotisserie Chicken: Pick one that's newly cooked and warm - it pulls apart easier and tastes better
- Cannellini Beans: They stay smooth without turning mushy. Make sure to wash them thoroughly to get rid of starchy residue
- Chicken Stock: Your own stock is wonderful, but a decent boxed version works fine too
- Yellow Onion: Its natural sweetness helps balance the chiles' kick
- Fresh Garlic: Skip the jarred stuff completely for this recipe
Simple Cooking Instructions
- Step 1:
- Warm your sturdiest pot over medium flame and pour in olive oil. Add chopped onions and cook until they're soft. Drop in garlic and cook until you smell its aroma. Add bell peppers and sprinkle with salt.
- Step 2:
- Mix in those roasted Hatch chiles to release their flavors. Let everything bubble together for a couple minutes until your kitchen smells amazing.
- Step 3:
- Add the chicken stock, sprinkle in cumin and oregano, then bring everything to a light bubble. Sample it and add more seasoning if needed.
- Step 4:
- Toss in your pulled chicken and cannellini beans. Let the chili gently bubble, helping the flavors come together. Keep sampling and tweaking the taste as you go.
 Pin it
Perfect Serving Ideas
Whenever I dish up this chili, I create a little topping station so everyone can fix their bowl just right. Fresh chopped avocado adds smoothness, grated cheese melts beautifully and stretches as you eat, and crunchy tortilla strips give that satisfying snap. My wife's dad always puts a spoonful of sour cream on his to cool things down, while my little ones can't get enough extra cheese on theirs.
Next-Day Magic
This chili somehow tastes even better a couple days later. All those flavors have time to mix together, and the broth gets deeper and richer. I usually cook twice as much just to have some left. Try it over a baked potato for lunch tomorrow or use it to stuff some enchiladas. Just warm it up slowly - rushing makes the chicken get tough.
Smart Freezing Advice
When you want to save some for later, skip adding any toppings and let it cool all the way down first. I freeze mine in single-serving containers - they're just right for quick lunches. Don't forget to mark the date, and warm it up gently when you're ready to eat. You might need to mash the beans a bit to bring back that smooth texture.
Changing With The Seasons
- Summer: Toss in fresh corn kernels and diced zucchini
- Fall: Mix in cubed sweet potato for color and substance
- Winter: Add more beans and chopped carrots for natural sweetness
 Pin it
Managing The Heat
Making this at home means you can adjust how spicy it gets. For families with kids or folks who can't handle much heat, go for milder chiles and keep hot sauce nearby for others. If you love things fiery, chop up some fresh jalapeños or keep your go-to hot sauce on the table.
Party-Perfect Dish
This is what I always make when friends come over casually. It can hang out on low heat for hours without issues, and people can grab it whenever they want. Plus, you can easily stretch it by throwing in another can of beans or more broth if extra people show up.
Useful Kitchen Tools
- A solid Dutch oven keeps food from sticking and burning
- One really good knife makes veggie prep so much quicker
- Containers that seal tight keep everything fresh longer
- A ladle that doesn't drip helps avoid messy counters
Prep-Ahead Tricks
- Cut all veggies the day before
- Pull chicken apart and keep it in the fridge
- Get your spices ready in advance
- Fix toppings early and store them right
Good-For-You Benefits
- Chicken gives you quality lean protein
- Beans pack both fiber and protein
- The veggies supply lots of nutrients
- Chiles themselves contain plenty of vitamin C
- There's no gluten to worry about
Other Ways To Cook It
- Slow cooker: Great for hectic days
- Instant Pot: When you need dinner fast
- Camp-style Dutch oven: Fun for outdoor cooking
 Pin it
Closing Thoughts
There's something special about a nice bowl of green chicken chili that feels just like comfort on a plate. It fills you up without weighing you down, tastes amazing without being too much, and comes together simply without being plain. Whether you're making it for just your family or a house full of friends watching the game, it's the kind of food that always fits the moment. And isn't that what we want when we cook at home? Food that makes everyone feel cozy and cared for, whatever the occasion.
Frequently Asked Questions
- → What if I can’t find Hatch chiles?
- Canned green chiles are a solid substitute. Add more or less depending on how spicy you like it.
- → Can I use store-bought rotisserie chicken?
- Absolutely! It’s quick and works just as well here.
- → How far in advance can I make this?
- Keeps up to 5 days in the fridge or 3 months in the freezer. Add the fresh toppings right before eating.
- → How spicy will this turn out?
- Mild Hatch chiles keep it family-friendly, but you can spice it up with hot sauce when eating.
- → Do I have to make the tortilla strips?
- No, feel free to use chips from the store or leave them out entirely.