
 Pin it
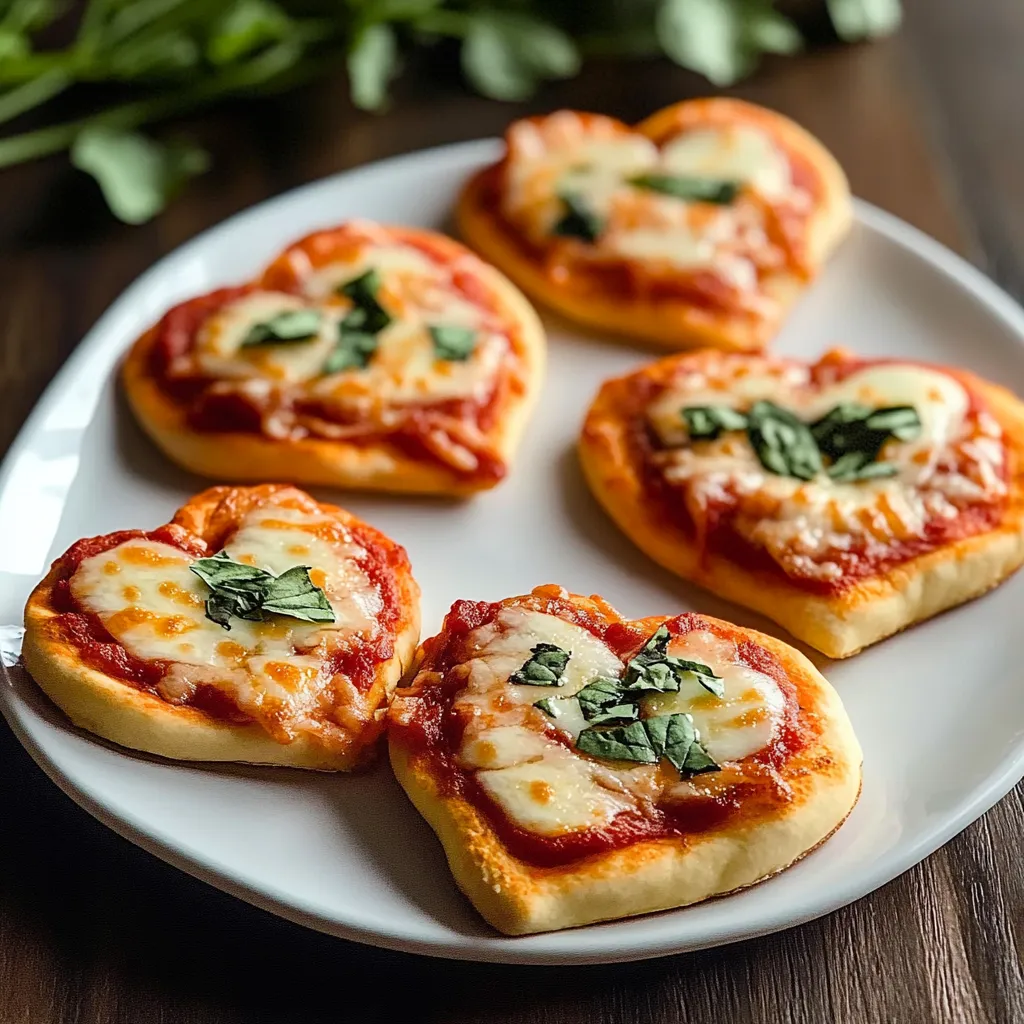
Creating tiny heart-shaped pizzas blends fun with traditional pizza techniques. Each small morsel offers just the right balance of crunchy base, flavorful sauce, and gooey cheese, making them fantastic for celebrations or fun family meals.
We found during testing that making the edges a bit thicker helps the hearts keep their shape while they bake.
Key Ingredients and Smart Shopping Advice
- Active Dry Yeast - Make sure it's not expired for best results
- All-Purpose Flour - Go for unbleached for improved texture
- Mozzarella - Shred it yourself from a block for better melting
- Tomatoes - Pick San Marzano type for tastier sauce
Step-by-Step Cooking Guide
- 1. Working the Dough
- Keep kneading until it feels smooth and stretchy - around 7 minutes. This helps the shapes stay intact.
- 2. Making Great Sauce
- Cook until it thickens slightly so your pizzas won't get soggy in the middle.
- 3. Creating the Hearts
- Get the dough to an even 1/4 inch thickness. Place cutouts near each other to waste less dough.
- 4. Putting it Together
- Use dough at room temp and work fast. Push down on any cracks before adding toppings.
- 5. Baking Properly
- Get your oven completely hot with a pizza stone if you have one. Keep an eye on the edges so they brown just right.
 Pin it
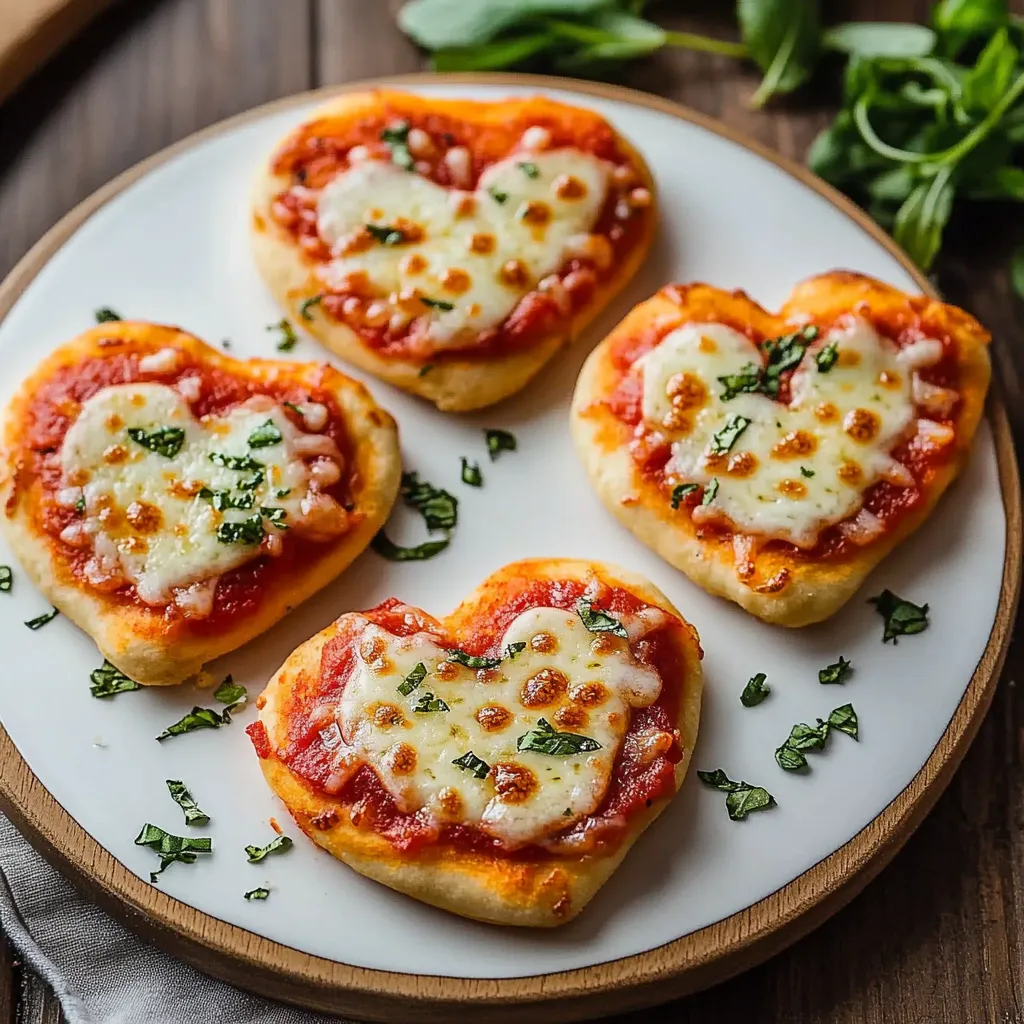
I discovered that giving shaped dough a quick chill helps the edges stay crisp.
What makes these pizzas so wonderful is how flexible they are - great for holidays, get-togethers, or turning ordinary dinners into something fun.
Tasty Seasonal Twists
In spring, try adding fresh basil and oregano with light veggies. Summer calls for bright cherry tomatoes and soft fresh mozzarella. Fall is perfect for roasted squash and sage oil drizzle. Winter works well with rich toppings like caramelized onions and mushrooms. Every season gives you ways to refresh this cute heart-shaped treat.
Prep Ahead and Storage Tips
You can make your dough a day ahead and keep it covered in the fridge. Get sauce mixed and toppings ready the day before too. Shape the hearts right before baking though. For parties, bake the crusts for 5 minutes first, then finish with toppings when guests arrive. Warm up leftover pizzas in a 350°F oven for about 5-7 minutes.
 Pin it
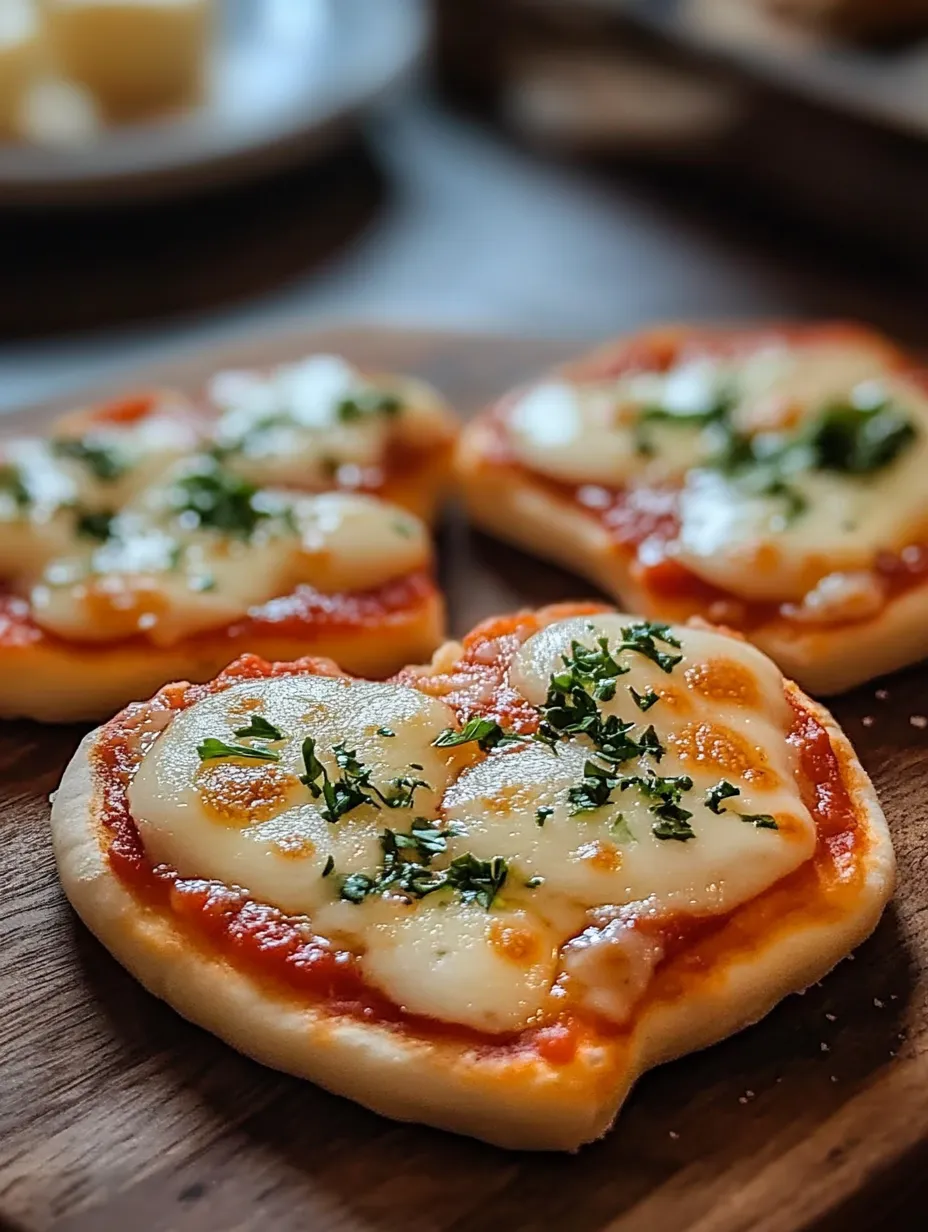
Getting Time and Heat Just Right
Watch your oven temp carefully - too hot and you'll burn the edges while the middle stays doughy. Try one pizza first to check your timing. Look for bubbly cheese and golden edges. Let them cool for 2-3 minutes so nobody burns their mouth.
Hosting Made Easy
Set up stations with different toppings for a fun party activity. Put out several cheese types, veggies, and proteins. Keep your shaped dough covered until you need it. Have extra flour handy for sticky moments. Think about making regular and gluten-free batches. Mark clearly for food allergies.
Planning The Perfect Party
Figure on two mini pizzas per person for snacks, three if it's the main dish. Break prep into stages to save time. Keep finished pizzas warm in a low oven while making more batches. Arrange them on trays with fresh herbs and edible flowers for fancy occasions.
 Pin it
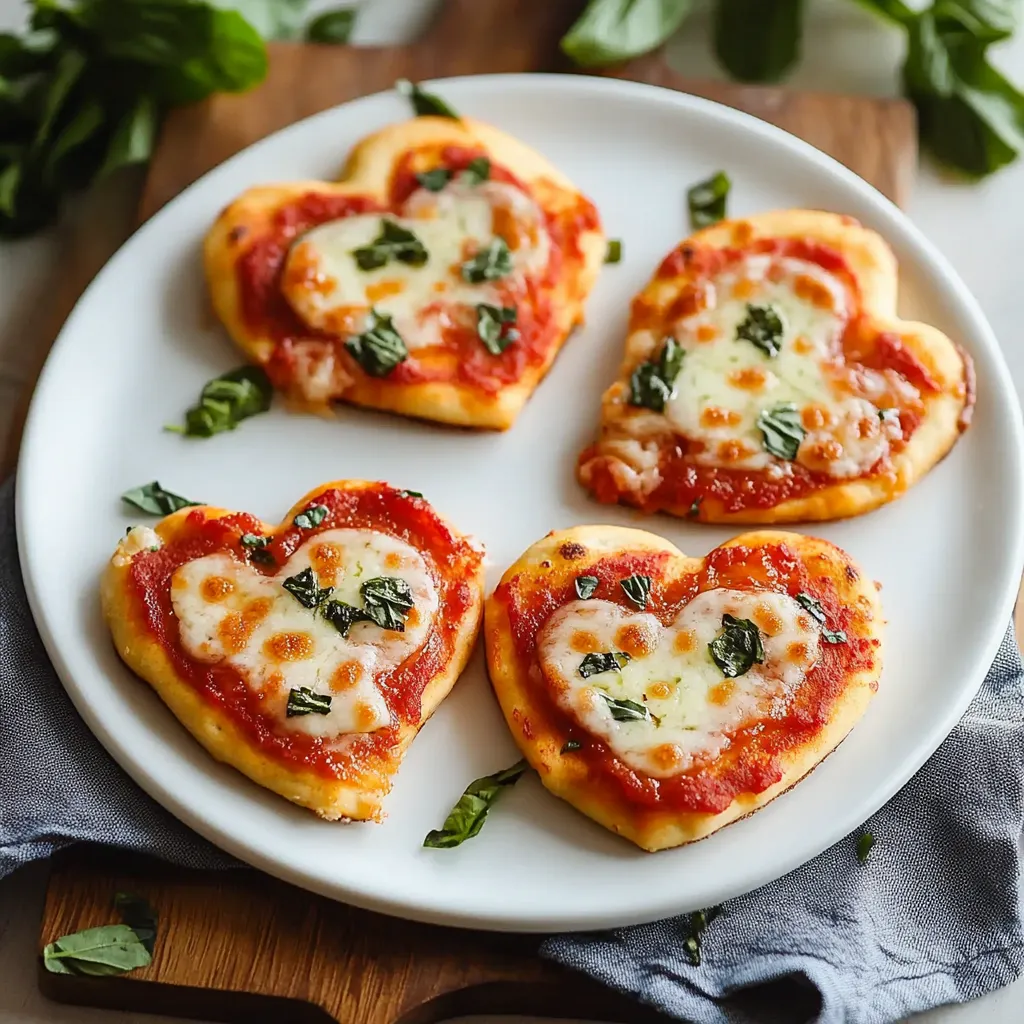
Wrapping Up: These heart pizzas mix skill with imagination. You'll get the best results by focusing on details - from properly risen dough to careful assembly. The end product is a standout dish that brings smiles to any table.
Frequently Asked Questions
- → Can I skip making the dough?
- Sure, grab some premade pizza dough. Just shape and bake as directed.
- → What toppings can I use?
- Anything you like—think veggies, extra cheese, or even pineapple. Go wild!
- → Can I prep the dough early?
- Of course! Keep it in the fridge for up to a day. Let it warm up before shaping.
- → How do I make the heart shapes?
- Roll out dough, make circles, pinch one end for the tip, and press down gently to form the top dip.
- → What does the garlic butter do?
- It gives the crust extra flavor and a golden, crisp edge.