 Pin it
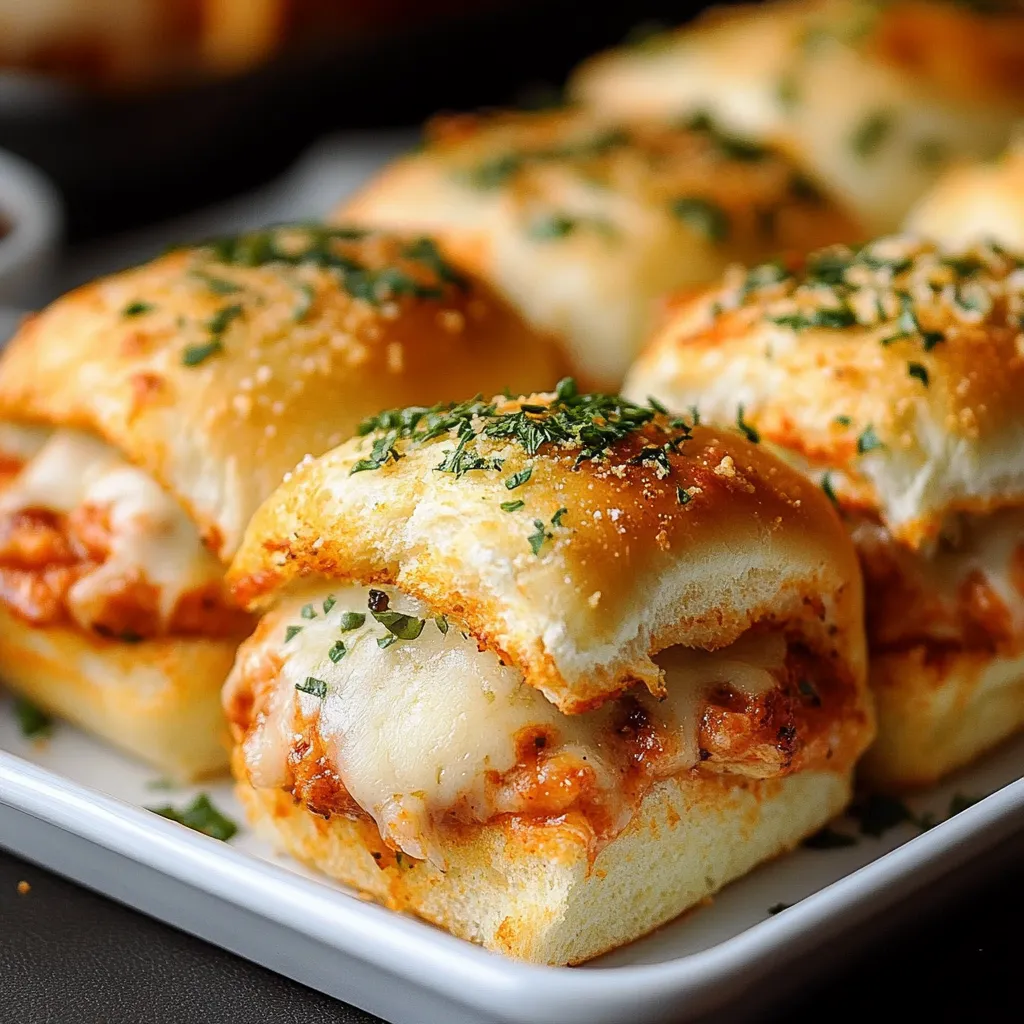
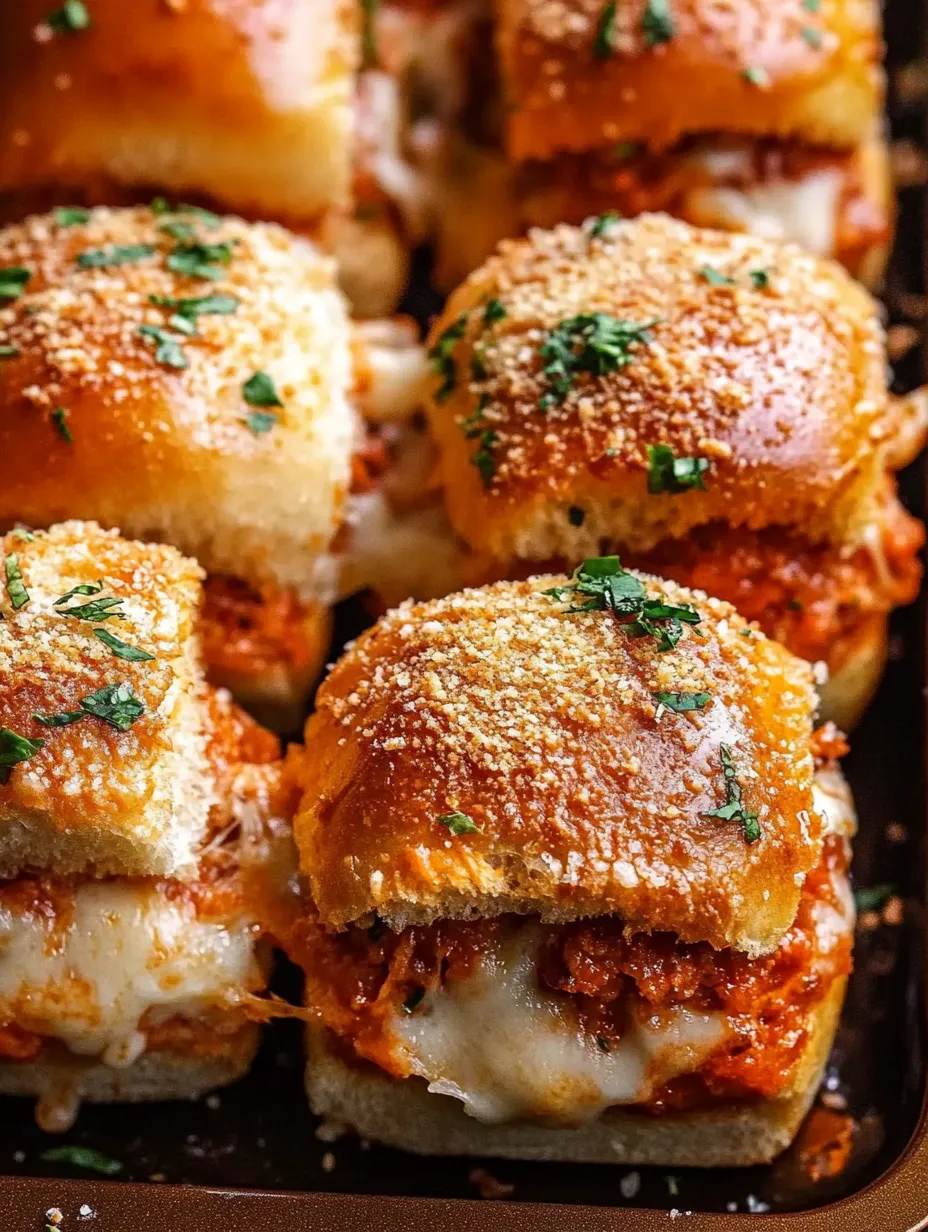
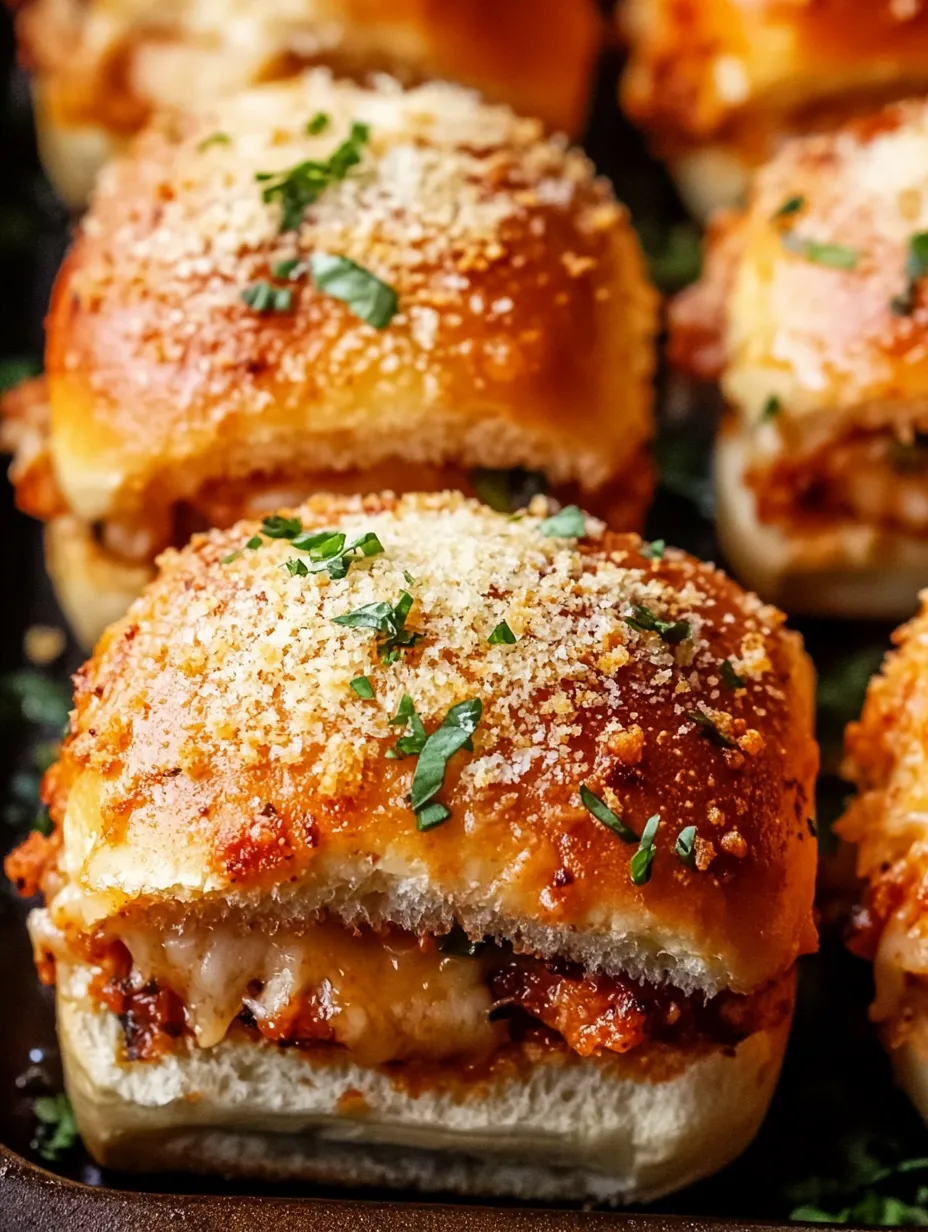
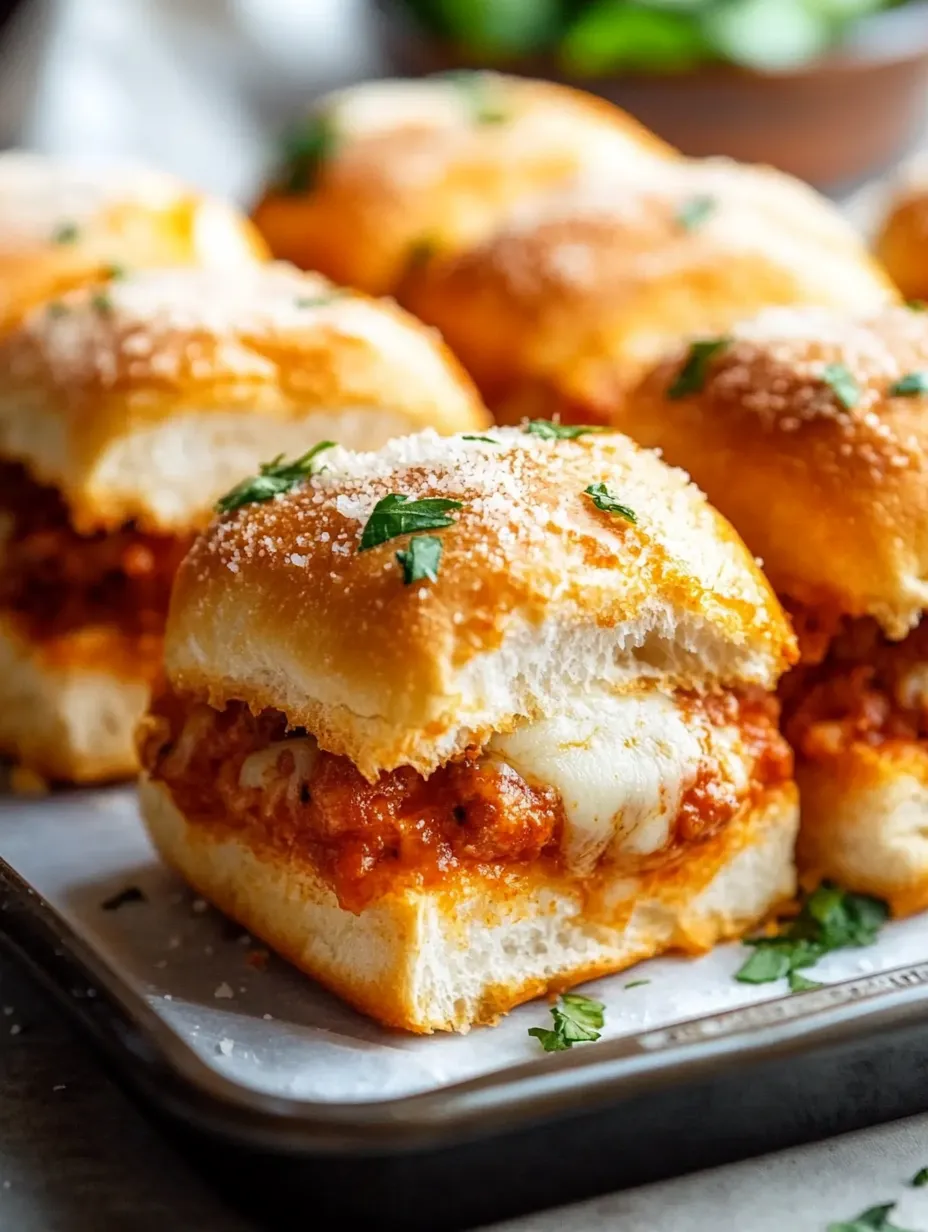
These Chicken Parm Sliders turn a traditional comfort dish into addictive mini sandwiches that'll vanish at any get-together. Featuring crispy fried chicken, flavorful tomato sauce, and stretchy melted cheese tucked between fluffy Hawaiian rolls, these tasty bites never last long when I make them. The smell of buttery garlic and Italian spices coming from your kitchen will have everyone hanging around waiting impatiently.
I brought these to a casual hangout last weekend, and they disappeared before I could even tell folks they were ready. Even my friend's husband, who usually turns his nose up at anything but plain chicken, asked me how to make them before he left.
Key Components and Shopping Advice
- Sweet Hawaiian Rolls: Their hint of sweetness works magic against the savory stuffing
- Crispy Chicken Strips: Using ready-made ones cuts down prep time; pick whatever brand you enjoy
- Tomato Sauce: Don't skimp here—quality marinara changes everything (I swear by Rao's)
- Two-Cheese Combo: Mozzarella brings the gooey pull, Parmesan adds that nutty kick
- Garlicky Butter Mix: This final touch takes these sliders to another level
Step-by-Step Cooking Guide
- Warm Up Oven:
- Turn your oven to 350°F. This temp helps everything warm through without burning the tops.
- Get Pan Ready:
- Butter up a 9x13 baking dish or sheet pan thoroughly. It stops sticking and adds extra flavor.
- Set Down First Layer:
- Put the bottom halves of your slider buns in the dish, keeping them connected for easier handling.
- Layer On Chicken:
- Place your cooked chicken strips across the buns, letting edges overlap to cover everything.
- Spread The Sauce:
- Carefully spoon sauce over chicken. Go easy—about 2-3 tablespoons per slider works best.
- Pile On Cheese:
- Mix your shredded mozzarella and Parmesan in a bowl, then scatter generously on top of the sauce.
- Cap With Bun Tops:
- Set the upper halves of rolls on your cheese layer, lining them up with the bottoms.
- Mix Up Flavor Boost:
- Melt some butter and stir in garlic powder until well blended. Want stronger garlic taste? Bump it up to 1½ teaspoons.
- Drizzle Topping:
- Pour your garlic butter mixture evenly across the bun tops, then dust with Italian herbs.
- Two-Phase Baking:
- First cover with foil and bake 10 minutes so cheese melts, then uncover and bake another 10 minutes until tops turn golden and crispy.
 Pin it
The first time I tried making these, I ended up with mushy bottom buns. I figured out it happened because I put sauce directly on the bread. Now I always lay down chicken first as a barrier and that fixes the problem completely.
Tasty Alternatives
You can easily switch things up to suit different tastes and needs. Swap in grilled chicken instead of breaded for a lighter meal, or try plant-based chicken alternatives for your veggie friends. Want some heat? Throw some red pepper flakes into your butter mix or use spicy arrabbiata sauce. My buddies who can't have gluten really appreciate when I use gluten-free rolls and chicken strips.
Ideal Accompaniments
Make a full slider spread by adding meatball sliders or Philly cheesesteak versions alongside these. Good side options include fresh veggie trays, antipasto skewers, or a basic Caesar salad to cut through the richness. An Italian-dressed pasta salad goes really well with these flavors too. When I'm throwing a party, I put everything on a big wooden board and it always looks amazing.
 Pin it
Quick Preparation Tricks
While these sliders aren't too time-consuming already, you can speed things up even more. Grab a rotisserie chicken and toss chunks with Italian breadcrumbs for a similar effect without any frying. Bagged shredded cheese works in a pinch, though freshly grated cheese does melt better. The whole assembly process is actually great for getting help—my kids love putting on chicken pieces and sprinkling cheese while I handle the hot stuff.
Preparation Planning
Though they taste best fresh from the oven, you can get parts ready ahead of time. Cook your chicken a day early and keep it in the fridge, then warm it slightly before assembly. Mix your cheeses beforehand and store in a plastic bag. You can even make the garlic butter in advance and just warm it up when needed. But wait until right before baking to put everything together or you'll get soggy rolls.
 Pin it
Closing Thoughts
These Chicken Parm Sliders hit that sweet spot between easy prep and knockout flavor. Every bite gives you that chicken parmesan comfort transformed into something extra special through a few simple tricks. Whether you're feeding a bunch of hungry sports fans or just looking for a fun family dinner, this combo of basic ingredients and smart technique creates something everyone will ask for again and again.
Frequently Asked Questions
- → Can I use homemade chicken for this?
- Absolutely, cooked and breaded chicken cutlets or tenders are great options.
- → Can I prepare these earlier?
- Sure! Assemble them up to four hours in advance, keep them cool, and bake when ready to serve.
- → What type of bread works best?
- Soft options like slider buns, dinner rolls, or Hawaiian rolls are ideal.
- → What’s the best way to save leftovers?
- Store in a sealed container in the fridge for up to two days. To reheat, warm them in a 350°F oven for about 10 minutes.
- → Can I switch up the toppings?
- Of course! Add things like pepperoni, fresh basil leaves, or roasted peppers to change it up.
