 Pin it
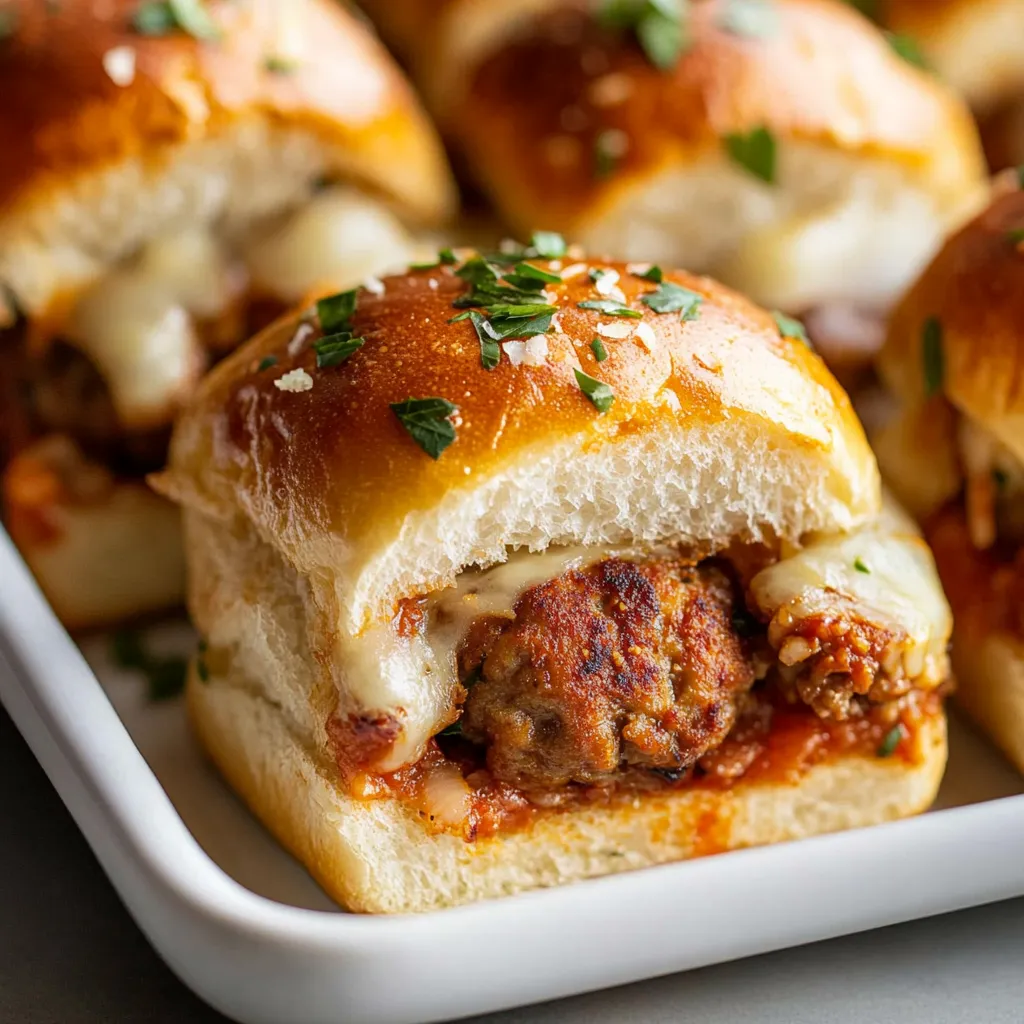
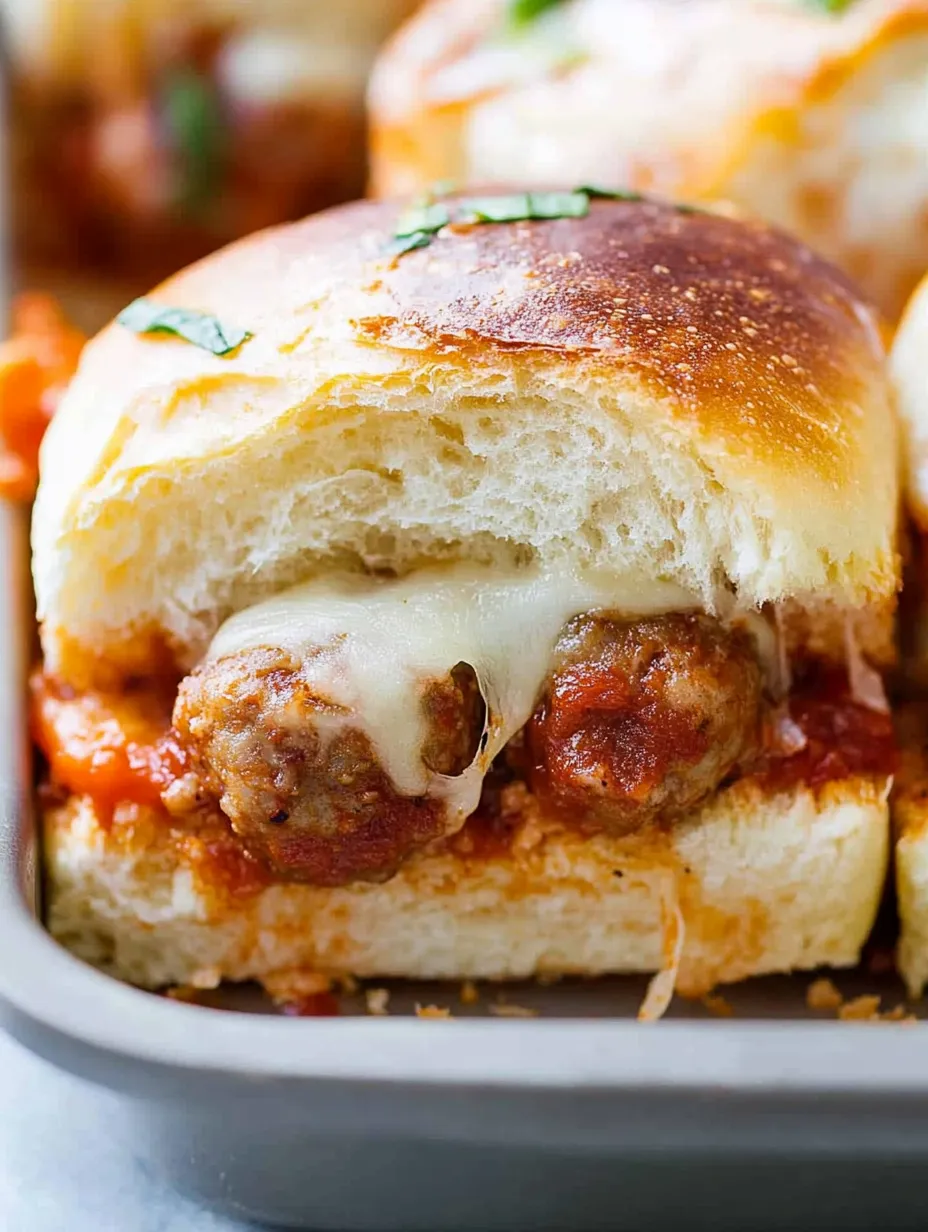
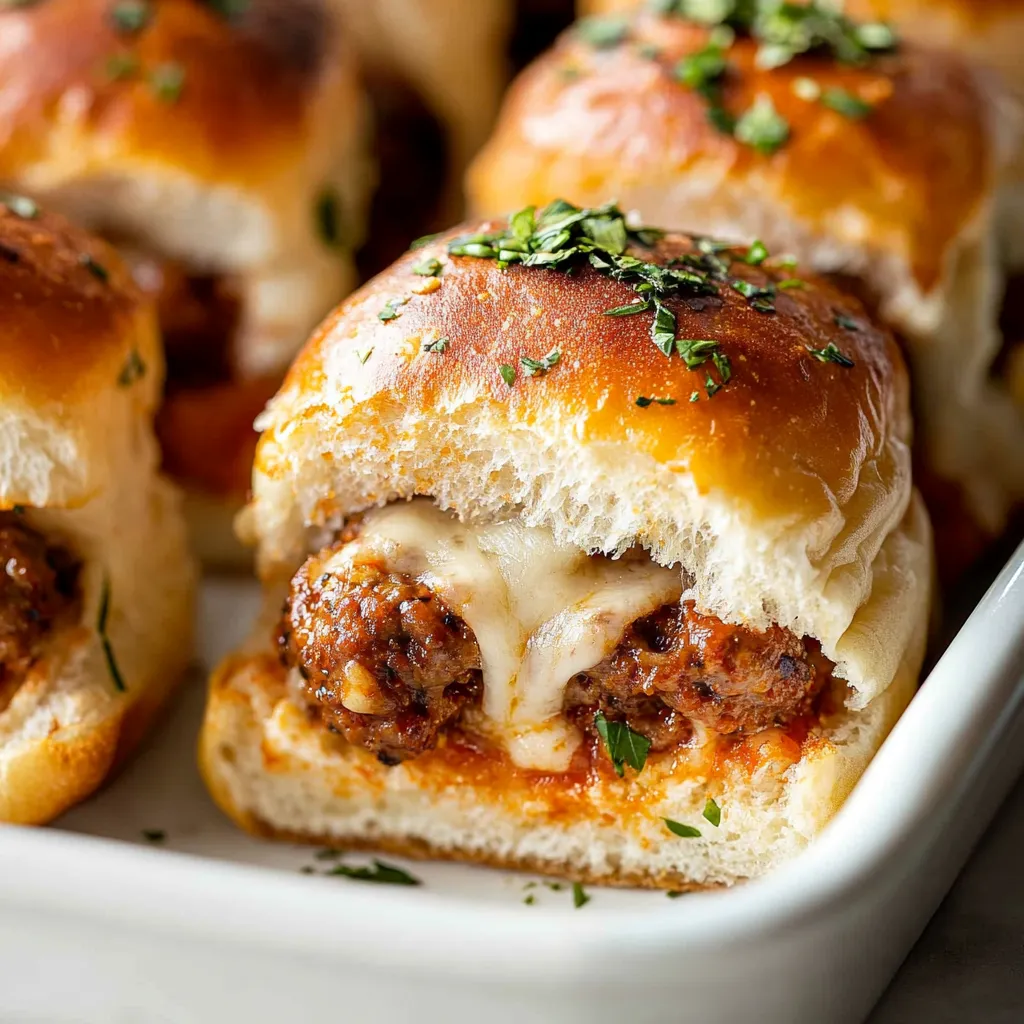
These mini meatball sandwiches turn basic items from your pantry into an awesome crowd-pleaser for parties or a quick family meal. The soft sweetness of Hawaiian rolls packed with plump meatballs, zesty sauce, and gooey mozzarella makes for tasty little bites that folks can't stop grabbing at get-togethers. I stumbled upon this idea when I was putting together a sports viewing menu, and now it's my favorite way to feed hungry guests without spending hours in the kitchen.
When I brought these to our block party last month, I handed out the instructions to three neighbors before the evening wrapped up. I'm pretty sure it's that buttery Parmesan coating that gives them that irresistible crunchy top everyone goes crazy for.
Key Components and Shopping Advice
- Hawaiian Rolls: Their light sweetness works magic against the meaty filling
- Meatballs: Store-bought frozen or homemade work fine; grab Italian-style for best taste
- Marinara Sauce: Go for something chunky that won't turn your bread mushy
- Mozzarella Cheese: Stick with low-moisture types to avoid watery results
- Butter Mixture: Mixing butter with Parmesan and Italian herbs creates that can't-resist topping
Step-by-Step Cooking Guide
- Get Meatballs Ready:
- Heat meatballs with marinara till they're hot all the way through. For frozen ones, make sure they're fully thawed, then warm them in sauce over medium heat for around 10 minutes.
- Fix Your Baking Dish:
- Coat a 9×13 pan with butter to stop sticking. This also makes the bottom of your rolls taste better.
- Cut Your Rolls:
- Keep the whole package of Hawaiian rolls together and slice through the middle to make one big top piece and one big bottom piece. Put the bottom piece in your buttered dish.
- Place Your Meatballs:
- Put a meatball on each roll section and push down slightly. If your meatballs are big, just cut them in half to make them fit better.
- Spoon On Sauce and Add Cheese:
- Drop spoonfuls of marinara over the meatballs, then cover everything with a thick layer of mozzarella.
- Put The Tops Back On:
- Gently set the top half of rolls back on, making sure they line up with the bottoms.
- Mix Up The Butter Topping:
- Stir melted butter with Italian herbs and grated Parmesan. Brush it all over the tops and let some run down the sides.
- Wrap and Bake:
- Cover with foil and pop in a 350°F oven for 12 minutes so they warm up without getting too brown. Then take the foil off and bake 5-7 minutes more till the tops turn golden and cheese is bubbling.
- Cut and Enjoy:
- Let them sit for 5 minutes, then cut between the rolls to make individual sandwiches. Serve them while they're still warm.
 Pin it
I figured out how important that foil cover is when my first batch came out with burnt tops but perfectly melted cheese. Now I always use this two-part baking approach for the best results every time.
Tasty Companion Dishes
These little sandwiches go great with lots of different sides. I typically add a fresh green salad for some lightness or a bag of crunchy potato chips. At parties, I'll put out stuffed mushrooms or veggie trays too. Don't forget the drinks - cold beers for the grown-ups and some sweet lemonade for the kids.
Ways To Switch It Up
This simple idea can go in so many directions. Try swapping in Swedish meatballs, BBQ style, or even plant-based ones for vegetarian friends. Play around with different cheeses like provolone, cheddar or spicy pepper jack. You can tuck some cooked onions and bell peppers under the meatballs for extra flavor and some hidden veggies. There's no end to what you can do!
 Pin it
Fun Kitchen Activities for Children
These mini sandwiches are perfect for getting kids to help in the kitchen. Little ones can place meatballs on each section, sprinkle cheese all over, or help brush that yummy butter mix on top. My sister's boy, who's just seven, loves making sure each spot gets exactly one meatball. It's such a simple way to teach kids basic cooking while making some fun family memories.
Prep-Ahead Convenience
You can't beat how handy these sandwiches are. Put them all together up to 24 hours ahead and keep them in the fridge. Just wait to add that butter topping until you're ready to bake. They're awesome for potlucks too - just bring them assembled and pop them in your host's oven for 15-20 minutes. Everyone will come running when they smell what's cooking!
 Pin it
Wrapping Things Up
These Mini Meatball Sandwiches show how everyday ingredients can become something special without fancy techniques. Every bite gives you that comforting sandwich feeling but kicked up several notches through simple but thoughtful prep. Whether you need something for game day or just want to make dinner more exciting, this combo of basic ingredients and easy methods creates something your family and friends will ask for again and again.
Frequently Asked Questions
- → Can I use frozen pre-cooked meatballs?
- Sure, just warm them as the packaging suggests before putting everything together.
- → Is it possible to prep these earlier?
- Yes, assemble up to 4 hours ahead, keep them in the fridge, and bake when needed.
- → What are good side options?
- Try pairing with veggie sticks, crispy chips, or a fresh green salad.
- → Can I swap out the rolls?
- Definitely. Dinner rolls or mini slider buns can work, but Hawaiian rolls add extra sweetness.
- → How do I store extras?
- Place leftovers in a sealed container in the fridge for up to 2 days. Warm them in a 350°F oven for about 10 minutes.
