
 Pin it
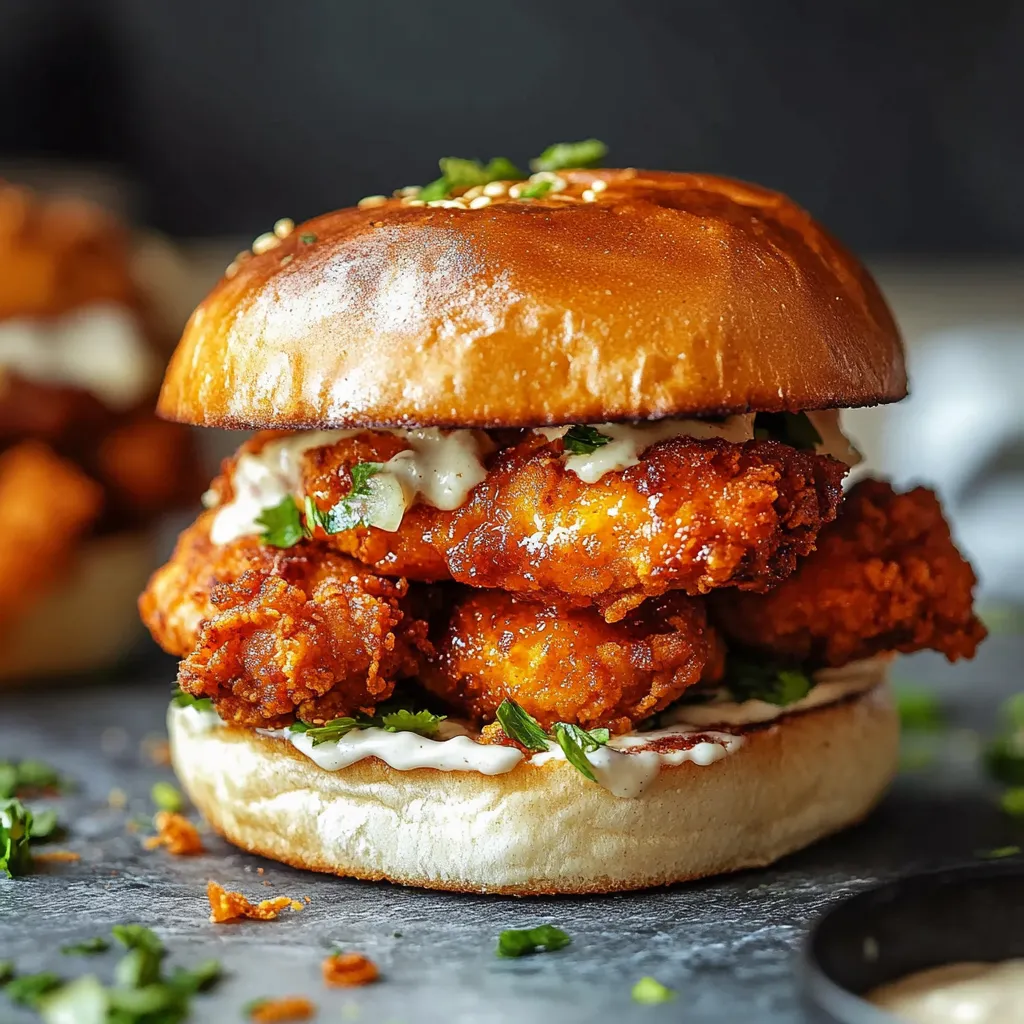
Get that famous Nashville kick and crispiness without frying in oil. This oven-baked alternative brings you all the punchy flavors and crunchy texture you'd expect, featuring well-seasoned chicken breasts wrapped in crispy panko, topped off with a spicy-sweet honey butter.
After trying many versions, I've found that getting truly crispy chicken in the oven comes down to how you bread it and watching your oven temps carefully.
Key Components
- Chicken Breasts: Each about 8 oz, flattened evenly
- Panko Breadcrumbs: They give that extra crunch
- Good Honey: Cuts through the spiciness
- Cayenne Pepper: Brings that signature heat
- Buttermilk Ranch: Helps tame the fire
- Solid Buns: Need to handle everything inside
Step-By-Step Method
- 1. Getting Chicken Ready:
- Flatten chicken breasts to an even ½-inch by putting them between plastic and hitting with a meat mallet. Dry them completely with paper towels. Add salt and pepper on both sides. Let sit out for 15 minutes so they'll cook evenly.
- 2. Creating Your Coating Area:
- Set up three flat dishes in a row: first one with flour mixed with garlic powder and paprika, second with eggs beaten with a bit of hot sauce, third with seasoned panko. Put a wire rack at the end of this line.
- 3. Coating The Chicken:
- Take one piece at a time, roll in the flour and shake off extra. Dip into the egg mix and let drips fall off. Press firmly into the panko so it sticks well. Place on the rack. Cool in fridge for 30 minutes uncovered to set.
- 4. Oven Cooking:
- Heat oven to 425°F with rack in the middle. Put the chicken on a baking sheet lined with parchment. Spray lots of olive oil cooking spray on top. Cook for 15-20 minutes until golden and temp hits 165°F inside.
- 5. Making Spicy Butter:
- While chicken cooks, mix melted butter, honey, cayenne, paprika, and garlic powder. Keep it warm in a small pot on very low heat.
 Pin it
Putting It All Together
- 1. Finishing Touches:
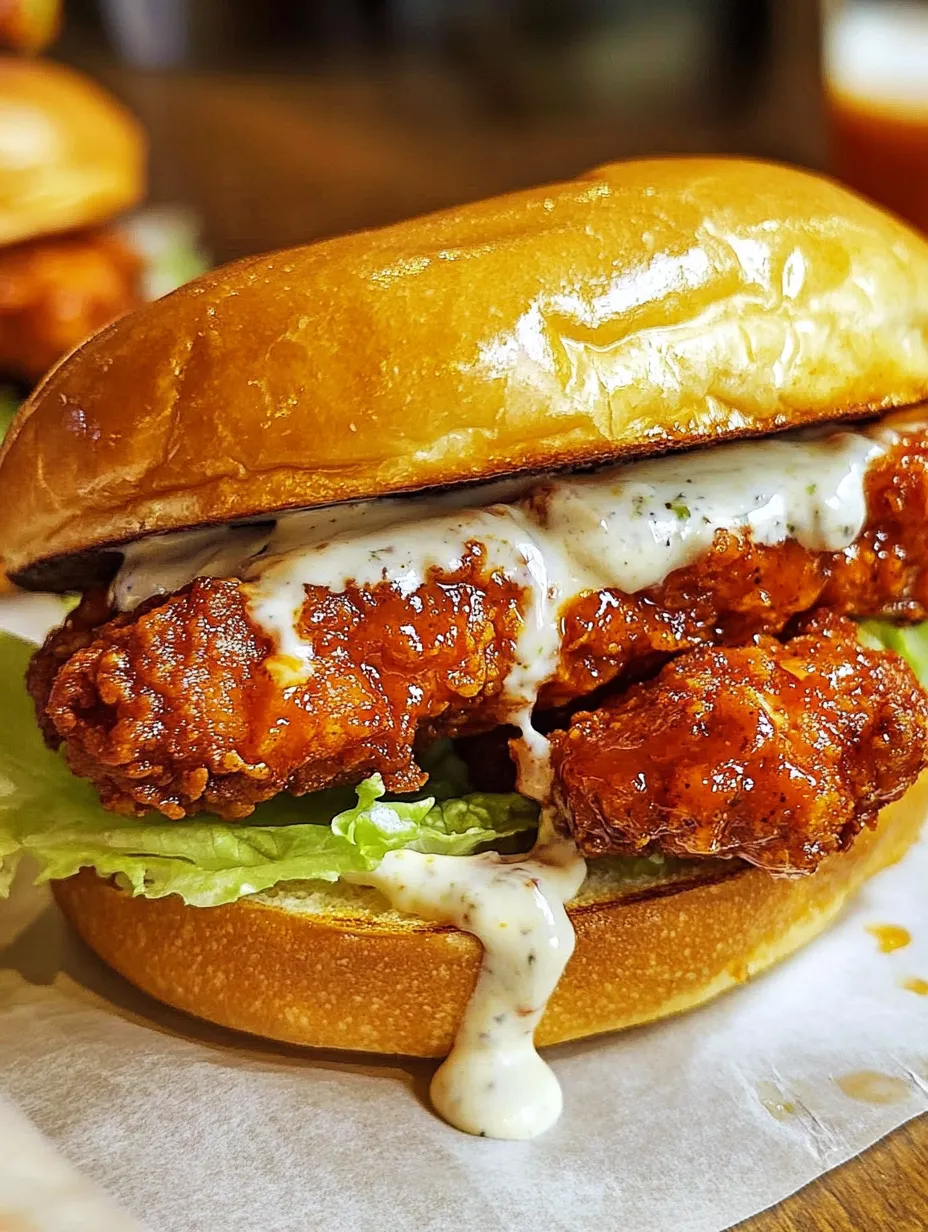
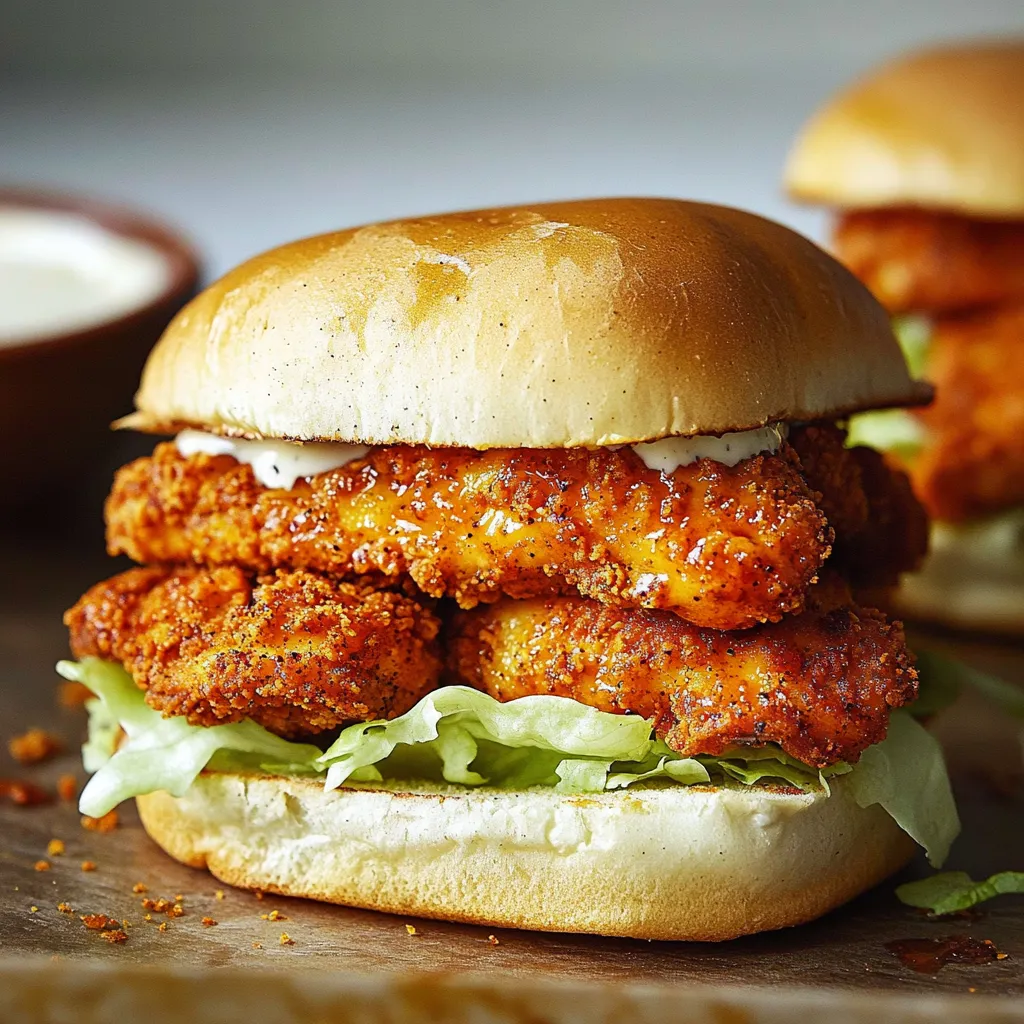
- Right when chicken comes from the oven, brush it with lots of that spicy honey butter. This lets the flavor soak into the crunchy coating. Brown the buns under the broiler for 1-2 minutes. Put shredded lettuce on the bottom bun, add chicken, then top with pickles and more butter if you want.
- 2. Keeping It Hot:
- Eat the sandwiches right away when they're hottest and crunchiest. If you're making more than one batch, keep the first batch warm at 200°F, but not longer than 15-20 minutes or they'll get soggy. Don't stack chicken pieces - lay them out on a rack.
 Pin it
Great Side Dishes
- Smooth coleslaw
- Crunchy fries
- Cheesy mac
- Dill pickles
- Baked sweet potatoes
- Icy beer or tangy lemonade
Prep In Advance
Get different parts ready earlier to make things easier:
- Bread the chicken up to 8 hours before cooking, keep uncovered in the fridge
- Make the honey butter ahead and warm it up when needed
- Get all toppings ready and keep them separate
- Brown the buns just before you're ready to eat
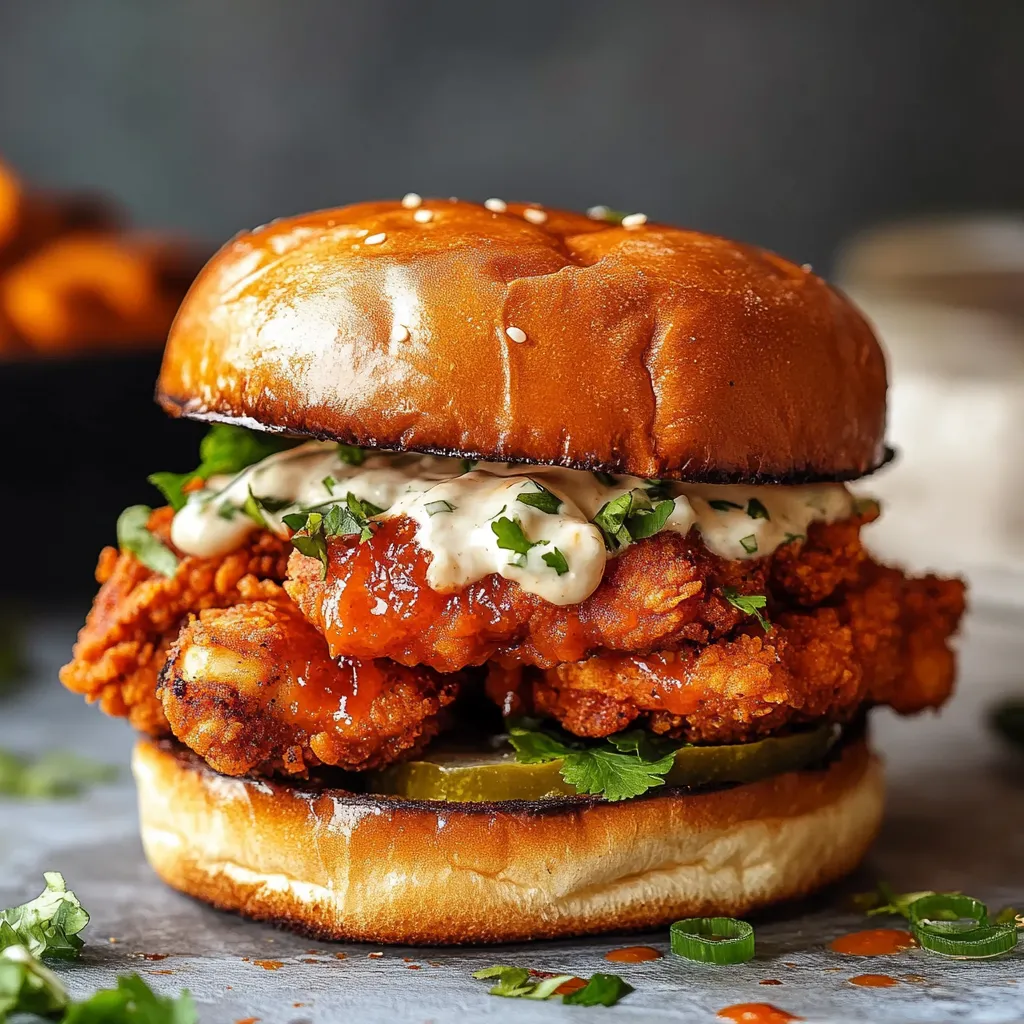
These sandwiches show you don't need unhealthy cooking to get authentic taste. Whether it's just a family dinner or you've got friends over for the game, folks will ask for these again and again.
 Pin it
Closing Thoughts
You'll learn something new each time you make these. Take it slow, focus on getting that coating just right, and watch your temps. What you'll get is a healthier take on Nashville's famous sandwich that doesn't skimp on flavor or satisfaction.
Frequently Asked Questions
- → How can I tweak the spice level?
- Simply adjust the cayenne in the honey glaze to make it milder or hotter.
- → What’s the point of chilling the chicken?
- Keeping the breaded chicken in the fridge helps make the coating stick well and turns out super crisp in the oven.
- → Is it okay to prep in advance?
- You can bread the chicken a few hours ahead and store it in the fridge, but it’s best eaten fresh out of the oven.
- → What sides pair well?
- Any comfort food sides like pickles, coleslaw, potato salad, or mac and cheese work wonderfully.
- → Could I use thighs instead of breasts?
- Absolutely! Boneless, skinless thighs are great—just keep an eye on the cooking time.