 Pin it
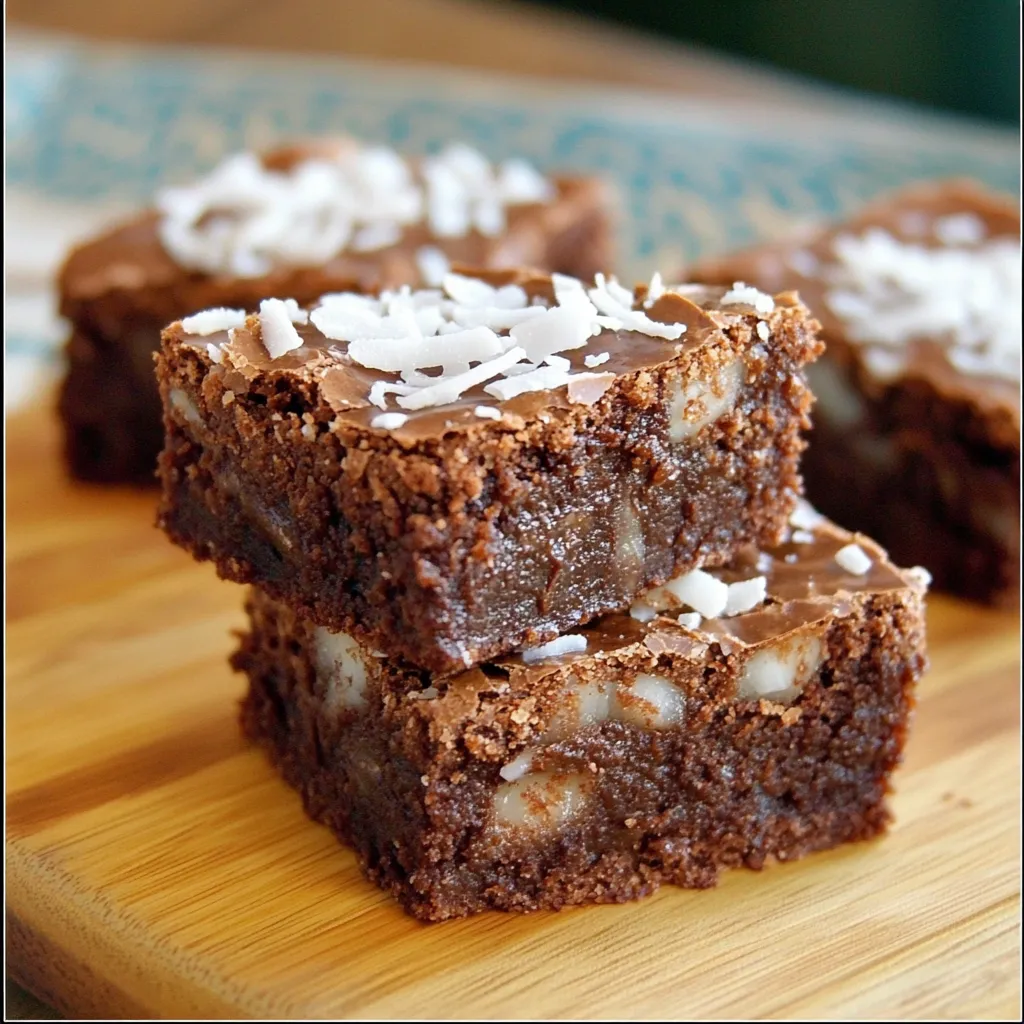
A magical blend of rich dark chocolate, creamy Nutella, and toasty coconut creates an irresistible brownie that'll win over even the pickiest chocolate lovers. These treats hit the sweet spot between fudgy, dense texture and deep, luxurious flavor, with a hint of nuttiness that'll make you grab seconds. Every bite reveals layers of intense chocolate goodness, perfectly balanced by the satisfying crunch of toasted coconut.
My kid and I came up with this while playing around in the kitchen on a wet, dreary afternoon. What started as a basic brownie recipe turned into something truly special when we spotted a forgotten Nutella jar sitting in our pantry.
Key Ingredients
- Dark Chocolate: Go for bars with 70% cocoa for the most decadent taste. Your brownies will only be as good as the chocolate you use.
- Nutella: Make sure it's not cold so it'll spread more easily and make prettier swirls.
- Coconut Flakes: Toast them first to bring out their natural oils and boost their nutty flavor.
- Butter: European butter with less water makes your brownies richer and denser.
- Eggs: Let them warm up to room temp so they mix better with everything else.
- Cocoa Powder: Dutch-processed gives you a darker color and smoother taste.
Every time I make these brownies, I'm reminded how much good ingredients matter. The first time I splurged on fancy dark chocolate, I couldn't believe the difference – it turned an ordinary treat into something really special.
Step-by-Step Guide
- 1. Preparation Phase:
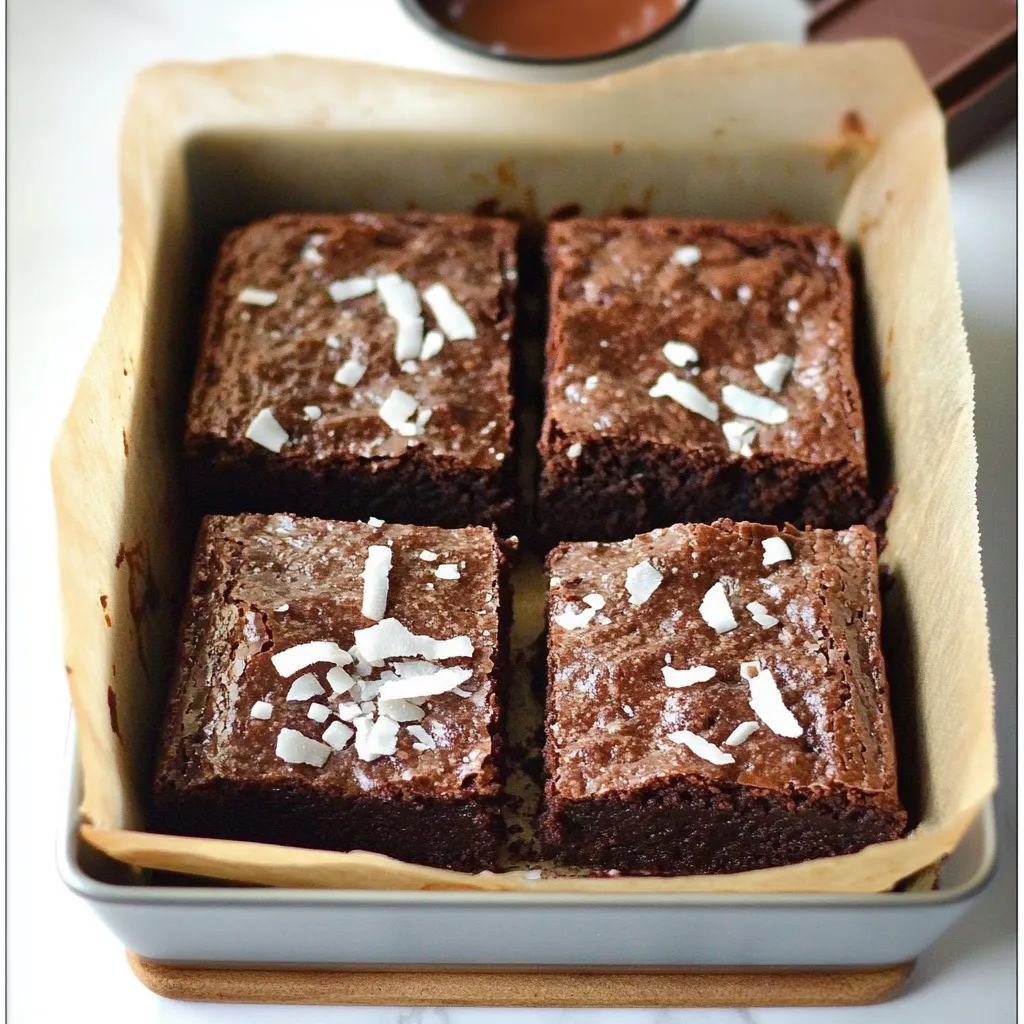
- Start by moving your oven rack to the middle and heating to 350°F. Take your time lining your pan – make sure the parchment hangs over the sides so you can lift the brownies out easily later. Don't forget to grease both the pan and the paper.
- 2. Chocolate Melting:
- Put your chopped chocolate and butter in a bowl that can handle heat. Melt them together gently – either over a pot of simmering water or in 30-second microwave bursts, making sure to stir between each one. You want a smooth mix with no chocolate chunks left.
- 3. Wet Ingredient Mixing:
- In a big bowl, whisk sugar, eggs, and vanilla until they look a bit lighter. This adds air for that perfect brownie texture. Slowly add your melted chocolate mixture while stirring constantly so the eggs don't cook.
- 4. Dry Ingredient Combining:
- Mix flour, cocoa powder, and salt in another bowl until they're well combined. This stops lumps and makes sure the chocolate flavor spreads evenly through your brownies. Gently add your toasted coconut flakes.
- 5. Final Batter Creation:
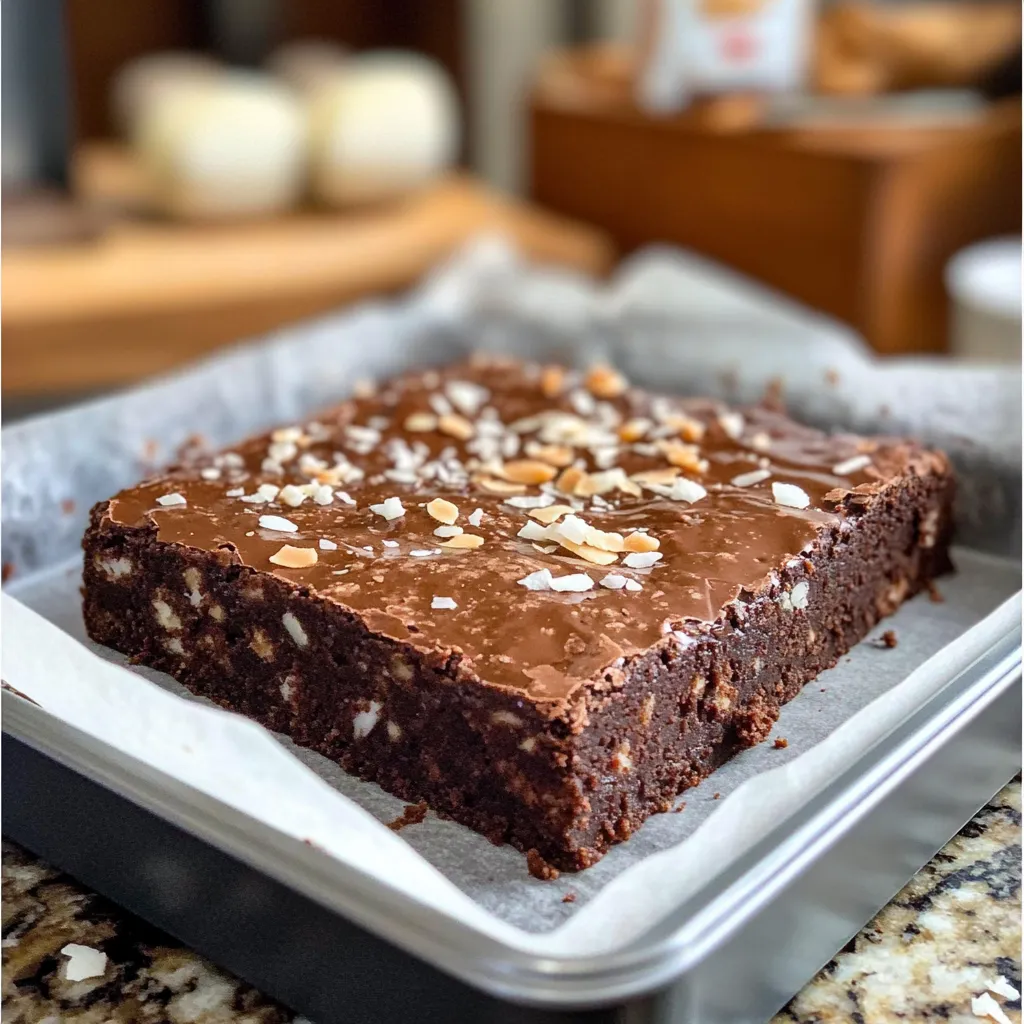
- Add the dry mix to the wet mix in three parts, folding gently until just combined. Stop mixing as soon as you don't see any more flour streaks – mixing too much makes tough brownies. Your batter should look thick, dark, and glossy.
- 6. Nutella Incorporation:
- Warm up the Nutella slightly so it's easier to spread. Drop spoonfuls across your batter, then use a knife to create pretty swirls. Don't mix too much – you want distinct pockets of hazelnut flavor throughout.
- 7. Baking Process:
- Pour the batter into your lined pan and smooth the top. Tap the pan on the counter a few times to get rid of air bubbles. Put it in the hot oven and bake until a toothpick poked in the middle comes out with a few moist crumbs stuck to it.
 Pin it
When I was growing up, my grandma always said chocolate deserves respect, not rushing. She taught me to take my time with each step, especially when melting chocolate. Watching my own kids learn these same patient techniques brings back wonderful memories of those special kitchen moments.
 Pin it
Choosing Great Chocolate
Good dark chocolate turns these brownies from pretty good to amazing. Look for chocolate bars with 70-75% cocoa content for the best balance of bitter and sweet. The chocolate quality directly affects how your brownies turn out.
Coconut Magic
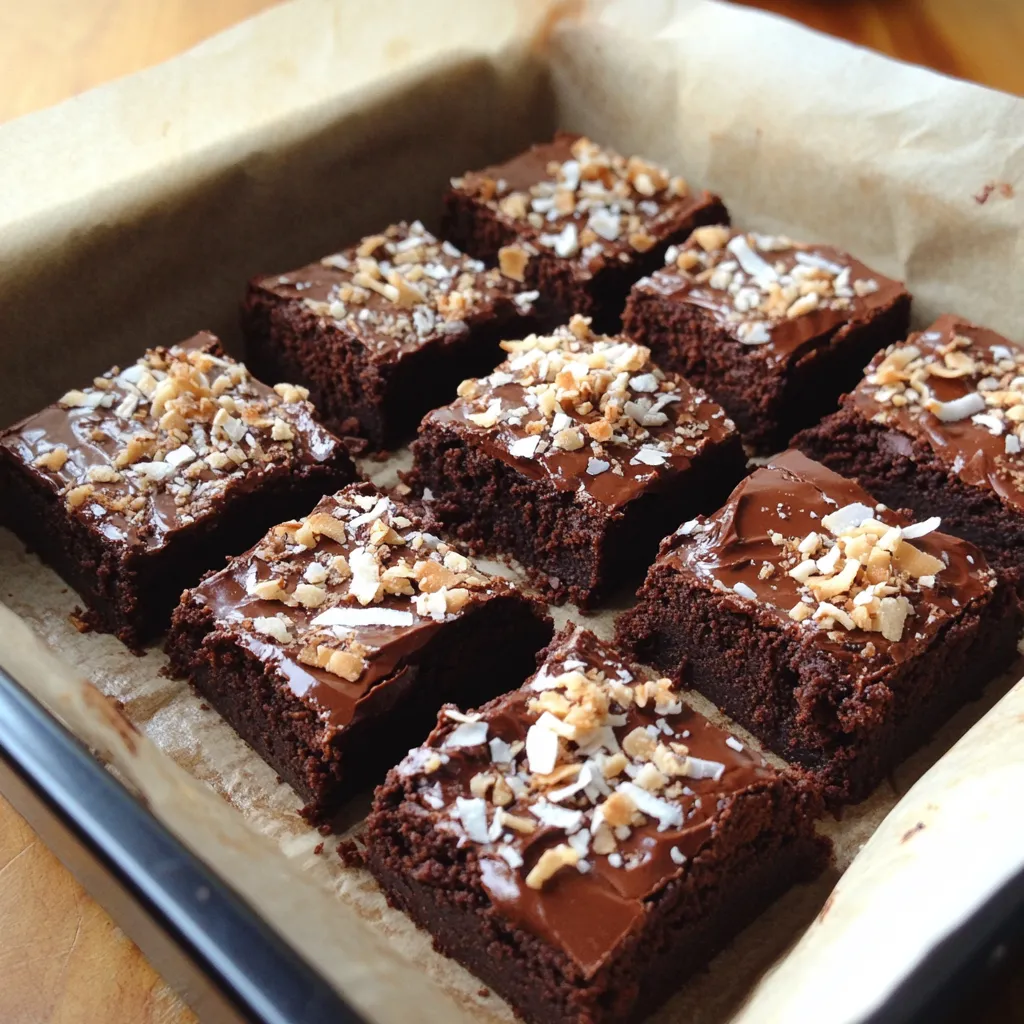
When toasting coconut, you've got to watch it carefully – it can go from perfect to burnt in seconds flat. Spread coconut flakes evenly on a baking sheet and toast at 325°F, stirring every minute until they smell amazing and look slightly golden. This extra step really brings out the tropical flavor.
Keeping Them Fresh
These brownies taste even better after sitting overnight. Keep them in an airtight container with a slice of regular bread to keep them moist. For longer storage, wrap individual pieces in parchment paper before freezing.
After making these brownies for years, I've learned that patience really pays off. Taking time to melt the chocolate just right, swirl the Nutella carefully, and let them cool completely results in rich, fudgy perfection. These aren't just desserts – they're little squares of pure joy that bring people together and create lasting memories with each batch.
Wrapping Up
These Dark Chocolate and Nutella Coconut Brownies show off the perfect balance between intense dark chocolate flavor and sweet tropical coconut. Through countless batches in my kitchen, I've found that success comes from respecting what each ingredient brings – from the deep notes of dark chocolate to the subtle crunch of toasted coconut.
 Pin it
What started as a simple chocolate craving has become our family's go-to dessert. These brownies have shown up at countless birthdays, comforted dear friends through tough times, and even won first prize at our community baking contest. They're living proof that sometimes the most memorable treats come from playful experimenting and trusting your gut in the kitchen.
Frequently Asked Questions
- → Can I leave out the coconut?
- Sure, you can skip the coconut. The bars will still be fudgy and delicious with the richness of Nutella and chocolate.
- → How can I tell when they’re done?
- Check by inserting a toothpick; it’s ready if it comes out with a few sticky crumbs but no wet batter.
- → Can I scale up for a crowd?
- Absolutely! Double everything and bake in a 9x13 tray. Just keep an eye on the baking time since it might take 5–10 extra minutes.
- → What’s the best way to store these?
- Keep them sealed in a container at room temp for up to five days, or freeze for later—lasts three months in the freezer.
- → What’s the point of parchment paper?
- It helps you pop the bars out of the pan without any sticking, plus you get neat edges when cutting them.
