
 Pin it
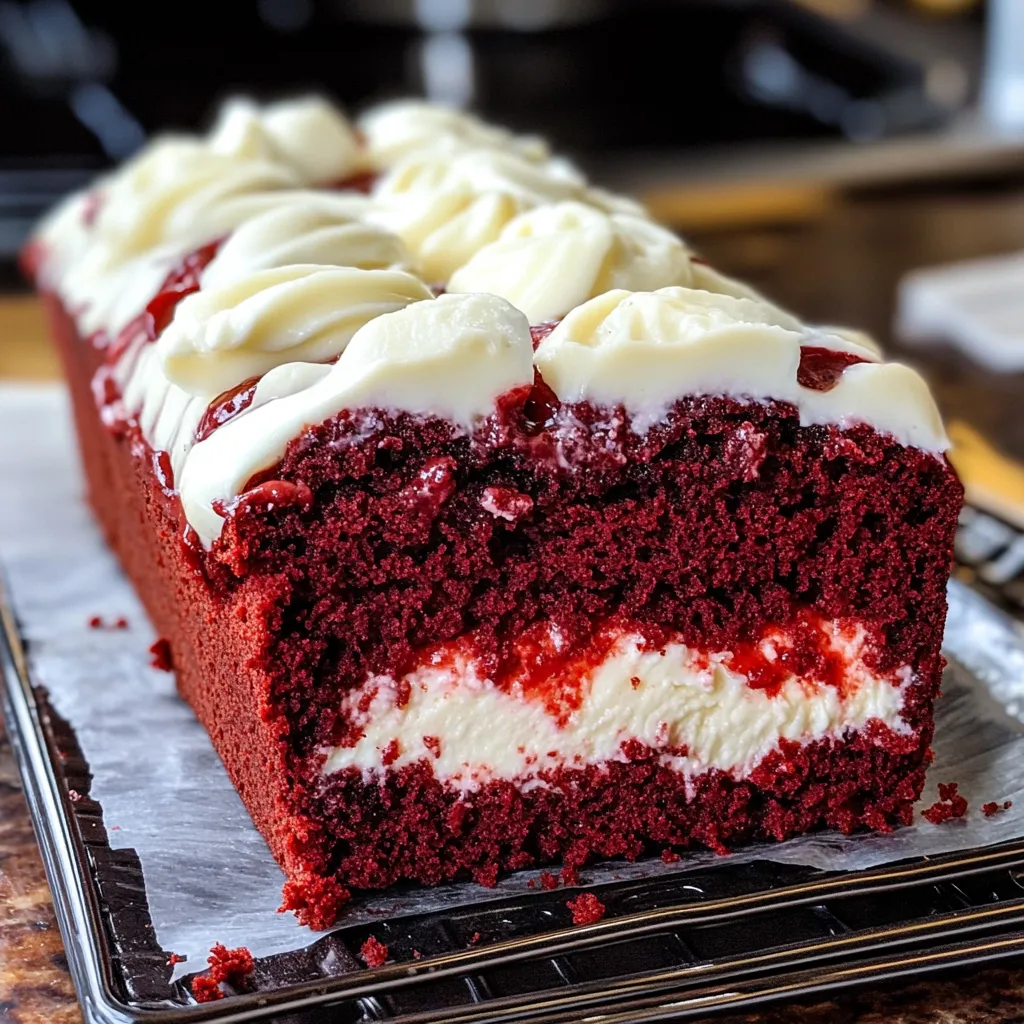
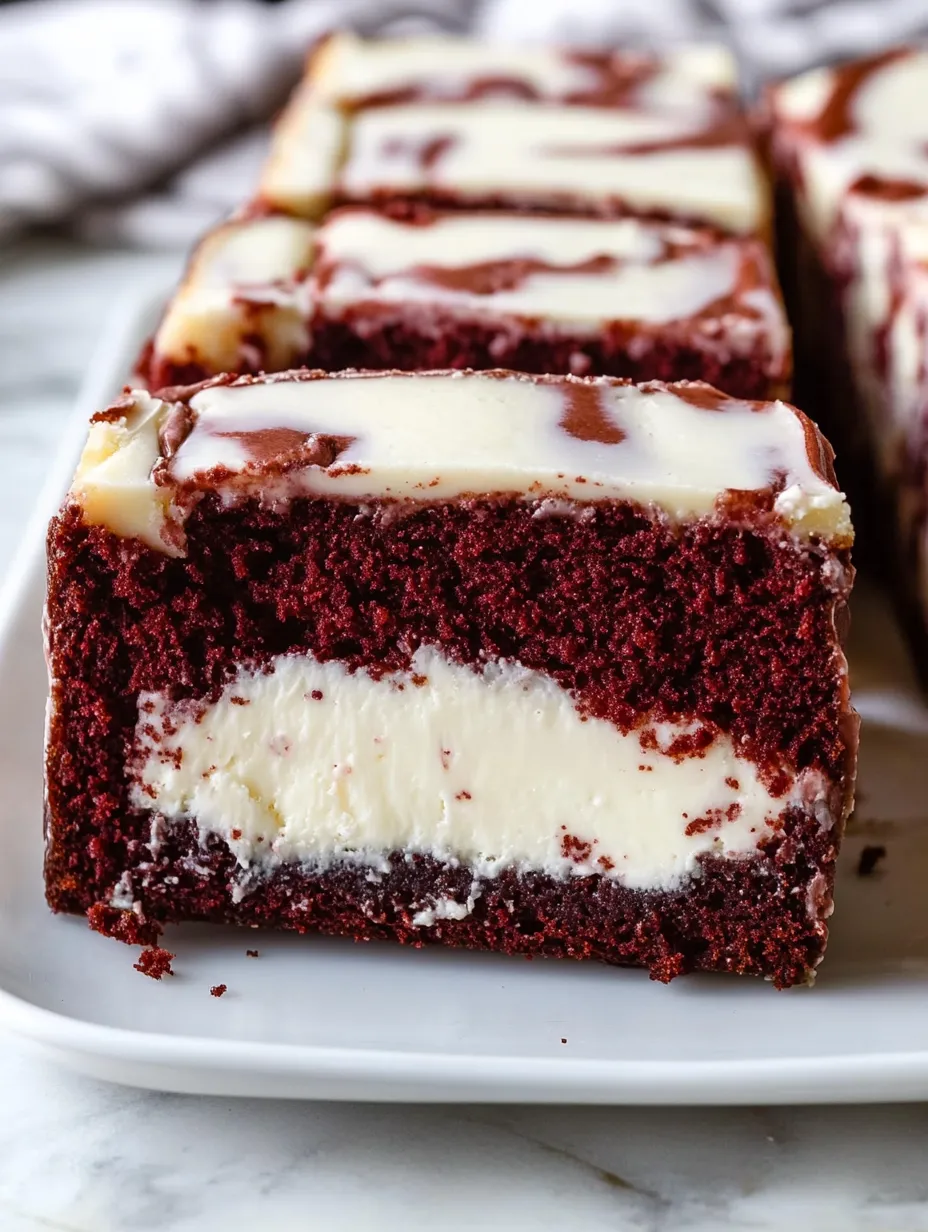
This clever Red Velvet Cheesecake Cake turns a basic cake mix into a showstopping treat without much work. Baking in a loaf pan and adding a rich cheesecake swirl creates a knockout two-for-one dessert that looks fancy but skips complicated layering. Finished with homemade cream cheese frosting, you'll get all the taste of a fancy layer cake in a much easier package.
When I brought this to my buddy's birthday last month, everyone couldn't believe how easy it was to make. The bold red cake with creamy white swirls looks so impressive that nobody guessed how simple the process actually was.
Key Ingredients and Smart Picks
- Red Velvet Cake Mix - Every brand works fine; feel free to swap in your favorite cake flavor
- Cream Cheese - Try Philadelphia for best results; don't forget to let it warm up first
- Sour Cream - Gives the cheesecake swirl extra zing and softness
- Vanilla Extract - Go for the real stuff for tastier results
- Warmed-up Ingredients - Crucial for getting a smooth cheesecake mixture
The real wow factor happens when the zesty cheesecake mix flows into the deep red cake batter, making gorgeous swirls throughout that look just as amazing as they taste.
Step-by-Step Baking Guide
- Step 1: Get Your Pans Ready
- Grease and flour a couple of 9x5-inch loaf pans, or one loaf pan plus 8 cupcake spots. This helps everything pop out nicely after baking.
- Step 2: Whip Up Cake Batter
- Follow the box directions for your red velvet mix, adding the eggs, water, and oil it calls for. Split the batter between your pans.
- Step 3: Create Cheesecake Mixture
- Whip warmed-up cream cheese with sour cream until silky smooth. Mix in egg, sugar, and vanilla until well blended. A stand mixer really helps knock out any lumps.
- Step 4: Make Your Swirls
- Drop spoonfuls of cheesecake mix onto the cake batter in each pan. Drag a butter knife through gently to create pretty patterns, but don't mix too much.
- Step 5: Bake It Right
- Pop in a 350°F oven for 30-40 minutes until a toothpick comes out clean when poked in the middle. Don't worry if the cheesecake part sinks a bit—that's normal.
- Step 6: Let It Rest
- Wait for the cakes to cool down completely in their pans. Taking your time here stops breaking and gives the best texture.
- Step 7: Make Your Frosting
- Beat butter with cream cheese until fluffy, then slowly add powdered sugar, salt, and vanilla for a perfectly smooth topping.
- Step 8: Frost and Enjoy
- After your cakes have cooled completely, spread or pipe frosting on top. Chill briefly before cutting for neat slices.
 Pin it
I stumbled on how handy this recipe is when I needed something impressive but was short on time. The loaf shape made everything easier and created beautiful slices that looked perfect on the plate.
Exciting Flavor Twists
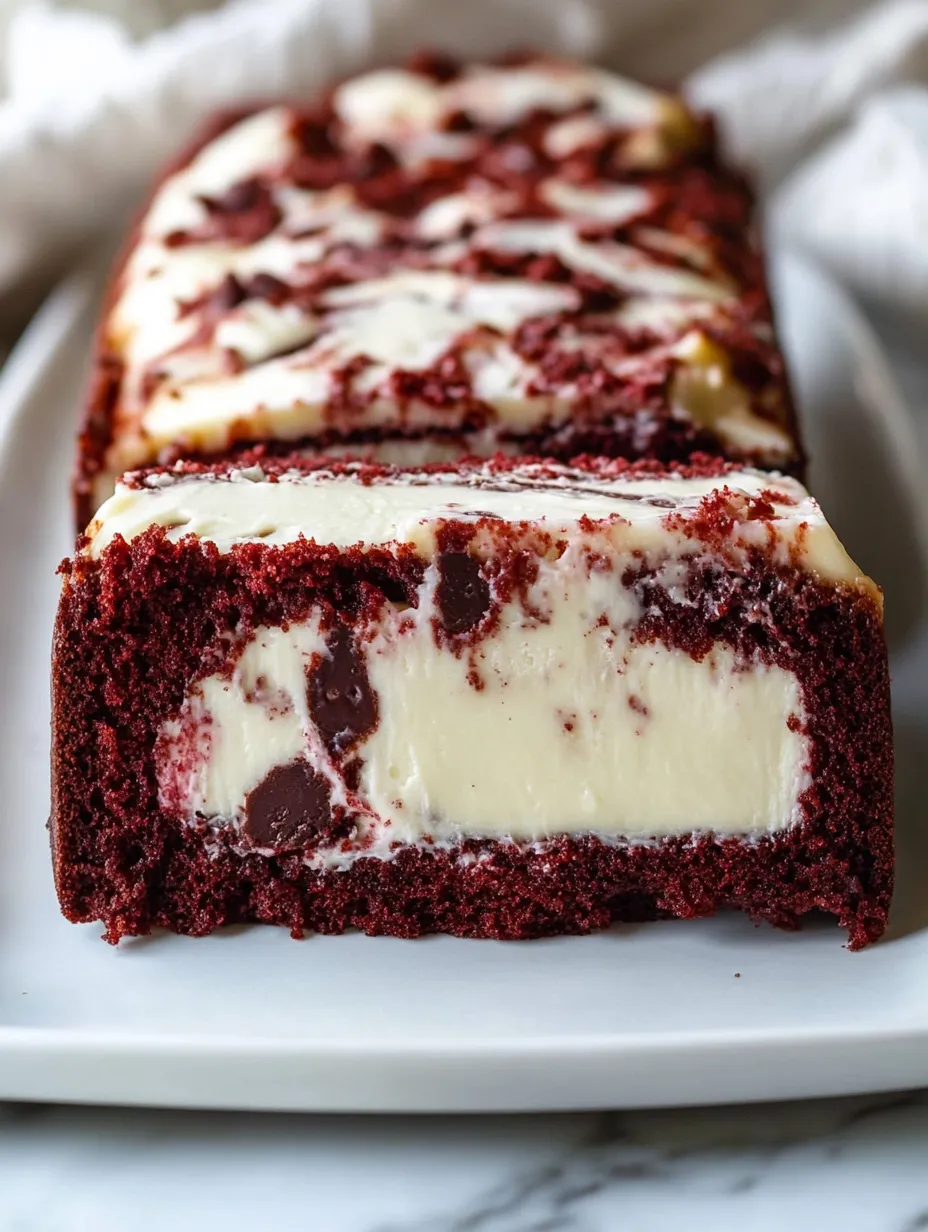
Red velvet and cheesecake go together perfectly, but that's just the start of what you can do. I've tried amazing versions using chocolate cake with peanut butter cheesecake swirls, lemon cake with blueberry cheesecake, and spice cake with pumpkin cheesecake for fall parties. The loaf style works great with any flavor combo, so you can match the season or just go with what you love. Every version keeps that wow-factor swirl look but gives you totally different tastes.
 Pin it
Prep-Ahead Perks
One of the best things about this cake is how it gets even better after sitting in the fridge for a day. The cake gets moister and the flavors really come together nicely. I often bake it two days before I need it, wrap the unfrosted loaf tightly in plastic, and stick it in the fridge. On serving day, I let it sit out for about an hour before adding fresh cream cheese frosting. It's perfect when you're busy but still want to wow everyone with a homemade dessert.
Dress-Up Ideas
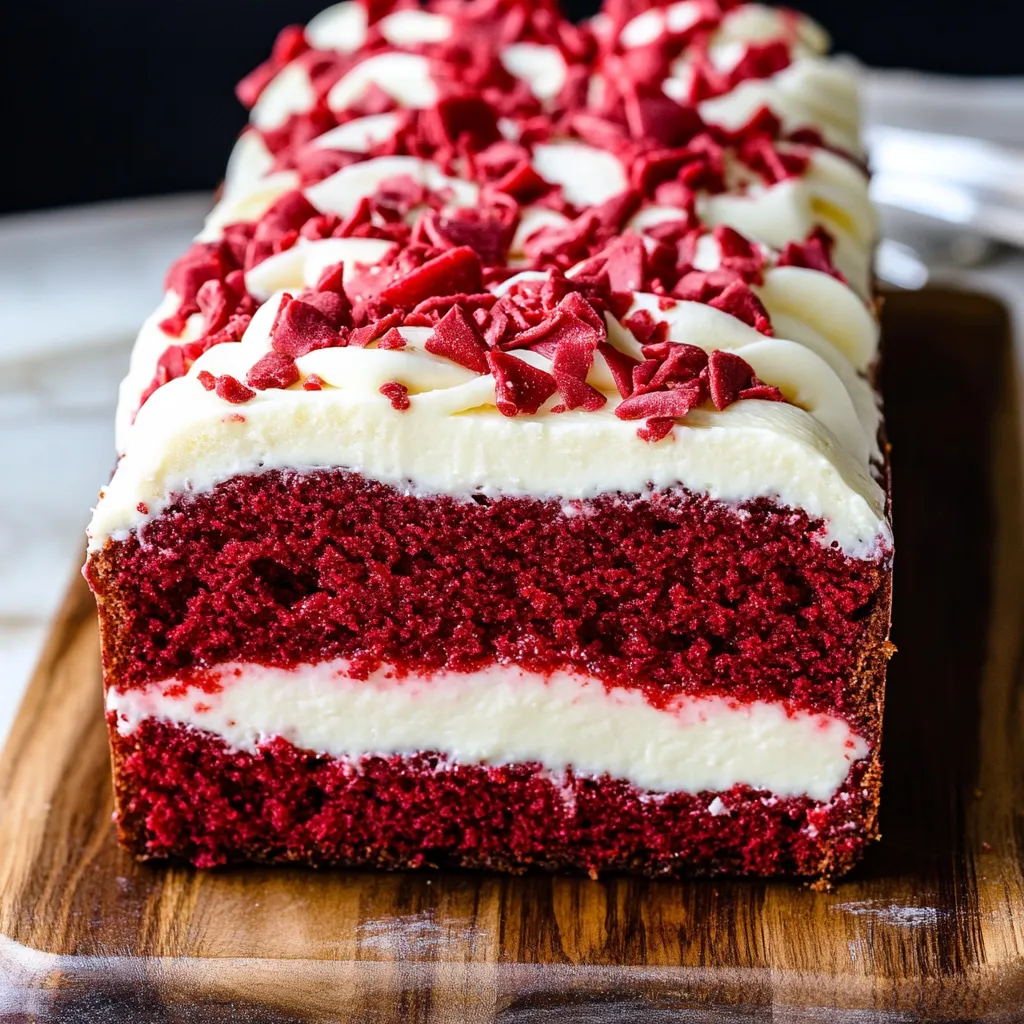
You can make this cake look even fancier with just a few simple touches. For Valentine's Day, I toss some red sugar or tiny heart sprinkles on top. At Christmas, red and green sprinkles turn it into a holiday treat. When I want something more grown-up looking, I drizzle white chocolate over the frosting or add some fresh berries. The white cream cheese frosting works like a blank canvas for any decoration, making this simple loaf fancy enough for special celebrations.
Pro Baking Secrets
- Grab a light-colored loaf pan for more even cooking
- Put parchment paper in the pan for super easy removal
- Start checking if it's done at the shortest baking time to avoid dryness
- For the creamiest cheesecake swirl, strain your sugar first
- Make sure butter and cream cheese are completely soft for smooth frosting
This cheesecake loaf has become my go-to trick for dazzling friends without spending forever in the kitchen. The pretty swirl design looks professional, while the mix of soft cake and creamy cheesecake gives you amazing texture contrasts in every bite.
 Pin it
Finishing Touches
- Cut with a warm, clean knife for picture-perfect slices
- Serve a bit cold for the best flavor and texture mix
- Save some cake crumbs to sprinkle on top for a quick decoration
- Make extra cream cheese frosting if you love a thick layer
- Keep leftover cake in the fridge for up to 5 days
Frequently Asked Questions
- → Can I swap the cake mix flavor?
- Absolutely, any mix will pair with the cheesecake swirl.
- → Why use ingredients at room temperature?
- Makes the cheesecake mixture smooth and lump-free.
- → Can I make this into cupcakes?
- Sure, you’ll get one loaf and around 8 cupcakes.
- → Why does the cheesecake settle during baking?
- That’s normal and doesn’t change the flavor at all.
- → What's the best way to store this?
- Since it has cream cheese, keep it in the fridge.