 Pin it
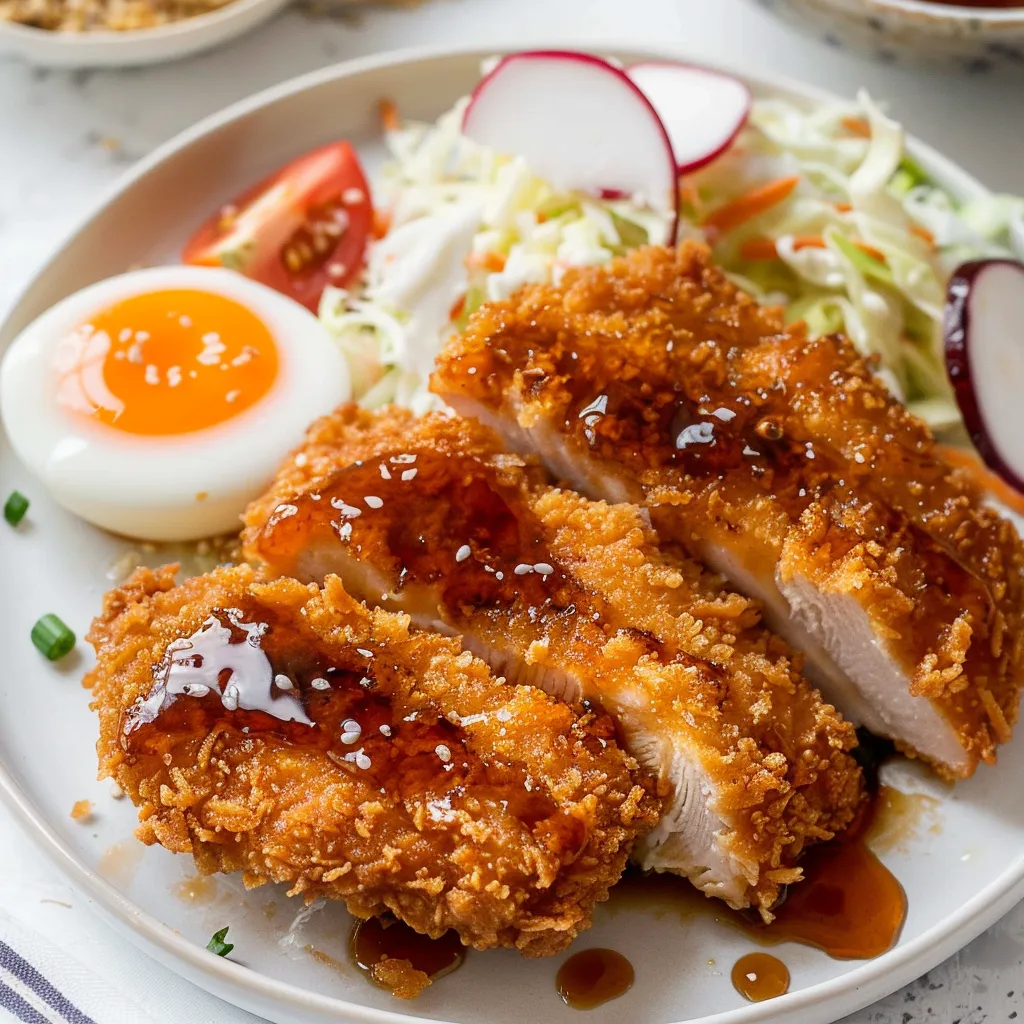
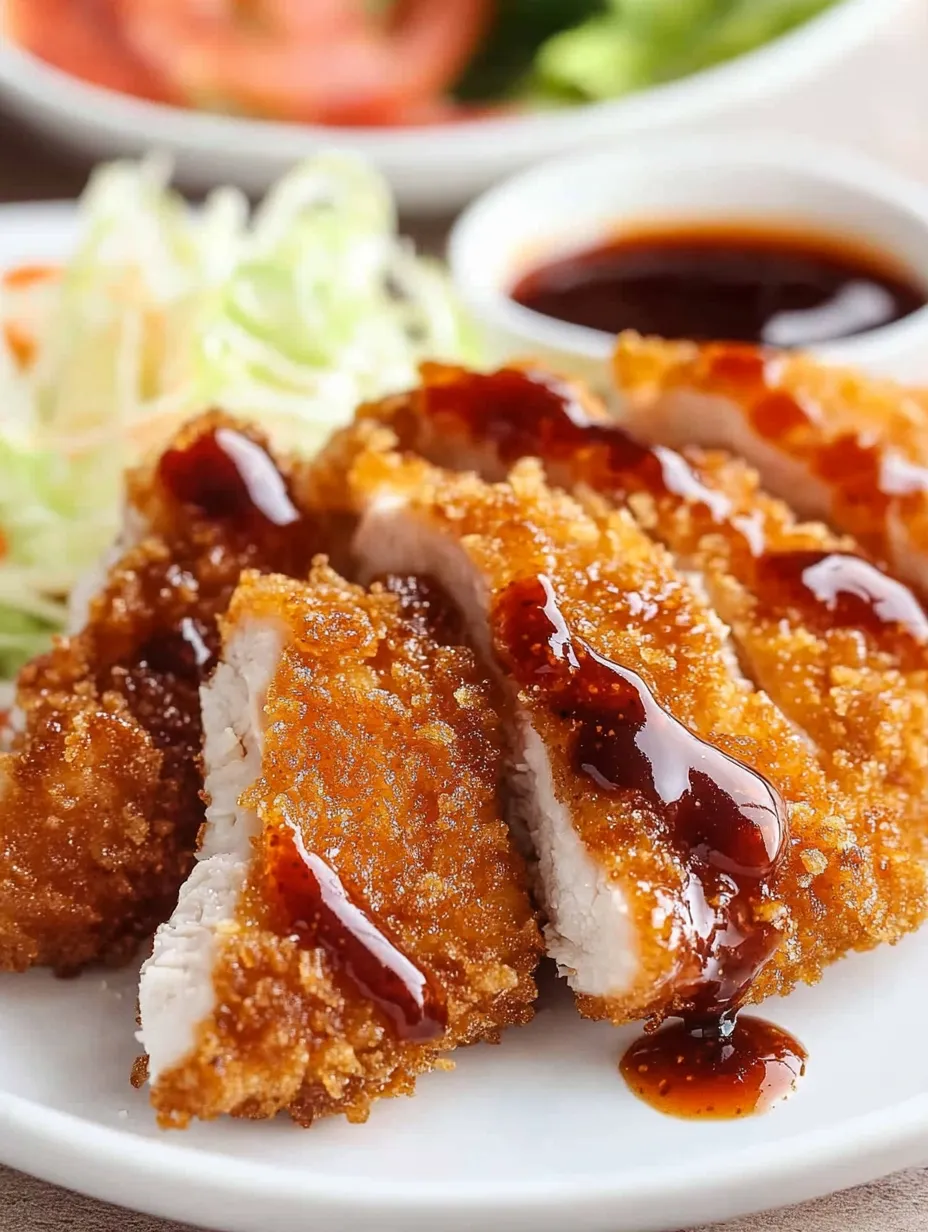
Golden-brown chicken katsu stands out as the ultimate Japanese comfort meal. This fan favorite turns plain chicken breasts into something magical with its super crunchy panko outer layer and soft, moist center. Each mouthful gives you that signature crackling sound that's made this a must-have at our family dinners.
I've cooked chicken katsu countless times, and it's now my favorite thing to make when friends come for dinner. My kids get excited whenever they hear we're having katsu, and even my super-picky nephew always wants more.
Key Ingredients
- Boneless chicken breasts: Try to find pieces that are about the same thickness so they'll cook evenly. I think organic chicken tastes better and has a nicer texture
- Japanese panko breadcrumbs: These fluffy, light crumbs are what make the signature crunch. Regular breadcrumbs just won't do the trick
- Neutral vegetable oil: Go for something with a high smoke point to get that beautiful golden crust without any burnt flavor
 Pin it
Simple Cooking Method
- Step 1: Get Your Chicken Ready
- - Wrap chicken in plastic, making sure to push out air bubbles
- Pound chicken until it's all the same thickness, but be careful not to make holes
- Add salt and pepper while the meat sits at room temp - Step 2: Set Up Your Coating
- - Arrange your three stations in this order: flour, whisked eggs, panko
- Use your left hand for dry stuff and right hand for wet to keep things clean
- Push the panko onto the chicken firmly so it sticks well - Step 3: Nail the Frying Technique
- - Get your oil to just the right heat (350°F) for that perfect golden color
- Watch for a soft sizzle when you add the chicken
- Keep the temperature steady while cooking so everything browns evenly
 Pin it
We've found that eating katsu hot from the pan while standing around the kitchen makes the best memories. Everyone gets excited waiting for that first crunchy bite.
Getting the Heat Just Right
The oil temperature can make or break your katsu. If it's too hot, you'll burn the outside before the chicken cooks through. Too cold, and your coating soaks up oil and gets soggy. I've learned to watch for gentle bubbling around the chicken - not too wild, not too quiet.
Tasty Dipping Options
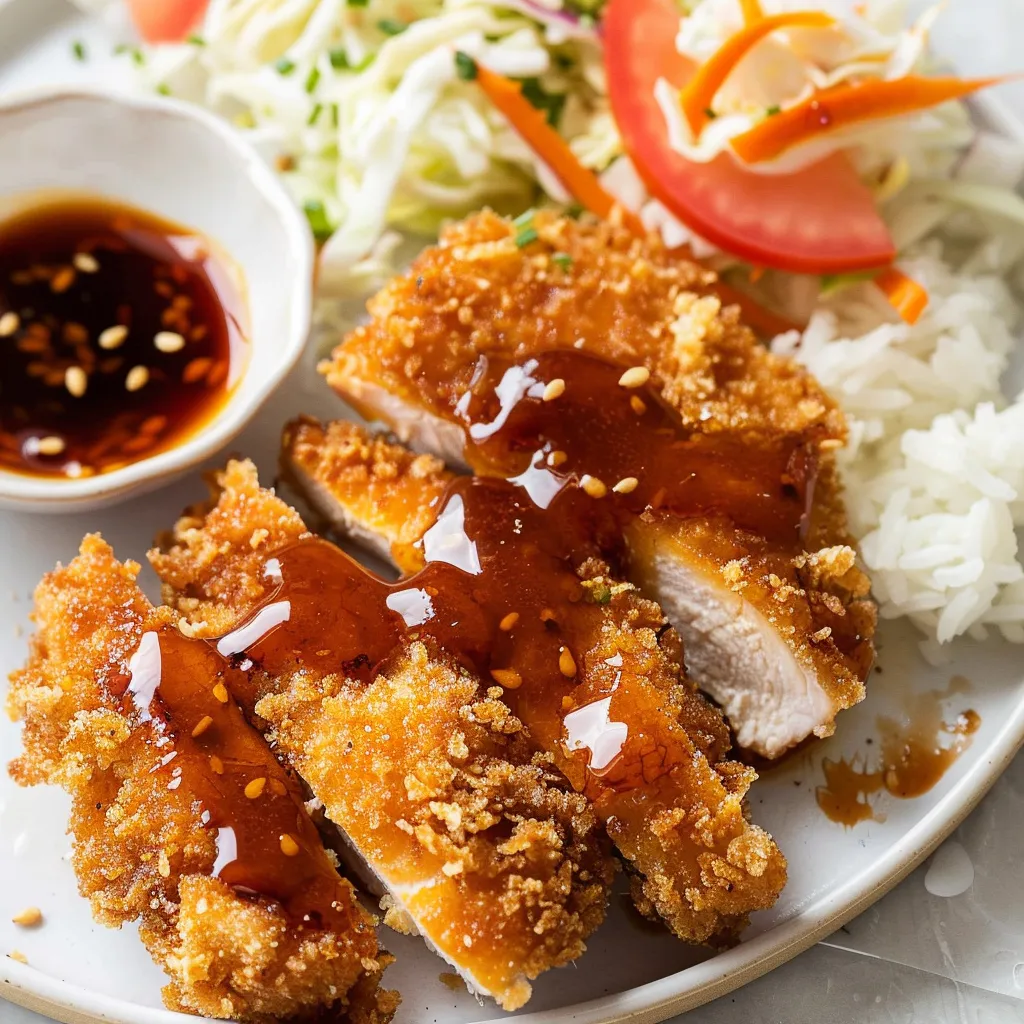
Traditional tonkatsu sauce works great, but trying different dips can change up the whole experience. My homemade curry sauce has become what everyone asks for, turning basic katsu into something extra special. Sometimes just a squeeze of fresh lemon is all you need to cut through the richness.
Personal Touches
After making katsu for years, I've learned that little changes can make it your own. Try mixing some garlic powder into the flour or adding sesame seeds to your panko for subtle flavor changes. Some nights we slice it up for sandwiches with shredded cabbage and sauce layered between bread.
How We Enjoy It
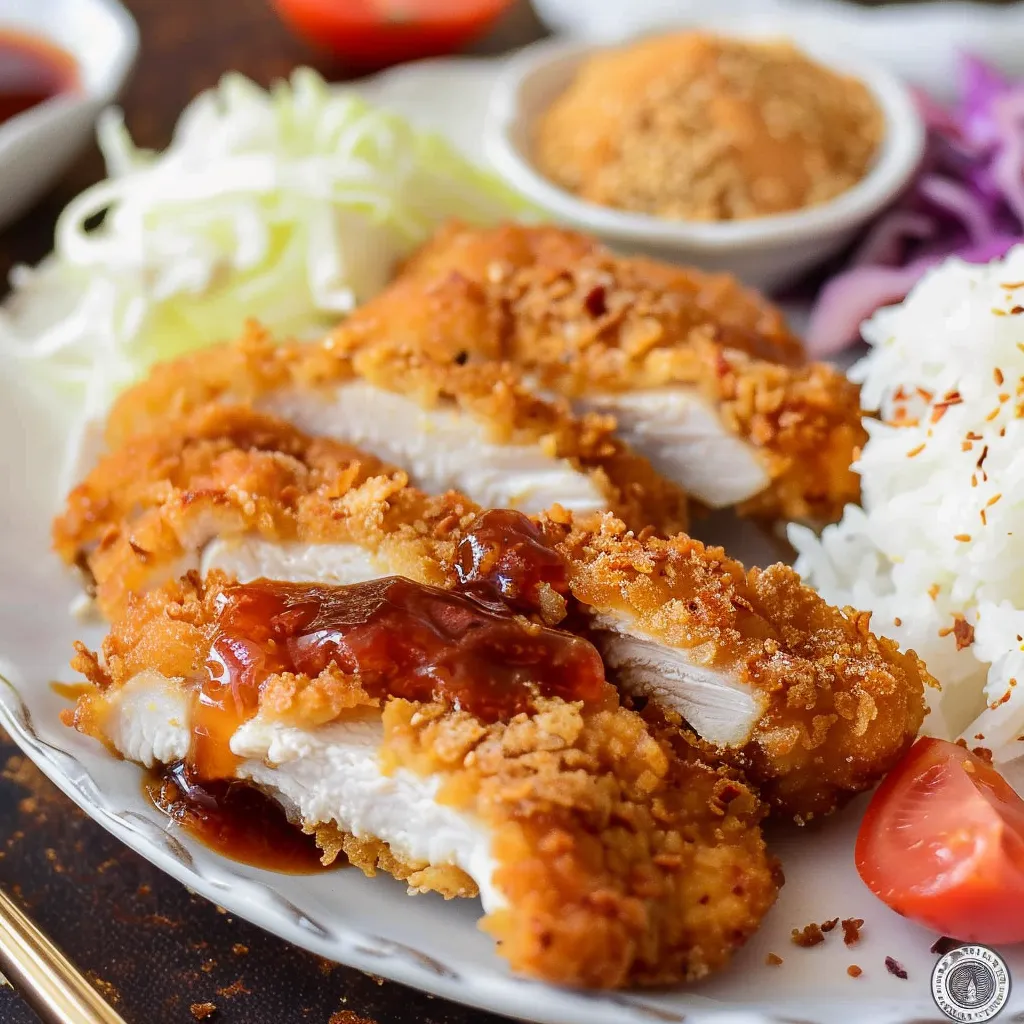
At our house, katsu always comes with a big pile of thinly sliced cabbage, a bowl of steamed rice, and some miso soup. The fresh cabbage balances out the crispy chicken perfectly, and the rice soaks up all the tasty sauce. It's become our end-of-week family meal tradition.
Keeping Leftovers Fresh
Katsu tastes best right after cooking, but you can save it properly. I've found that putting leftover pieces on a wire rack in the fridge helps keep the coating from getting soggy. A quick warm-up in a hot oven brings back most of that fresh-made crunch.
 Pin it
Perfect Breading Steps
Getting the coating just right takes practice. I figured out through lots of tries that you want a light coating of flour first, then enough egg to moisten but not drip, and finally a good pressing of panko. Don't just sprinkle it - really push those crumbs on gently. Each little breadcrumb creates its own tiny crispy pocket when fried. It took me ages to get this right, but now I smile every time I see that beautiful golden crust forming.
Planning Ahead
Katsu has saved my weeknight dinner plans many times. I often fix extra chicken cutlets on weekends, pound them flat, and freeze them before adding any coating. This way, I can whip up fresh katsu mid-week when I'm short on time. The prepped chicken stays good in the freezer for about three months, making surprise katsu nights super easy.
A Bit of History
Making katsu always reminds me of its cool backstory. This dish shows how Japanese cooking precision meets Western food ideas. My neighbor from Japan told me stories about her grandma making katsu for special family gatherings, with carefully chosen side dishes that went perfectly with both the crunch and flavor. Learning these things has made me appreciate this simple-looking dish even more.
The Full Dinner Setup
Katsu works best as part of a complete meal. I usually make quick-pickled cucumbers to go with it, which add a fresh crunch and clean your palate between bites. A small bowl of miso soup balances out the richness, and some steamed edamame gives everyone something to snack on while the main dish cooks.
Must-Have Tools
Having the right kitchen gear really helps when making katsu. A heavy pan gives you even heat, and a good meat pounder helps get that all-important even thickness. I keep special long cooking chopsticks just for frying - they let me flip the chicken with more control and don't damage the coating like tongs might.
Passing Down the Skills
Making katsu has turned into a favorite cooking lesson for the kids in our family. The easy steps are great for teaching basic kitchen skills, from how to season properly to safe frying methods. My daughter now makes her own version and likes to sprinkle furikake on top when it's done. These cooking sessions create lasting memories while sharing food traditions.
Adjusting for Special Diets
I've tweaked this recipe many times for friends with different food needs. For gluten-free guests, a mix of rice flour and gluten-free panko works great for a crispy coating. When cooking for folks watching their oil intake, I've come up with an oven-baked version that's different but still pretty good. The trick is keeping what makes katsu special while changing what you need to.
Wrapping Up
Even after making this dish hundreds of times, I still get excited hearing that first sizzle when the coated chicken hits the hot oil. In our home, chicken katsu isn't just food - it's about skill, tradition, and bringing everyone together. Whether you're trying it for the first time or you've made it forever, each batch brings its own special joy.
Frequently Asked Questions
- → Why flatten the chicken?
- It cooks evenly and stays tender.
- → Will breadcrumbs work instead of panko?
- Panko gives the best crunch, but breadcrumbs can work in a pinch.
- → How can I check oil temperature?
- Toss in a breadcrumb—it should sizzle instantly without burning.
- → Is baking an option?
- Sure! Bake at 400°F for 20-25 minutes, but frying is crispier.
- → What’s in tonkatsu sauce?
- It’s a tangy-sweet Japanese sauce, similar to Worcestershire, found in Asian stores.
