 Pin it
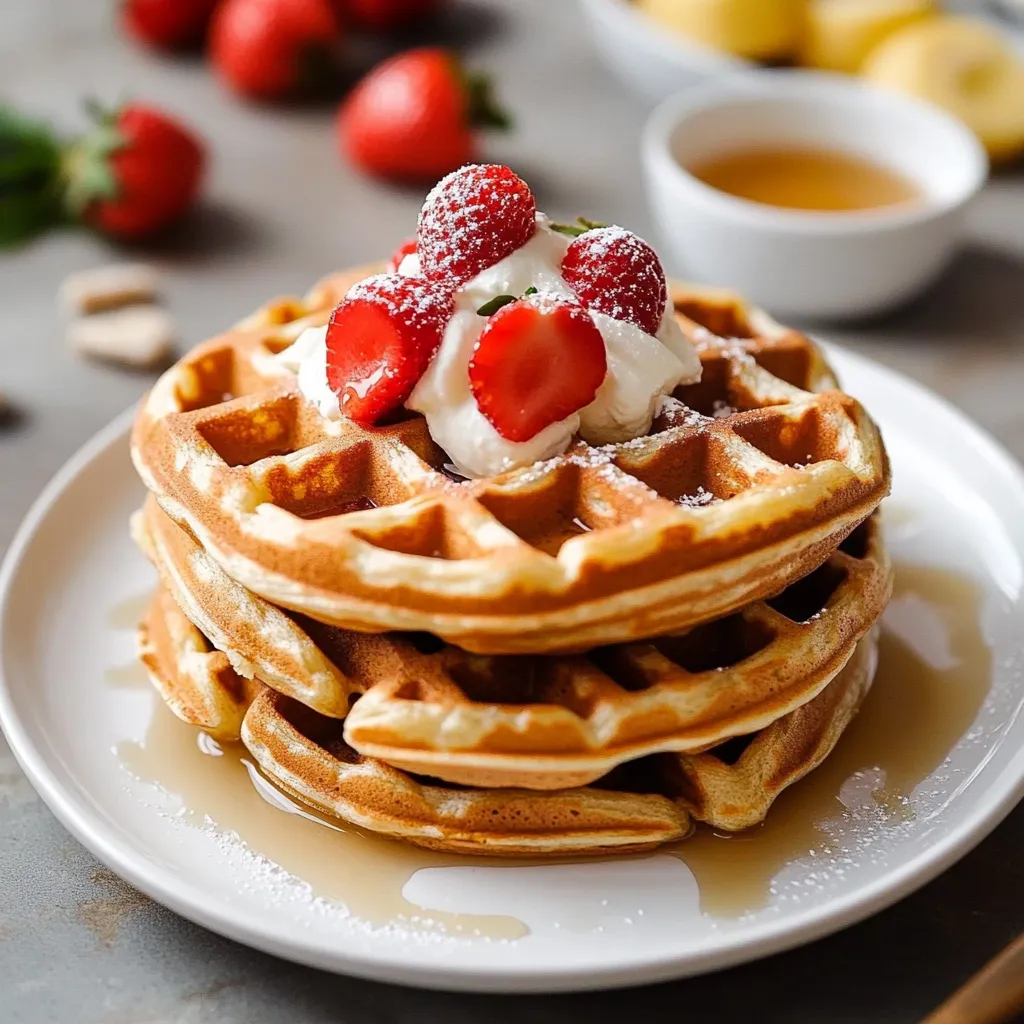
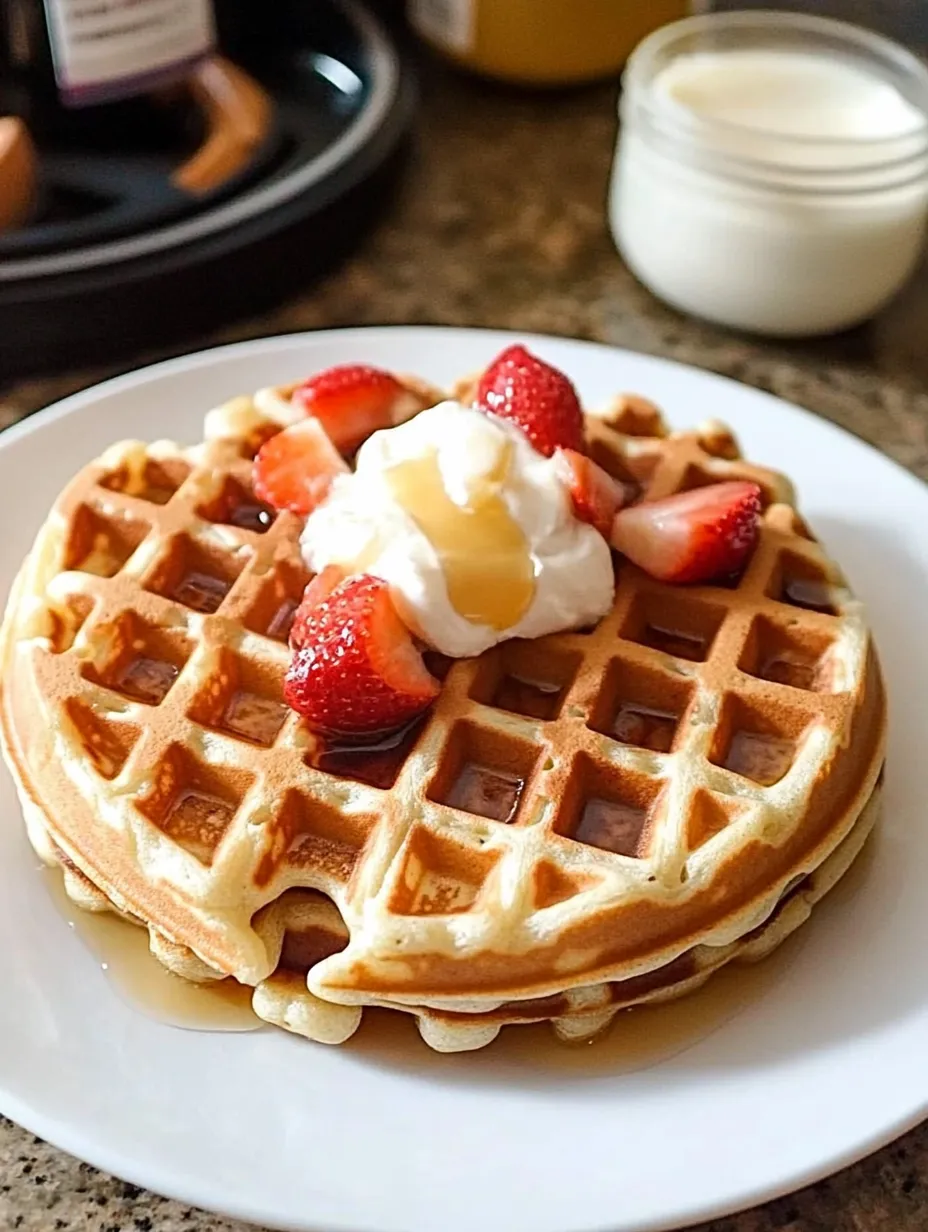
These protein waffles hit the sweet spot between good-for-you nutrition and awesome taste. They turn your breakfast into something that's not just tasty but also really good for you. By mixing protein powder with Greek yogurt, you'll get a filling breakfast that keeps you going till lunch, while still having that fluffy texture and yummy flavor we all want in our waffles.
Finding this waffle recipe changed everything for me when I was getting fit. It shows you don't have to eat boring food just because you're trying to be healthy. Good food can taste amazing too!
Key Ingredients
- Protein Powder: Go for one that mixes smoothly into batters without clumping up.
- Greek Yogurt: Adds wetness to the mix plus gives you an extra protein kick.
- All-Purpose Flour: Creates that classic waffle structure we all want.
- Baking Powder: Makes your waffles puff up nice and fluffy.
- Sweetener: Add as much or as little as you want, depending on what you like.
Getting these protein waffles just right comes down to using the right amounts and following some simple cooking tricks. Let me walk you through all the steps you'll need to make them perfect every time.
Step-by-Step Guide
- 1. Mix Your Batter:
- Start with ingredients that aren't cold from the fridge. First, whisk all your dry stuff together to break up any protein powder lumps. Then slowly pour in your wet ingredients while stirring. Don't rush this part! You want a batter that looks kind of like thick pancake mix – it should pour slowly and spread out gradually when it hits the waffle iron.
- 2. Get Your Waffle Iron Ready:
- Make sure your waffle maker is completely hot before you start cooking. This is super important if you want crispy edges! Spray it lightly with cooking spray, even if it's non-stick. Watch your temperature – too hot and the protein will burn before the inside cooks, too cool and you'll get soggy waffles. You need to find that just-right setting.
- 3. Cook Them Right:
- Pour your batter right in the middle of the hot waffle iron, and if needed, use a spatula to nudge it toward the edges. Don't overfill! Fill about two-thirds of the surface since the batter will spread as it cooks. Close the lid gently so you don't squeeze all the batter out. Then wait patiently – don't peek until you notice the steam slowing down.
- 4. Watch The Temperature:
- Keep an eye on how hot your waffle iron gets. Protein batters tend to brown faster than regular waffle mix, so you might need to turn the heat down a bit. The steam coming out is your best clue – when it slows down a lot, your waffle is probably done.
- 5. Get The Right Texture:
- For crispy waffles, don't open the lid too early! Let the steam do its job. If you're making several waffles, put the finished ones on a wire rack, not directly on a plate. The rack lets air flow around the waffles, keeping them crispy instead of getting soft and mushy on the bottom.
 Pin it
Keeping and Serving Ideas
Let your protein waffles cool completely on a wire rack after cooking. Then freeze them in layers with parchment paper between each waffle so they don't stick together. When you're ready to eat them, just pop them in the toaster to get that crispy texture back. If you're serving them right away, keep the finished ones warm in a 200°F oven while you make the rest of the batch.
 Pin it
Top Topping Combos
Make your protein waffles even better with these yummy topping ideas:
- A dollop of Greek yogurt with a handful of mixed berries on top.
- A spoonful of almond or peanut butter with some banana slices.
- A drizzle of sugar-free maple syrup for that classic waffle taste.
- Some cottage cheese with a little honey drizzled over it.
- Warm homemade fruit compote made from whatever fruits are in season.
- A scoop of scrambled egg whites on top for even more protein, perfect if you're really hungry.
Batch Cooking Plan
Make your mornings easier by cooking a double batch of these waffles on Sunday for quick breakfasts all week long. Make sure they cool completely before you store them or they'll get soggy. Follow these storage tips for best results:
- Freeze them flat on a baking sheet first so they don't stick together.
- Once they're frozen solid, move them to freezer bags to save space.
- Write the date you made them and how much protein is in each waffle on the bag.
- Add simple reheating instructions on the bag for busy mornings.
- Store any toppings in small containers separately so everything stays fresh.
What's so great about these protein waffles is how flexible and easy they are. They've become a regular part of my weekly meal prep, giving me a healthier option that still tastes and feels like real waffles. Whether you're an athlete, fitness buff, or just someone looking for a better breakfast, these waffles will fill you up and fuel your day without sacrificing taste.
 Pin it
Wrapping Up
Remember, making awesome protein waffles comes down to finding the right balance that works with your protein powder and tastes good to you. Don't be afraid to try different flavors and toppings to keep breakfast exciting. These protein waffles prove that eating healthy can be delicious and easy. You don't need to choose between food that's good for you and food that tastes amazing.
Frequently Asked Questions
- → What’s the best protein powder to use?
- Both plant-based and whey protein powders work fine. Just tweak the liquid amounts slightly depending on the brand.
- → Can I make these without gluten?
- Totally! Just grab a gluten-free flour mix and ensure your protein powder is gluten-free.
- → Why are my waffles sticking?
- Be sure to coat the waffle iron with oil or spray every time, even for non-stick ones.
- → Is meal prepping with these waffles possible?
- Yes! Cook extras, freeze them, and pop ‘em in the toaster whenever you’re ready to eat.
- → Why does oil matter in the recipe?
- It helps give your waffles a crispier texture. Skip it if you want a lower-fat version.
